







I love the new leaf and the stitch by betx white and the soy batting. Thanks for such a great giveaway.
conn_and_vans_mom(at)yahoo(dot)com
conn_and_vans_mom(at)yahoo(dot)com

CONGRATS!
Okay today is my stop on the Easter Bunny Blog Hop hosted by Lilac Lane! I have a sweet and simple baby girl outfit to share and a tutorial as well! Sometimes I call her and sing to her Little Bunny Foo Foo...so the title just fit!

Isn't she so sweet and springy! And it was around 80 degrees in this picture, so I didn't freeze her :) Oh her sweet little face...I could stare all day.
On to the tutorial!
Materials Needed:
SKIRT
1 Charm Pack (you may need more depending on child's size, see measurements)
(Seen with Happy Ever After from Riley Blake)
1/2" to 1" wide elastic
Ric rac trim (optional)
SHIRT
Tee or onesie
Fusible web
Permanent Fabric Glue
1 pom pom
Skirt measurements:
Now the measurements will be according to your child. If you're making it as a gift there are a lot of references online for sizing.
For width you want at least double the child's waist, the more you go the fuller the skirt. This is almost 4 times her waist on my baby's skirt.
For length you want to measure the child from waist to knee (where you'd like it to hit). Add the width of your elastic (ie 1/2", 3/4"). Add 3/4" for waist seam. Add 1/2" for hem. Since I was using charms I rounded to the nearest 2 1/2". (That will make more sense when you see the skirt come together).
Assembly:
Sew the charms end to end. I ultimately was going to have 4 rows, so I sewed 2 rows to start. Next you cut the charms in half to get the "brick" effect. See photos below:


Space the strips to create a brick effect. Trim off excess on the ends.

Sew ends together to create a continuous piece.

Finish your hem. If your using ric rac, sew the ric rac about 1/2" from the bottom of the hem on the right side of the skirt, see below.

Turn trim under and press. Sew a top stitch.

Next press down 1/4" from the top of the skirt. Then press down the width of your elastic + 1/2". Sew around leaving a space to feed the elastic through.


Cut the elastic to the child's waist size (exactly or slightly tight). Feed through casing just made on the skirt. Join elastic by overlapping 1/2"-1". Sew opening closed.

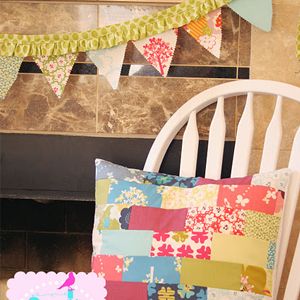
And a darling patchwork skirt in no time!
Bunny Shirt:
Download bunny image here. Trace onto the fusible web paper and follow the directions to applique to your fabric. Use a permanent fabric glue to add the pom pom.
Hope you like! Let me know any questions with the tutorial!
She was loving being outside and kicking. And then she saw the birds and was frozen in awe. I am so in love with this baby!!!


Stop by to see the other fun projects on the Easter Bunny Blog Hop!