Photobucket Photobucket Photobucket Photobucket Photobucket Photobucket Photobucket Photobucket Photobucket Photobucket Photobucket Photobucket Photobucket

Tuesday, November 15, 2011

Beautiful dresden quilt finish from LR stitched...


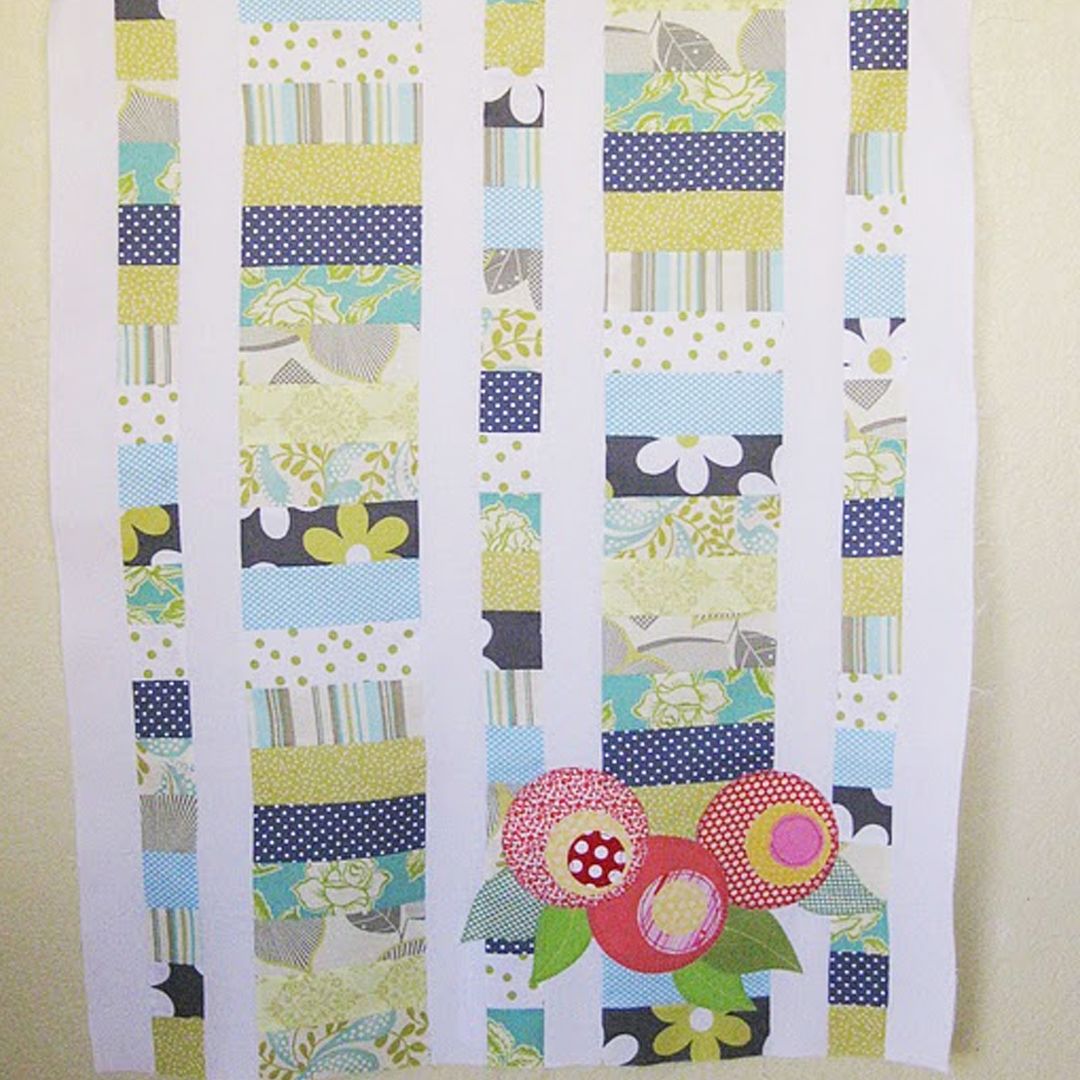
Lindsay from LR Stitched completed this super gorgeous dresden quilt. How gorgeous is it! I love the color combo. Check out Lindsay's tutorials here, and her fun little list of life's to do's, got me thinking...just love this quilt she finished for her daughter...

Dresden Quilt finished!

Hooray!

I can hardly believe it, but I managed to have the quilt mostly done for show-n-tell.  The binding wasn’t stitched to the back until today, but my guild friends didn’t mind.

It’s so fun to be able to share a project with people who love quilting as much as you.
I ended up ditching the sashing altogether and just added a 3 inch border of white on each side.    Once I got to sewing, that just felt like the right thing to do.    The quilt ended up a little larger than a standard twin at 70 x 86.
Twin Dresden Quilt
I discovered it’s much harder to photograph a bed-sized quilt with only one person holding.   And equally hard for the person trying to hold the quilt!  (Thank you honey for breaking your back while I proceeded to take umpteen million of the same picture)
Twin Dresden Quilt - back
I love how the back turned out.   This was my first time randomly piecing things together and I can’t wait to make another quilt this way.  It was freeing to just go with the flow.
It was a bit of a wake up call though when I realized, hey, you have to piece all that together.   I got so caught up in just putting pieces on my design wall, that I forgot about the sewing part!
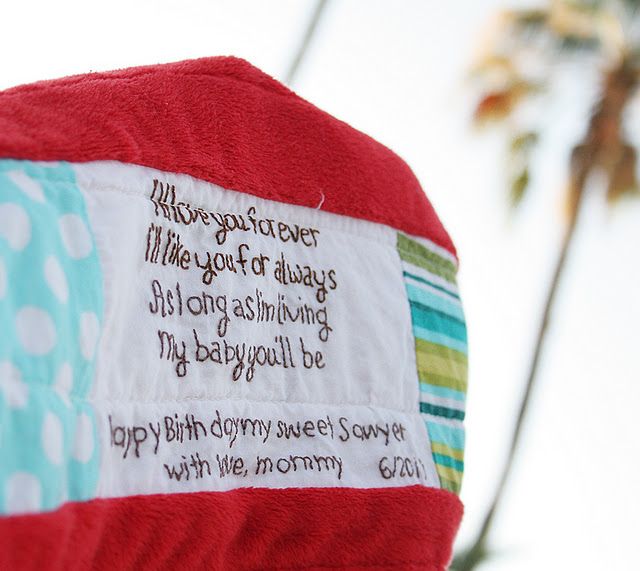
The little white box towards the bottom is the label.    I hate not knowing the details of some of the quilts handed down to me, so I’m  trying to be better about recording the history.  Here’s what it says:
I am so thrilled to have this quilt complete.  The cherry on top was my little girl’s reaction when I put it on her bed.  She screeched and gave me the biggest bear hug while she told me that she loved it and how she couldn’t wait to sleep with it.
Reactions like that make every stitch absolutely priceless!
Thank you for sharing in the process with me!
Lindsey


Photobucket

We have a winner, and Fabric Tuesday...

WINNER WINNER CHICKEN DINNER


 Blogger supersara20 said...
I love the treasure box ocean fabric, so bright and happy!
She won the $25 dollars credit from SkyeReve! Congrats!
Thank you SkyeReve!

Week after week you guys make me jealous! I have so many things that I want to try to make. At least it makes me happy to see other people doing all this stuff, I will just live vicariously through all of you for now...

Here are just a few that really popped out to me last week...

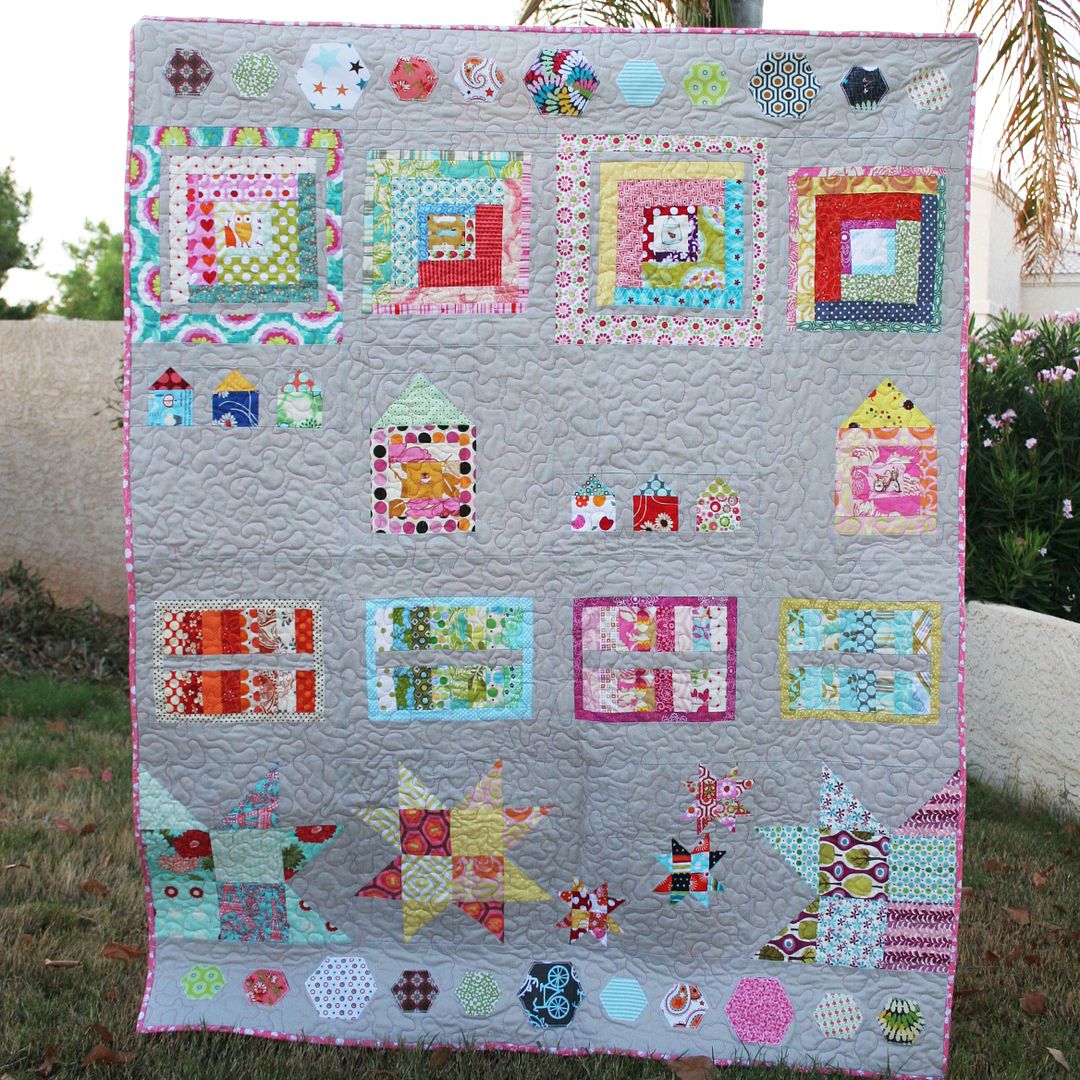
hoosier toni made this fun quilt with a neat color pallet...

Swoon quilt finish from a quilters table

Check th is out! Amazing, all fabric, looks like a photo, from eileen-the missing piece


Darling Christmas table runner from Rainbow Hare Quilts


Last but not least, the ROY G BIV quilt, amazing! from she can quilt
ROYGBIV - Top Done

If you're new we'd love for you to participate, see HERE for more details.

Photobucket

Sunday, November 13, 2011

Tutorial: Winter Tree Table Runner


Thanks for joining us for the 2nd edition of Holiday gift Tutorials. Make sure to come back each and every Monday for a new tutorial from all of these fabulous designers...

November 7th: Amber from A Little Bit Biased Tutorial: Holiday Table Topper
November 14th: Quilt Story :)
November 21st: Bev from Flamingo Toes
November 28th: Corey from Little Miss Shabby
December 5th: Jeni from In Color Order
December 12th: Melissa from Happy Quilting Melissa
December 14th: Gentri from Little Lulu's Nest
December 19th: Erin from Why Not Sew?

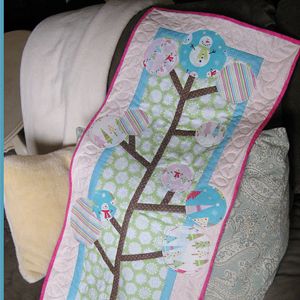
Today is our tutorial! Megan so kindly did this super cute runner with tutorial for all of you! I LOVE it! 

Each year Megan, me and our older sister Amy make gifts for each other for Christmas. We will be sure to share what we made and received for each other.

On to the tutorial...

Heather and I are many things, but when it comes to our crafts, one of those things is not humble. How cute is that runner? And even better, you can make it, and we'll show you how! 
And what else is great? Choose fabrics accordingly and this can last you all winter, or it can be a spring runner. Endless possibilities I tell you.
To start, materials needed:
*1/3 yard green fabric for center
*1/4 yard aqua fabric for sashing
*1/2 yard pink fabric for border
*3-5 Fat Quarters for circles
*1/4 yard brown fabric for tree
*1/2 yard hot pink fabric for binding
*2/3 yard for backing
I totally dropped the ball here, there is no photos of me putting the background together. BUT you can do it! If you can read, sew straight and iron, you can make this, promise.
STEP 1: Start with 1/3 yard green fabric for center, using a rotary cutter, board and ruler, cut the piece to measure 10.5" x 36.5". Then cut 1/4 yard aqua fabric for the sashing into 1.5" strips.
Finally take 1/2 yard pink fabric for border and cut it into 3.5" strips.
STEP 2: Using the aqua 1.5" strip, match up to one side of the green center fabric. (You will have a good amount of sashing hanging off one end). Sew together, trim to match and press. Repeat on opposite side and then top and bottom.
Step 3: Repeat step 2 using the pink 3.5" strips.
Step 4: Make 75" of 1" bias tape using the 1/4 yard of brown fabric for tree.
Now, I used a bias tape maker that you can get at most fabric stores, I got mine at JoAnn's. It is cheap and easy, you feed fabric through one side and it come out the other where you starch and iron it, and then the ends are turned in! Ta-da! You could also make your bias tape using a fusible web (we'll use that on the circles in a minute) or you can purchase it.
Step 5: Using the main picture at the top as your guide, cut and place the tree and branches to your liking. The length of the main part of my tree is 33". Using a temporary hold glue, I used Aileen's from WalMart, paste it in place. Sew all the way around your tree and branches with invisible thread (my preference) using a tight zig-zag stitch.
Time to make circles! I've uploaded the template I used here, there is a 5" circle (cut 3), 4" circle (cut 4) and a 3" circle (cut 2).

Step 6: It is a good idea to make temporary circles from printer paper as a trial to make sure you like the size and placement, like below in photo 1.

Step 7: Using my template or your own, trace three 5" circles, four 4" circles and four 3" circles onto the paper side of the fusible web. (I used Heat n Bond lite found hanging next to the sewing notions at WalMart.) See below photo 2.

Step 8: No photo for this step. Roughly cut around the traced circle (not the actual circle, maybe 1/2" or so outside of it). Place the non-paper side of the fusible web on the wrong side of your fabric and iron. Once cooled, cut around your actual circle.
Refer to the directions on whichever type of fusible web you purchase, they may differ from my directions.
Step 9: Peel the paper away from the back of the circle and place exactly where you'd like it on your runner. Iron. Ta-da! See below photo 4.
You're almost there!

Step 10: Sew around the edges of your circle. I chose to do mine a little more decorative for fun, I sewed in about 1/4" with a hot pink thread. You can use the invisible thread again here if you'd like, it's up to you.
And....you did it!

Step 11: Stand back and admire. Show anyone within the walls of your home. Jump up and down. Giggle. Now compose yourself, you look like a fool.

It's just a runner.

Step 12: Quilt and Bind!

See you next week for a holiday tutorial from

Bev from  Flamingo Toes 


Photobucket

Friday, November 11, 2011

Gorgeous Yellow and Gray Quilt from Molly Flanders


I am quickly becoming a huge fan of Molly Flanders!  Oh my goodness is she talented!  It's the same way I feel about Jennifer Aniston, if we were to meet in real life I'm confident we'd be best friends :)  Check out her Lark Quilt that she's currently hand quilting.  Close your mouth.  And her Stashbuster Quilt?  Do you see those tiny yo-yo's?  Okay so before you spend forever on her blog admiring all the goodness, check out this amazing quilt she made for a friends new baby.

If you recall, over the past couple of months I have had several super secret projects I have been working on.  One of which, is completed and received {just in time} for someone very special.

This project was inspired by a mini-quilt from Purlbee.

Pinned Image  
purlbee
The design is courthouse steps....a log cabin variation.  I was already familiar with this arrangement.....this one I made several years ago and is in my family room....


    But the new quilt was destined for Lora and her new baby.  Lora was one of my very first students at Sew To Speak....
We love Lora...seriously....everyone at the shoppe LOVES Lora!!!  So Lora expecting her first baby was definitely something to celebrate :)

Because they were keeping the gender a mystery until the big day...I knew I had to do something gender neutral.  But we all spied on Lora as she selected fabric for her nursery so we knew her colors and even the fabric she was choosing....aren't we sneaky???

  
I knew yellow had to be a central color and then I simply added several off white fabrics....mainly because I wanted to incorporate this lovely Nani Iro {Colorful Pocho} print.

My center rectangle is 1 1/2" X 2 1/2" and the logs {or steps}  are 1 1/2 inches wide....

In the Purl mini-quilt, I really loved the very thin strip of dark.  I placed these strips randomly in each of my courthouse blocks....

  
I had to hand quilt this one....Lora knows how much I love hand quilting with perle cotton.  And as cheesy as it sounds, when I hand quilt it gives me time to ponder the quilt and the special person that will be receiving this quilt.  Almost as if every stitch is laid with love and blessings for the recipient.


I used dark grey perle cotton....stitching randomly around the steps on each block....

  
The quilt was bound with the same sweet red gingham as the center.....


And then an embroidered label for the new baby....


End of story??? No!  I am pleased to announce that Lora had a beautiful baby boy about one week ago!  Congratulations Lora and tons of love to baby Harrison :)


Photobucket

Thursday, November 10, 2011

Fabric Giveaway from SkyeReve!

It's been a while since we gave away some fabric...too long!  I get excited when we are able to host a giveaway even though I can't win :)  I think it has to do with my addiction or something.

We've worked with Natasha from Skye Reve Fabrics for over a year now and she's fabulous!  Any orders we've done have shipped super fast.  Her selection is awesome, I really love what she picks out.

That being said...you could have yourself a little shopping spree at Skye Reve Fabrics!  Let's look at some of the goodies in her shop.

Lark
I am having a personal love affair with this online.  I'm getting some in the mail in a few days and can't wait to see it in person!  I'm digging all the new corals coming out lately.

Sophie
I would hook myself up with one of the charm packs for sure!  I am loving this line, it is so feminine and pretty!!

Ruby
I am seriously considering hooking myself up with some healthy yardage of Ruby!  Perfect red, in my opinion, and it has some really fabulous complimentary prints.  I love the grays mixed in.  This is my favorite print in the collection.

Ready to win some fabric?

Skye Reve Fabrics is giving away $25 credit to a lucky reader!
Here's how to win
Please leave a separate comment for each

1. Visit Skye Reve Fabrics and tell me your favorite item
3. Follow us here or tell us that you already do!

This giveaway is now closed.
Photobucket

Wednesday, November 9, 2011

The Quilt From H-E-Double

Ah. I love real people.  And by real I mean people that are funny and honest and even though we can be whoever we want online, some people are really themselves.  That's why I love this feature by Annie from Originate and Renovate. You'll get to read her feature and know why it's the quilt from H-E-Double in a second...but in case you don't somehow know Annie let me introduce her.  First they are one of our lovely sponsors, she and her family own a fabric shop (in person and online) Sew Obsessed. Also her blog Originate and Renovate is a great mix of lifestyle, sewing and family.  She's got loads of original tutorials.  Make sure to stop by if you haven't before. Okay now read! :)


Edited to add: Some people weren't able to see pictures before, that should be fixed!  If you cannot see them please let me know!


On a rare occasion, I see a quilt that I MUST make. That's exactly what happened on a winter's day last year when I first saw Camille Roskelly's June Bug Pattern . Her new fabric line was out and I HAD to have it. 
I don't usually buy the same fabrics as the pattern cover, but the springy colors took me away from what seemed like a never ending snow. I bought everything right then and there and set it aside for the perfect quilting day.  

A few months later, My sister and I decided to open a fabric shop. We needed to decorate with quilts and I knew which one I wanted to make, so I pulled out the fabric I had been saving and started on the quilting nightmare.  I don't mean the pattern. No, the pattern and directions were fabulous. 
In fact, the entire quilt top was like a little piece of heaven during a furious race against time to get our shop up and running.  It was when I pinned it to the long arm machine to start quilting that all the headaches began.  As I quilted along, on the first row, my machine stopped moving! I had a tiny hole in a seam in the quilt top and had ripped it open and attached myself to the batting. I had to CUT to get my machine off!  I was some how able to salvage the quilt, but not with out leaving an ugly stitched up mess.  I made it through the rest of the quilting process okay, until I pulled it off the machine and saw that I had attached my backing with the seam out!!  There was no going back at this point, the entire thing was quilted.  Then I started to look at my quilting and lo and behold a giant 10" x 5" gap with NO QUILTING.


I am no perfectionist, but this was out of hand.  Too frustrated to look at this quilt for a moment longer and I sent down to my mother in Las Vegas to bind  and hang in the shop.  She said the binding was a huge pain and she wasn't sure why, I informed her the quilt was cursed. When it was finally finished, my Sister hung it on the shop wall very crooked and meant to rehang it, but got busy doing other things and before she could get to it, who walked into the shop to check out the new fabric store in town, CAMILLE ROSKELLY! 
I wish this were all a joke.  The most ironic part of this quilt is the fact that the fabric it's made from is called "Bliss".  Bliss!!! I think not. 

Despite all the problems this quilt has, it now hangs in my daughters nursery and looks darling (if you don't look too closely). Every time someone compliments it, I have to laugh, because in this quilts case, life gave me lemonade and I some how made a lemon. 

Photobucket

Tuesday, November 8, 2011

Get your party on at Fabric Tuesday #60!

Happy Tuesday everyone! :) This week I have been slaving away on my sewing room...I mean my sewing corner.  There are three bedrooms in my house and four people, so my sewing room is now a good portion of our bedroom. I have been busy folding fabric, recovering bulletin boards, ruffling, hot glue-ing, decorating my Basic Grey canvas...it's been so exciting!  The greatest thing about it being in my room is that I admire it all day.  When I wake up I just sit up and stare at my corner of fabric.  I glance at it as I get dressed...when I'm dozing off I face it and think of all the fun we're going to have together.  I can't wait to share!

I am excited to see what you've got to share with us this week!  Last week tons of quilts were linked, some tops and some finishes...they always inspire me. Here were some favorites from last week:

Michelle from City House Studio

Baby quilt


Cinzia from deux petites souris

charmed to pieces back 1
Andy from A Bright Corner

What fabric project have you been up to?
Time to link-up!
If you're new we'd love for you to participate, see HERE for more details.
Photobucket