Photobucket Photobucket Photobucket Photobucket Photobucket Photobucket Photobucket Photobucket Photobucket Photobucket Photobucket Photobucket Photobucket

Showing posts with label chain quilt. Show all posts

Friday, February 8, 2013

Yellow and Gray Quilt from My Lift in Binding


Today's feature is a gorgeous quilt from Catherine of My Life in Binding.  You must read her About Me...it made me giggle!!  Catherine is a busy PhD student, I wonder where she finds the time to make such beautiful quilts!!  After reading about her great quilt and feature stop by and say hi, she's new to blogging and quilting so let's make some new friends!!


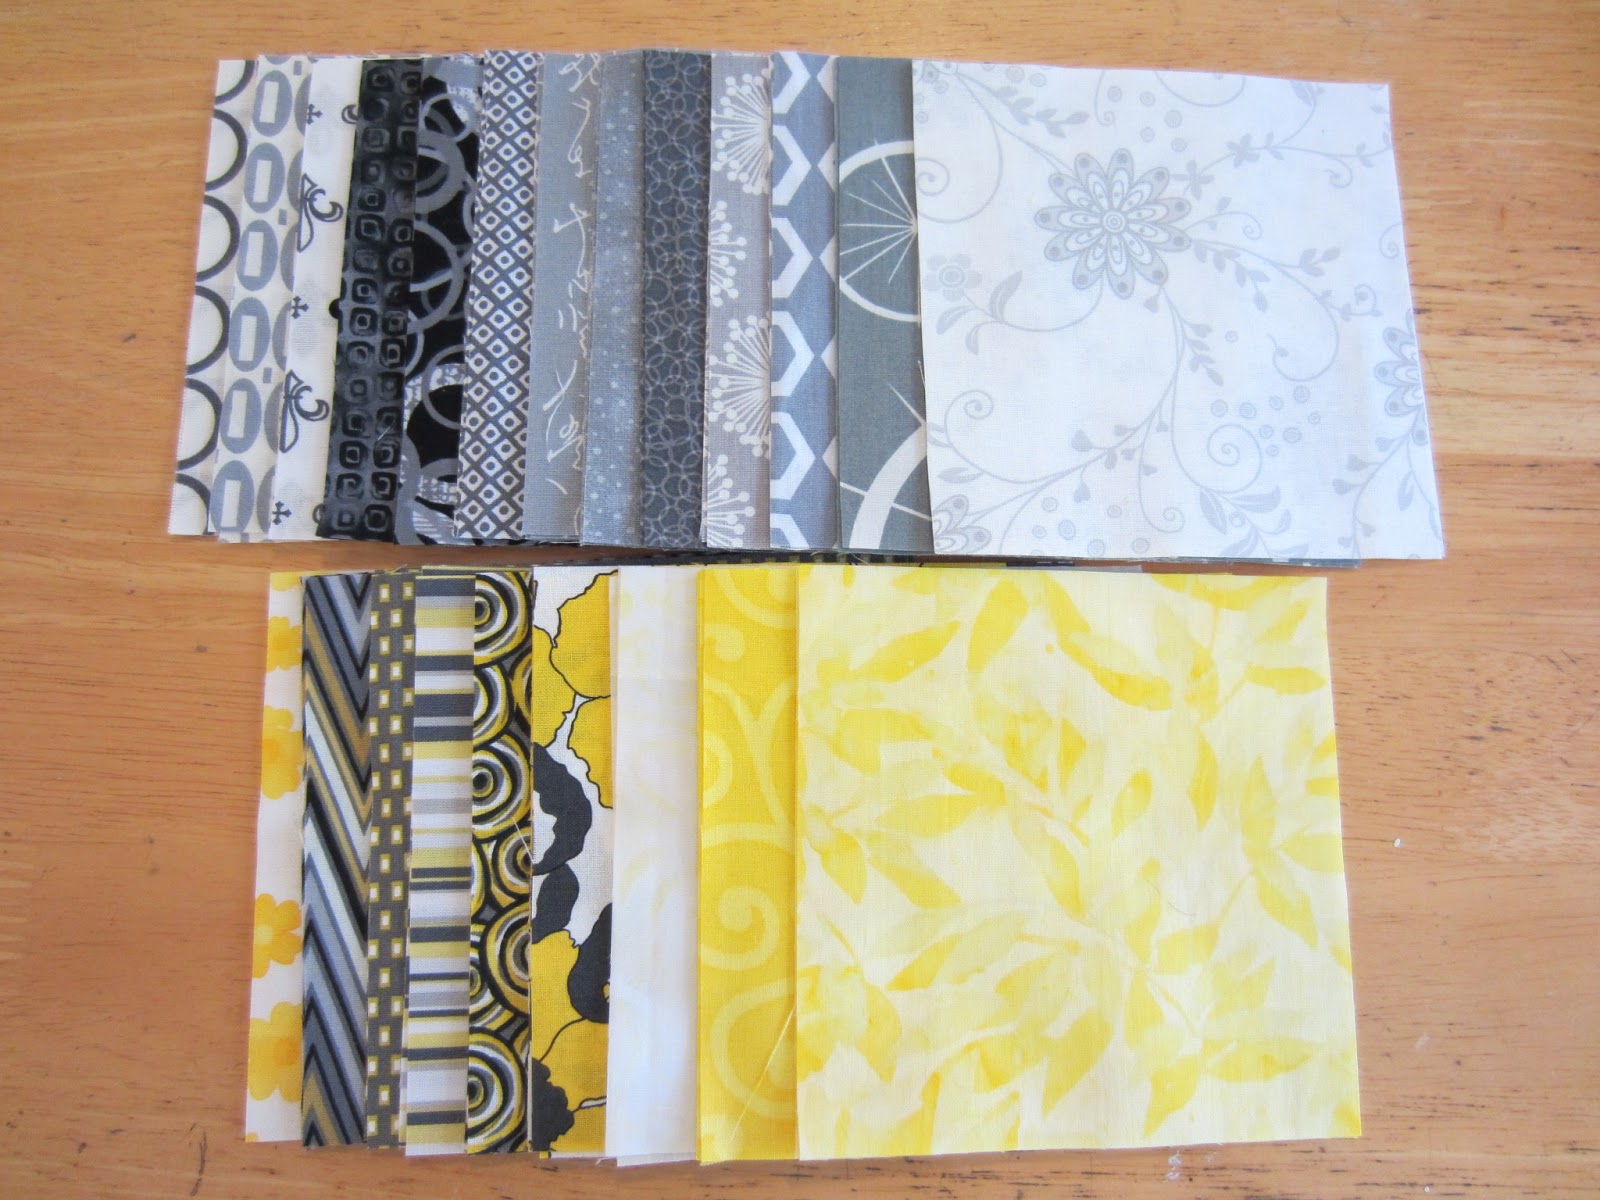
When my best friend told me her wedding colors were going to be yellow and gray, I had my doubts (and fears—I was petrified I’d have to wear a yellow bridesmaid dress—not a good look for me) about the color scheme. Nevertheless, that’s what M—who is an interior designer by trade, with impeccable and modern taste—wanted. I had only been quilting for a couple of months when I decided I should make her a wedding quilt, so I didn’t have much of a stash to speak of. I spent several months checking out local fabric shops wherever I went, purchasing yellow and gray fabric that looked “M” to me.*


Choosing the pattern was much easier. Before I started quilting for real, I read Diary of a Quilter (like, the entire thing—it was a little crazy, admittedly) and at some point ran across Amy’s “Chain Linked” pattern. You know how you just know when you find something that is perfect for someone? This was perfect for M, so once that was decided, I just had to procure enough interesting scraps in the color scheme for the middle of the blocks.

M’s wedding was at the end of July, and I didn’t get the quilt done by then (ooooooh boy, not even close!) I did manage to make her a large pillow out of scraps from her quilt that I presented to her at her shower (she didn’t know she was getting a quilt, but I think she had her suspicions!)


So I plugged steadily along with the quilt through the fall. I live halfway across the country from M and really wanted to present it in person, which meant that Christmas break was my new deadline. This was the largest quilt I had made, and that presented unique challenges in basting space and quilting.  I ended up basting the quilt in the basement of the building where I work. I wasn’t confident enough to try FMQ, so I chose to trace the white areas of the quilt, which meant a TON of turning! I think it was a pretty good choice for the quilting though. I originally intended to trace inside the gray too, but time and laziness prevented that.


The backing was part of an IKEA duvet cover, with the addition of a row of blocks to make it long enough. The binding was a happy accident—the yellow I was originally saving for the binding just didn’t look right at the end, and I headed to my LQS to try to find something else. I found nothing. Dejected, I was about to settle for a dark gray solid when I spotted some light and dark gray striped fabric. Perfection!


 M and her new husband loved the quilt (even if it was five months late) and I am extremely proud of it! There’s nothing quite like making something that you just know is perfect for its recipient, and it is my favorite quilt I’ve made so far!


Pattern: Chain Linked by Amy Smart
Finished size: 61” x 82”
Fabric: Kona Charcoal and Kona White, with assorted others
  
*Don’t worry, I got to wear a dark gray dress instead. Phew."

Photobucket

Wednesday, January 23, 2013

Bennet's Quilt from Stitch Fancy


Super sweet nursery quilt finish today by Tara from Stitch Fancy.  A darling quilt for her sweet baby boy!  It's no secret I love this fabric line, Backyard Baby, I'm about to have a quilt finish of my own!  I love her take on it, her pattern choice and the sneak peeks of the nursery!  Stitch Fancy is a fun blog to visit, home decor, baking, quilting, she does it all :)  Thanks for sharing!
IMG_5589
I’ve had this quilt finished for a few months now but haven’t gotten around to taking pictures of it.  It matches the other bedding I’ve already posted about here.  Once his room is finished, I’ll post more pictures of everything all together.   My husband is sanding the wood floor in the baby room as I type, and it looks like we should have the floor finished within a couple of days.  That’s the last major step, so once the finish cures for a day or two, we should be able to start moving furniture in, hanging curtains and pictures, etc.  It will definitely be nice to have things more together than they have been.  We’re really cutting it close on this one—my due date is two days away.  However, with my luck, the baby will go late (ugh), and we’ll have things ready and waiting.  At this point, I don’t even care what’s finished and what’s not.  I just want this baby OUT!
IMG_6174IMG_6175
Onto the quilt—I chose a chain-link type pattern.  There are several patterns for sale, and the one that I followed most closely for mine was from Cluck Cluck Sew and can be found here.  I did not buy the pattern because I wanted to make several changes to it for size and visual reasons, so I thought it would kind of be pointless since I wouldn’t be following the actual pattern anyway.  I first saw this type of design in a very different quilt on flickr, which led to some googling, and this quilt was born.
IMG_6182IMG_5584
For the back, I had hoped to be able to make it work with just one width of fabric across the quilt, but it turned out to not be quite enough, so I added the polka dot scrap strips down the middles.  I like the look, though, so it probably worked out for the best anyway.
IMG_5585
For the quilting, I again went out of my stippling comfort zone and did right angles intersecting each other in box shapes.  I thought this mimicked the quilt top better, and I’m very happy with how they turned out.  However, since I don’t have the skill to do right angles (and keep them straight!) with the free motion foot, I had to use the walking foot, which involved LOTS of turning, which was soooo not fun.  However, I’m happy I suffered through it because I love the end result.  Maybe one day I’ll be good enough to do that with the free motion foot, which would make things a lot easier.
IMG_6191
I bound the quilt in a gray matching print, and I haven’t added the label yet.  I think I’d like to make one with his name and birth information on it, so I’ll just sew that on later.
PS I saw this on her sidebar and had to add the photo!! Congratulations!

Photobucket

Monday, June 28, 2010

Cluck Cluck Sew, Modern Chain Quilt...

Allison of Cluck Cluck Sew doesn't really need a introduction does she? Don't we all already know her and love her? Constant inspiration from her site. She has tons of tutorials and I vow to try everyone (one day). Be sure to visit her blog. This is her modern version of an Irish Chain Quilt. And I want it!!!

The inspiration for the Modern Chain quilt came from a traditional Irish chain quilt I saw in a magazine. The inspiration quilt was made with traditional americana fabrics that weren't my style, so I thought I should try a version with modern fabrics and using an easy strip piecing method.


It took some trial and error to figure out the strip piecing, but then went together so quickly after getting the measurements figured out. The fabrics are strips from about 18 different prints by different designers, I picked bright colors that would compliment eachother.


 The backing is one of my favorite backs yet, the fabric is from the Snorkel line by Cosmo Cricket. This was a fun quilt for me to make because it was neat to take a traditional pattern and make it modern.


Anyways, this is a fun quilt to make, I have about three more color schemes I want to make it in when I finally get more time (as if)!
Thanks for visiting and happy quilting! -Allison


And you can all buy this pattern at her shop here...