Photobucket Photobucket Photobucket Photobucket Photobucket Photobucket Photobucket Photobucket Photobucket Photobucket Photobucket Photobucket Photobucket

Thursday, July 31, 2014

Triangle quilt and a room redo...


If you follow me , Heather on Instagram (@quiltstory) then you have seen these before. Sorry about the camera phone photos, these smart phones take such good photos, that I have been neglecting my nice camera. Anyhow, I have been redoing my daughters room. We are doing soft mint, ballet slipper pink, soft tones and gold...

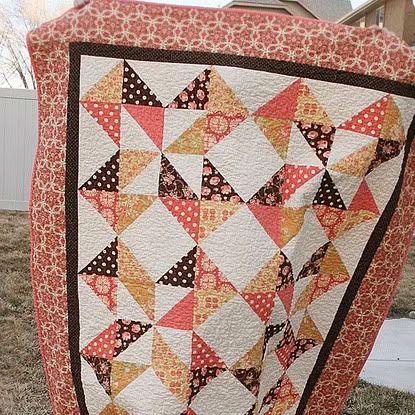
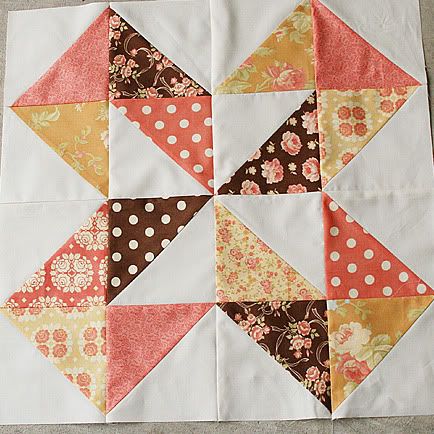
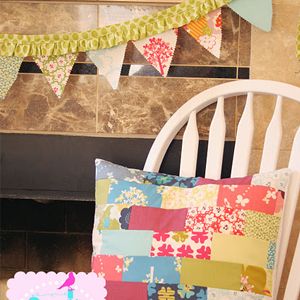
After walls were painted, I started painting items for her room, and sewing bedding. First is this triangle quilt pillow. I used this tutorial I found on Pinterest. Pretty easy, the triangles were easier than I anticipated. 


I quilted the sham with just a quarter inch around each seam. Simple and nice. 


Here is the first pillow on her bed. Love. 


 I made this sheepie a while ago. I love her. One of the favorite things I have ever made. And I had my husband make me this little wooden house. I used this pretty Brambleberry Ridge fabric from Michael Miller as wallpaper. (the same fabric line in the pillows)


What makes me happiest about this room is how much me and my daughter created for it. We painted the walls together, and everything on this wall is made by us except the flying bunny. (and frames) I painted all the art, and me and my daughter did the embroidery projects. 


 Then I was on a roll, so I decided to make a "quilt as you go" pillow. I loved making this pillow. Fast cute fun project....


We still have a few more plans, but I am really happy with everything so far!

Photobucket

Tuesday, July 29, 2014

Fabric Tuesday Link up friends...

Fabric Tuesday Friends. I have been able to get quit a bit of sewing in for myself lately. As busy as this summer is, it has at times been peaceful. The kids are getting older, and letting me have some blocks of time to work on all my projects. I think the sewing has been very therapeutic for me. Anyhow, some inspiration from last week...


Beautiful quilt top from Joanie's Trendy Quilts. Beautiful! Love it!


This stunner from Simply Pieced. Cool pattern, pretty colors.


How awesome is this quilt? What a stunner. From Meadow Brook Kristen It kind scares me! maybe one day...


What a fun wild quilt I love seeing different projects like this. Just cute. From Like to Sew. 


Paper Airplanes and ROckets Modern Triangles Quilt from Pieces by polly. What can I say? Love

Love seeing all the link ups each week. Please keep sharing and playing!


Friday, July 25, 2014

A Sewing Party and Giveaway!!

Wahoo!! It's Friday!  Well I'm just following the crowds being excited about Friday, with no school in session and a husband who's always busy the weekend looks the same as any other day! :)  Haha!!!

But we do have something fun to share today!  We learned about a really fun SEWING PARTY, an all day sewing event.  Do I need to tell you more because I'm already in! :)


“The Sewing Party” is the first ever online-all-day DIY event in history!

On November 8, 2014, thousands of DIY-ers will gather for a fun-filled day of sewing and crafting classes taught online by leading bloggers and educational experts. It’s all about Connecting. Crafting. And Creating.

Attendees will have access to more than 30 online classes available on the day of the event and for an additional 90 days. There is truly something for everyone! Classes include home décor, fashion sewing, quilting and upcycling, crafting, costume design, techniques for turning your craft into an entrepreneurial venture, and more!

Space is limited and likely to fill up fast! For just $40, “The Sewing Party” participants can attend classes; chat with participants from across the country; interact with top bloggers and educational experts who are teaching; and explore the latest crafting and sewing tips, techniques and products in our marketplace.

The Sewing Party” brings together some of the best in the industry for this FIRST EVER event. Our stellar lineup of sponsors includes:

http://snapshotinteractive.com/svp/logos.jpg
Let’s Party!  Register today – space is limited!  $40 Registration Fee*


Register at THE SEWING PARTY
If you register prior to 7/31 enter the code LETSPARTY for a free super cute t-shirt!


Sounds so fun right???  I can't wait to party!!!  I LOVE an excuse to sew all day, and then to have access to awesome classes and teachers, win-win!

Giveaway now closed.

Our Sewing Party friends are also offering 5 of our readers tickets for free!!!!
Unfortunately the entire event is a US only this year.  Sorry!!
To enter, like/follow ONE or more of their following social media outlets.


After you've liked or followed come back and comment and tell us what type of class or technique you'd be most interested in learning about!

Photobucket

Thursday, July 24, 2014

Kristi from Schnitzel and Boo!

Hi friends!!  Today we have an AWESOME interview from Kristi of Schnitzel and Boo.  Kristi is the organizer of the fabulous mini quilt swap that Heather and I both participated in as well as pattern designer and creator of many fabulous things!! Take a few minutes and get to know her, it's a fun read!!!  Also catch her on her blog Schnitzel and Boo as well as on Instagram @schnitzelandboo

Megan: How long have you been sewing and what was your first project?

Kristi: I've been using a sewing machine since I was five years old. I had to call my mom to ask her what my first project was (my memory is terrible). She said "At that age it was always something for your dolls. But the first thing you made was that little blue dress for your baby doll, remember? You felt so bad for it because it was naked and cold." I do remember. The fabric was baby blue, kind of a gauzey-lineny stuff that frayed easily. I machine stitched the side seams and then gathered the neckline with needle and thread. The dress couldn't be removed but at least she wasn't naked and cold anymore!

Kristi's first block design

Kristi's first paper piecing (!!!)

Megan: What are your favorite things to sew & create?

Kristi: I love to sew almost anything and everything. But I don't like doing alterations and/or hemming. My rule is that if I didn't make it then I'm not going to fix it! I like to make dolls and toys because seeing a child get enjoyment out of something I put together makes me feel so good. But, on the other hand, the satisfaction and accomplishment of putting together a bag or quilt? There's nothing like it.

Custom Commissionaire Bag (Kristi's Pattern)

Kristi's sweet dolls!

Megan: How do you fit in time to be creative in your life?

Kristi: Being creative is my life. I have an incessant need to make something every day. It helps that my daughter is a Montessori student. Being independent is encouraged as much as possible. That's not to say that I don't pay any attention to her, I mean that she and I are allowed time to devote to our own projects every day. We both have dedicated time to "work" which is a pretty powerful thing for her to observe.

Kaleidoscope Quilt Top by Kristi (pattern from Cluck Click Sew)


Megan: What's a favorite sewing tip that you can share?

Kristi: Liquid Stitch Glue! I use it to apply zippers, ribbon, "pin" laminated fabric and to attach my labels. You can also use Elmer's Washable glue but I prefer Liquid Stitch because it's permanent. Good luck removing my label! Permanent brand recognition! Haha

Lobster made for Tula Pink (!!)

Megan: What sewing notion could you not live without?

Kristi: I just asked my husband what he thought and he said "Your seam ripper!" And then he snickered. Hmph! I don't use it that often! I would be totally lost without my 18" grid ruler. I use that on almost every project I do. I love my ruler. LOVE IT.


Megan: Do you have a favorite set of colors or style that you work within?

Kristi: Not necessarily. I like to explore and try new things. After 32 years of sewing, I feel like I've done almost everything. I do really enjoy paper piecing and using modern fabrics with traditional blocks. I avoid cutesy and expected fabrics in garment sewing as much as possible.


Megan: What's a recent favorite project and why?

Kristi: My friend Elizabeth [Dackson] (of Don't Call Me Betsy) and I decided to do an "epic swap" between the two of us. I was teaching a class on Noodle-Head's Cargo Duffle bag and Elizabeth jokingly said I should make one for her. I told her I would so she suggested a swap. Once we got going with it, we both found that we were so inspired by it that we each created a new pattern for the other. She created a pattern, "Drop Dead Gorgeous" for the mini quilt she sent to me and I just finished a bag for her,  "The Betsy Travel Bag". You can see sneak peeks of the bag and the quilt by searching our hashtag on Instagram: #theswapofepicproportions The bag is one of my most favorite things I have ever made in my entire sewing career. It's pretty epic!

Megan: Tell us more about you!

Kristi: I'll be 37 this year, I have two miniature dachshunds, Schnitzel McPoo and Fenway Frank. Fenway's number one nickname is "Buddy Boo", now you know where I came up with Schnitzel & Boo. I have one child, a sweet little girl known as "Roo" but that's not her real name, of course. My husband and I got married on March 11, 2008 which was a Tuesday. Yes, a Tuesday. Who does that? Well, I'll tell you...the longtime girlfriend of a 311 fan who couldn't believe she was finally a fiancée. (March 11=3/11.) I studied fashion design in college; I lived in New York City during 9/11; I fancy myself an amateur car buff and my ultimate dream car is a 1968 Chevy Camaro SS. My goal in this life is to save enough money from a successful pattern designing career that I can open an animal rescue. My heart breaks for those animals who are misplaced due to the death of an owner, earthquake/tornado etc or are mistreated, abused or unwanted because of a disability or special need.


Pinafore Dress 
Kristi's soon-to-be-released pattern

Sunday Dress 
Kristi's soon-to-be-released pattern


THANK YOU Kristi!!!!! I hope you all had fun getting to know her!!

Find her here: Schnitzel and Boo
Find her on instagram: @schnitzelandboo
Find her patterns HERE

Photobucket

Wednesday, July 23, 2014

Snowflake Dresden Plate Tutorial

Thank you for stopping by for my Snowflake Dresden Plate Tutorial!! If you're visiting from another blog please take a look around! :)  

Quickly about us, we're two sisters, Heather and Megan, who write quilt patterns (found here).  We also blog here with lots of tutorials, finishes and we feature other quilters as well.  You can find out more about that on our tabs above.  You'll also find us on Instagram A LOT.  @quiltstorymeg and @quiltstory

Let's jump right in!


Materials
Use 1/4" seams throughout


Christmas in July - Folk Art Holiday

Pillow
-At least 4 FQ prints (or large scraps)
-17" pillow form

Embroidery
-Embroidery floss & needle
-Embroidery hoop
-Temporary Fabric Marker
-8" square or larger white felt


Cut out 10 Large wedges, 5 Medium wedges and 5 Small wedges.
I missed photographing an important step.  (If you search other Dresden Plate tutorials you could find this step there.)

Take each wedge and fold right sides together lengthwise (so it looks like a long skinny strip).  
Stitch each end (leaving the long edge open).
Press open and each end will come to a point like below.  Press well.  Repeat on every piece.


Lay out all your pieces, 20 total.  In this order, Large, Small, Large, Medium (repeat).

Stitch together in four sections of 5.

See above and below.  Stitch end to end of the shorter pieces.  If you stitch over a little don't worry, it will be ironed over and you won't see it.  Take care to backstitch your start and finish.

Take each section of 5 and press the seems open. You'll find that the taller pieces naturally and easily fold in 1/4".  See below.  Stitch all sections together so you have a complete and continuous Snowflake Dresden Plate.


Ultimately the pillow will be cut down to 18.5".  However keep your piece generous until after it is embroidered and your Dresden is attached.

Place the "Let it Snow" underneath the fabric.  Trace the letters using a temporary fabric marker.


Place the generous size of felt under the fabric.  You'll embroider through both pieces.  The felt make it not only sturdier but you are unable to see the stitching underneath and you move from letter to letter.

I used all 6 threads of floss and used a basic backstitch.  (A quick google search will show you lots of tutorials if you aren't familiar).  On the wider sections of the font there is a close up below so you can see how I did it.  Still using a backstitch.


Place the Snowflake Dresden over top and center it with "Let it Snow".

Carefully pin around the entire snowflake.

Use a tight zig-zag to attach the snowflake to the front of the pillow.  Zig-zag around all the inner and outer points.  You can see this above and below.


Trim the pillow front to 18.5" x 18.5".

I used an envelope closure in the back.  Easy to do and easily removable to clean.
Cut two pieces, 9" x 18.5" and 14.5" x 18.5".  Turn under, press and stitch one side on each piece for a nice finished edge (below).  


Right sides together place the front and back envelope pieces together, pin around and use a 3/4" seam and stitch around completely.  Turn pillow right side out, press and place in your pillow form!


This block would be so cute done as a table topper, I thought about shrinking the size a bit and doing the regular size in the middle and two smaller snowflakes on the side.  It would also make a really cute wall hanging!  And of course an entire quilt would be awesome!!


Here's the schedule for the blog hop and prizes...make sure to be checking Sew Lux as you go!!  

  • July 7th - Series Announcement & Bundle Sale 
  • July 14th - Solstice Wreath Mini Tutorial (See that cute wreath in our series button image? We'll show you how to make it here on the Sew Lux Blog!)
  • July 21st - Sewing with Winter Wonderland - Lee of May Chappell
  • July 22nd - Sewing with Be Jolly - Chrissy of Sew Lux
  • July 23rd - Sewing the Folk Art Holiday - Sarah of Stitching & Bacon AND Megan ofQuilt Story
  • July 24th - Sewing with 25th & Pine - Tessa of The Sewing Chick AND Tracey oftraceyjay quilts
  • July 25th - Sewing with Solstice - Christen of Love by Hand AND Stephanie of Quarter Incher
  • July 21-August 4th - Linky open to link up your projects
  • August 5th - Winner Announced
Photobucket

Tuesday, July 22, 2014

Fabric Tuesday and a new pattern!

Happy Tuesday my friends!! Hope all is well!  We're enjoying the humidity here in Northern Virginia (not) but we are enjoying the fireflies at night!

Last Christmas Heather and I got a couple of new fabric collections and helped each other design new quilt patterns with each.  We finished them in record time (for us) and had them completely ready for quilt market.  But naturally it took two more months to list the patterns in our shop and share it with you all! :)
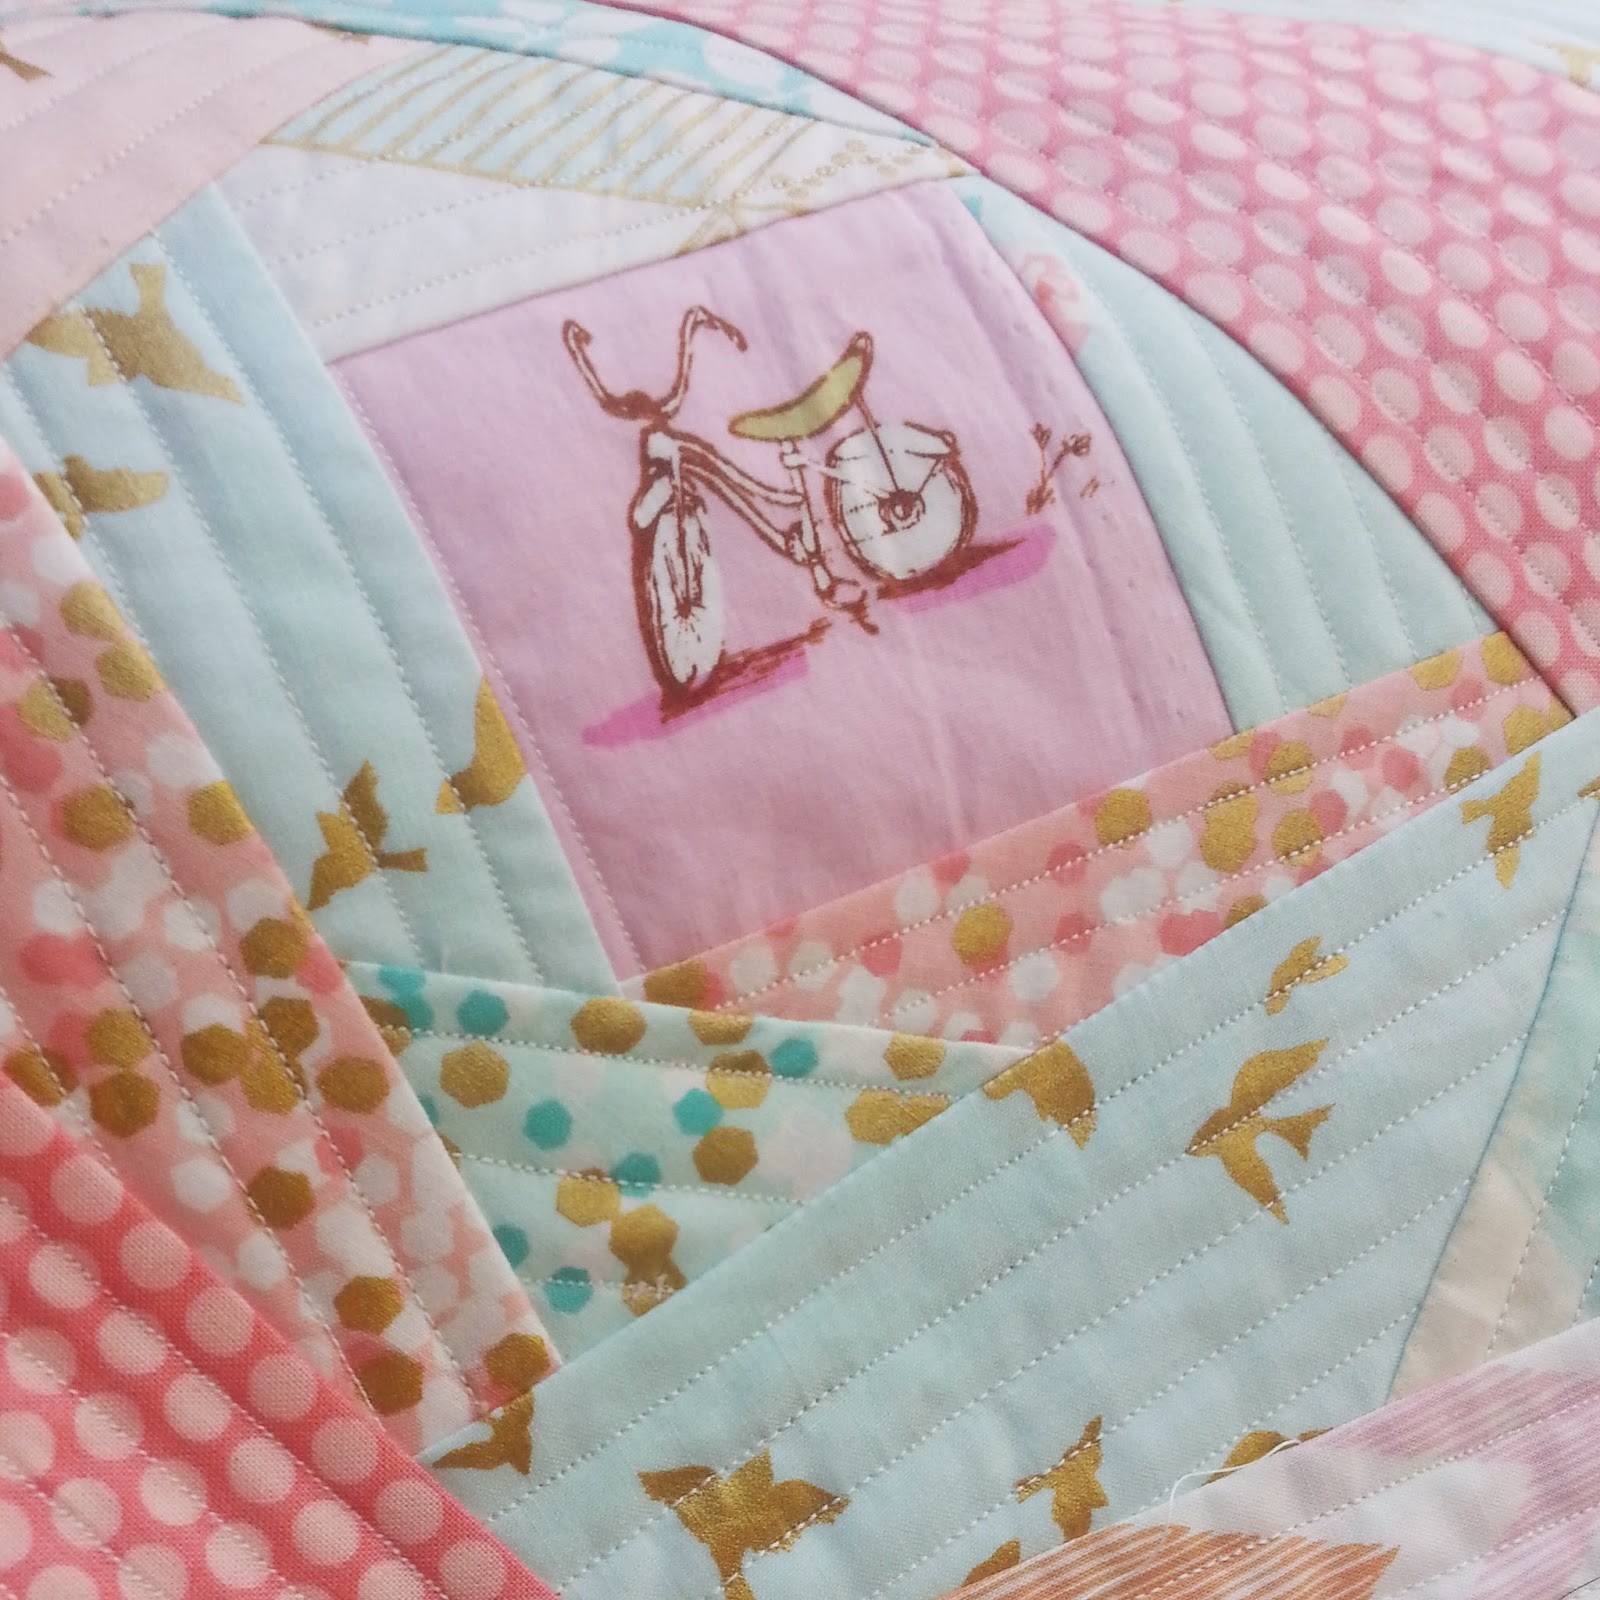

I'm happy to share Hello Pretty with you today for Fabric Tuesday!


Such happy and bright colors in Aneela Hoey's line "Hello Petal" by Moda Fabrics.  I love the little children at play and I was sold when I saw the kitty cats all named on the back (including Lucy!).


I love creating a pattern that maybe appears to be more work than it is. I used fat quarters to make this quilt, strip piecing and a lot of repeat blocks to create this finish.  I heart it!


When I finished it didn't seem finished...I stood back and thought it was too busy and on the smaller side.  I am so pleased I added the white borders and patchwork squares, I think it completes it.


Backed it with those sweet kitties of course, and there is the perfect stripe in the line I used for binding.


There you have it!

Hello Pretty
65" x 77"


Fabric Tuesday
#195

Come and share your recent fabric WIPs and finishes!!


Photobucket

Friday, July 18, 2014

Sweetest mini from Why Not Sew....precious!


Erin from Why not sew makes simply the most precious projects! We happened upon her blog several years ago, and have been stalker fans of hers ever since! This mini with Country Girls fabric is simply darling! Head over to her blog, where you will find yourself making outloud "ooohh" and "ahhh" sounds. Seriously. You. Will. Love!


Last week I finished this Country Girls mini quilt I made for my girls' room. I've been wanting to post about it since then but we all have been under the weather at our house. Sore throats and stomach bugs. Yuck. I hope we are on the mend. My mom is visiting and should be here today! I told her maybe she shouldn't come but she wouldn't hear of it. I hope she doesn't get sick. I've Lysoled, bleached, Purelled my heart out, so I'm hoping we're good.

Anyway, I am loving this mini!!! I fussy-cut the Country Girls from this fabric. Then I used some Country Girls fabric along with some others from Tasha Noel. All of which I got from Shay at Simply Sweet Fabric.  I added some Strawberry Fields, April Showers, Scrumptious and Flea Market Fancy. The colors all went well together and I love the scrappy look.

I hand quilted around each star and that was all. I may add more quilting around the edge near the binding and in the space where the four corners of the blocks meet. I just haven't yet. I love the center block. The little girl feeding the ducks reminded my 4 year old of herself feeding her ducks. She loves the quilt and can't wait to have it on her wall. I have to paint first. I hope to do that while my mom visits. We shall see :) 

Photobucket