Photobucket Photobucket Photobucket Photobucket Photobucket Photobucket Photobucket Photobucket Photobucket Photobucket Photobucket Photobucket Photobucket

Wednesday, July 31, 2013

Calling All Designers!!

Okay okay...are you an artist, designer, fabric lover, etc.?  If yes this may be PERFECT for you.


What I love about this contest from Connecting Threads is you can have 1 blog follower or 1000.  You don't even have to have a blog!  It doesn't matter.  If you can design you could win.

Submit a main design to be voted on, now through August 10th. Then August 14th-September 2nd it will be on Connecting Threads for voting. The top five will all win $50 gift cards and then be asked to submit supporting prints.  The winner will be chosen from a panel of judges at Connecting Threads!

This is the collection that won in 2010, Hello Sunshine


For more details on the contest see here.
For more details on how to submit your print see here.

And finally if you enter let us know!!! We'd love to help spread the word for votes and vote ourselves.  

Good luck!
Photobucket

Tuesday, July 30, 2013

100 Quilts for Kids and Fab Tues

100quiltsbutton 100 Quilts for Kids: Charity Quilt Drive Starts Today!

Katie from Swim Bike Quilt hosts a charity drive every fall called 100 Quilts for Kids.  If you haven't heard of it in the last few years it's pretty simple!  Donate a quilt to a child in need.  And as a thank-you you can link-up to win prizes from awesome sponsors (ahem including us ;).  That's what we call a win win!

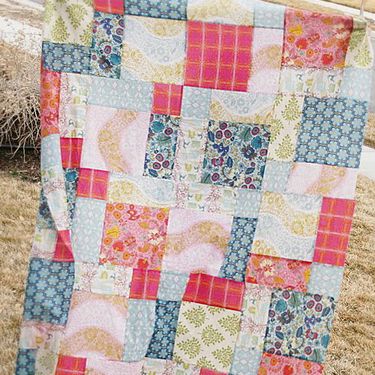
If you haven't caught wind on instagram @quiltstorymeg or from other various forms of my whining...we are temporarily housed until we can close on our home (UNplanned) and thanks to the amazing already mentioned Katie it isn't as nightmarish as it could be.  (Katie found a place for my whole family, lent me various random items including her Bernina(!) and befriended me :)  Anyway I'm making do while I wait.  I have a random stash of fabrics and I decided to put together some baby quilt tops.


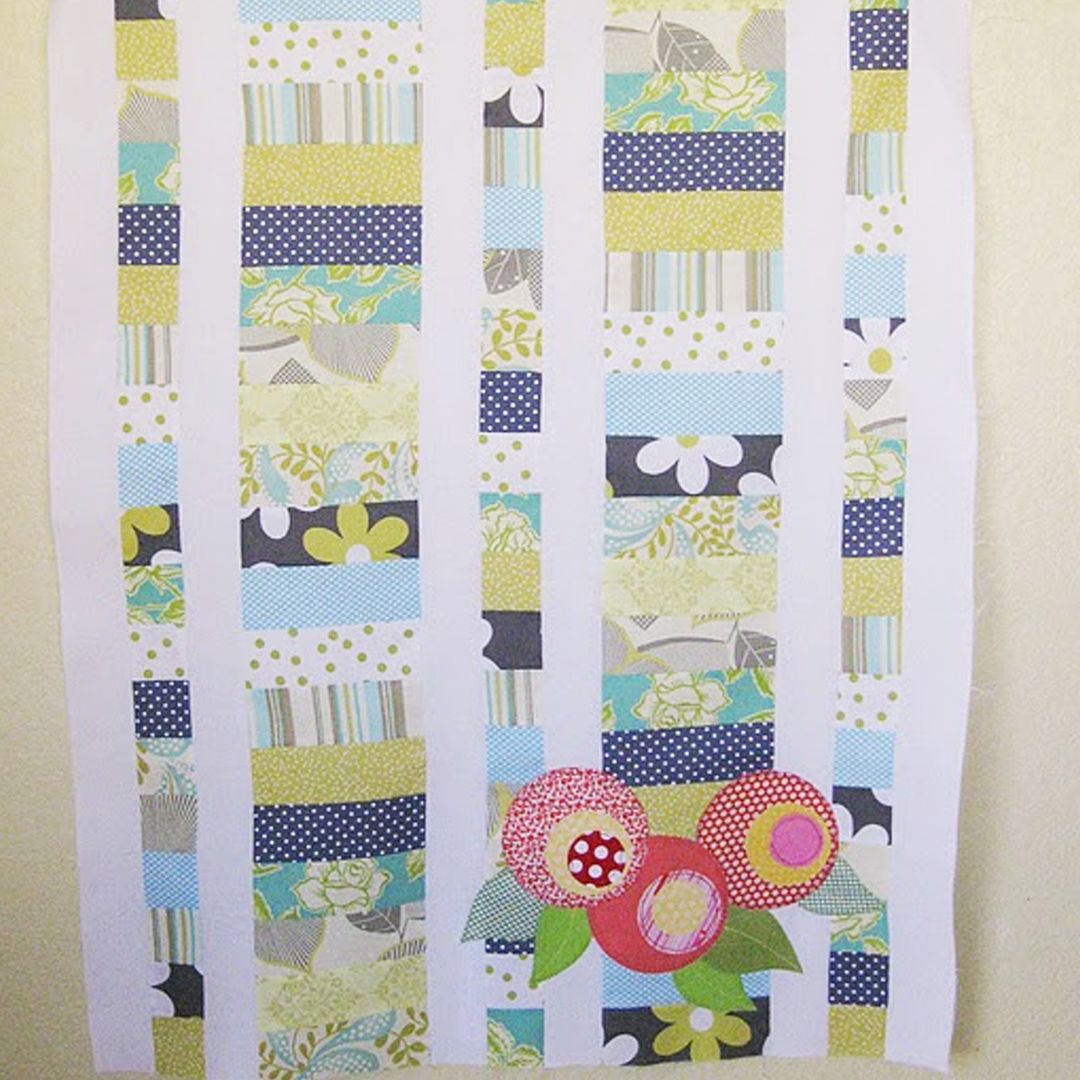
I actually had enough to put three of these together!  I will be donating one of them to 100 Quilts for Kids.  I just need to be able to quilt it...


To participate it's pretty easy:

1. Make a quilt. 
2. Donate it to a child in need, locally if you can.  
3. Link up a picture of your donated quilt(s):  [link up is open now through September 30, 2013]
4. Eligible for drawings for gift certificates & patterns from favorite shops as a thank you for using your skills for good.

We hope you consider doing it!

Fabric Tuesday #146
What summer projects have you been working on!?  
Let's see!!  Take time to comment on others...that's what's fun!

Thanks for sharing :)


Photobucket

Monday, July 29, 2013

Baby Clothes Quilt from Simplify and Quilt

Awesome baby clothes quilt today from Andra who blogs at Simplify and Quilt.  I want to do this with my children's clothing someday.  Such a beautiful way to preserve them!! Except I think my boys would have to share one quilt with all the handing down :)  This quilt is beautifully quilted to boot!  I had fun looking at all the little details.  Stop by Simplify and Quilt to see other great finishes by Andra on her sidebar.  Thanks for sharing!

This quilt was created, for a family friend, with all the baby clothes from their one child.  I received a huge, moving box full of clothes, in the mail.  The mother was having such a hard time thinking about getting rid of her daughter’s precious  clothes that she decided a quilt was in order. 


I tried to preserve all the cute appliques, iron on pictures, embroidery, ruffles and buttons that were the focus of most of the clothing items.  


I also included pockets from little pairs of jeans, some pieces of receiving blankets, and even a bib.  Almost all of the pieces had to be backed with iron on interfacing so that they would not stretch, just as you would use with any T-shirt quilt. 


The quilt went home with its family on July 5th.  They were very pleased and I have heard that the extended family literally spent hours looking at each block.  The little girl, who is now five, delighted in seeing her old clothes.  I think she specifically liked the frog “princess” in the middle. 


Photobucket

Friday, July 26, 2013

Posy Quilt from Making Life Prettier


I love today's sweet feature!! Sweet baby girl quilt in pretty fabrics and colors...totally speaks to me :)  Samantha from Making Life Prettier has a fabulous little sewing blog.  Seriously just scroll through some posts...they're all gorgeous finishes and fabrics.  I'm excited to get to know Samantha more and see her awesome quilts!! Thanks for sharing! :)

I grew up sewing with my Mom but I swore I wouldn't sew after I moved

out. Although sewing came back into my life when I became a Mom. I
then somehow decided I would start quilting. I hadn't ever made a
quilt before two and a half years ago. (My Mom is a bridal seamstress
I grew up working on wedding dresses.) I have learned a lot from
quilting blogs and books although there are lots of techniques for me
to still learn. I am glad that there is such a wonderful community of
quilters out there that are willing to share information and support
newbies like me!  I love making quilts so those around me so they can
be surrounded by my love! Creating is just part of me I guess even
though I tried to drown it once upon a time. Anyhow here is my two
year daughters quilt. I hope you love it as much as she does!


It has been a quilt top for a while but over the weekend I finished this sweet quilt up! Miss E’s posy quilt or as she calls it her bunny blanket is all ready to cuddle with. She is willing to share pictures of it but don’t you even think about touching it…

This quilt is made with a pattern by Allison over at Cluck Cluck Sew called Inside Out. I modified it slightly by adding the left over pieces from the charm squares as a border and put the middle plus print at the ends instead of making them scrappy. The fabric is Posy by Aneela Hoey. I used charm packs and some bunny yardage for the inside pluses!
It is her bunny blanket because she LOVES bunnies! She tries to count all the little bunnies running in the pluses. I decided to use a print instead of a solid like the pattern suggests. It makes it busier but I wanted to feature those darling bunnies! (Although lately she says elephants are her favorite, silly girl)
I am also proud to announce that I actually free motioned a quilt! I did loops with my trusty Aurifil thread plus my gardening atlas grip gloves. (Thanks Cathy for the tip!) It is the only free motioning I know how to do, lol, I need more practice! You might ask if it was tricky with the minky backing. It wasn’t but I have to say it is because of the spray basting.(I used 505 spray adhesive) I would never attempt this with pins. Minky just stretches and pulls too much but she won’t sleep without a soft blanket. It washed up so nicely! Perfect for snuggling!
This quilt is bound with a crosshatch print from Blooms and Bursts by Jen Da Silva that I found at a local quilt store. All put together makes a happy little girl…
…and a cute bed! All ready to sleep. If you are wondering this is a Ikea adjustable bed at the smallest setting. The quilt fits pretty well just a little bit too narrow that doesn’t really matter though.
With the added borders the quilt measures at approx. 38” by 43 1/2”. Now to maybe finish up my last WiP before we move! Fingers crossed!
Photobucket

Thursday, July 25, 2013

A Joyful Soul Fabrics Belle Giveaway!

 We're excited for an awesome Belle giveaway today from A Joyful Soul Fabrics!  I'm sure you've seen Belle from Amy Butler all over the last couple weeks.  As you may or may not know Belle is a popular collection of Amy's from a few years ago.  It's so beautiful!!  Pictured is the yardage of the full  24 print collection.


And for a full circle moment this was the first collection that A Joyful Soul Fabrics carried in their shop.  I love that!!  Not only do they have yardage but they have beautiful pre-cuts as well.


Also Amy Butler has a great free pattern on her site.  A Joyful Soul Fabrics has made a quilt kit from it.


A Joyful Soul Fabrics carries lots of collection, fabulous designers and is a very user friendly fabric shop---which is uber important to me.  If you're in the market for new prints I'd strongly encourage you to take look around A Joyful Soul Fabrics!

Now they have a great Fat Quarter Club each month.  $35 & S/H a month a designer prints at your door. No membership fees...plus you can see which collections you'll get.  Sound heavenly to me!! This may be something I need when I finally get my new front door (and the rest of the house ;)

For the Giveaway!
A Joyful Soul Fabrics is going to giveaway their August club collection...you guessed it!
12 Fat Quarters of Belle by Amy Butler


Piiter-Patter.

I really love the oranges...and the navy on the bottom left...and I just got the light blue/pink print...okay I love it all.


To Win:
separate comment for each please
Please visit A Joyful Soul Fabrics and let us know your favorite collection or product they carry.
Subscribe to their newsletter for another chance to win!

This giveaway is now closed.

Photobucket

Wednesday, July 24, 2013

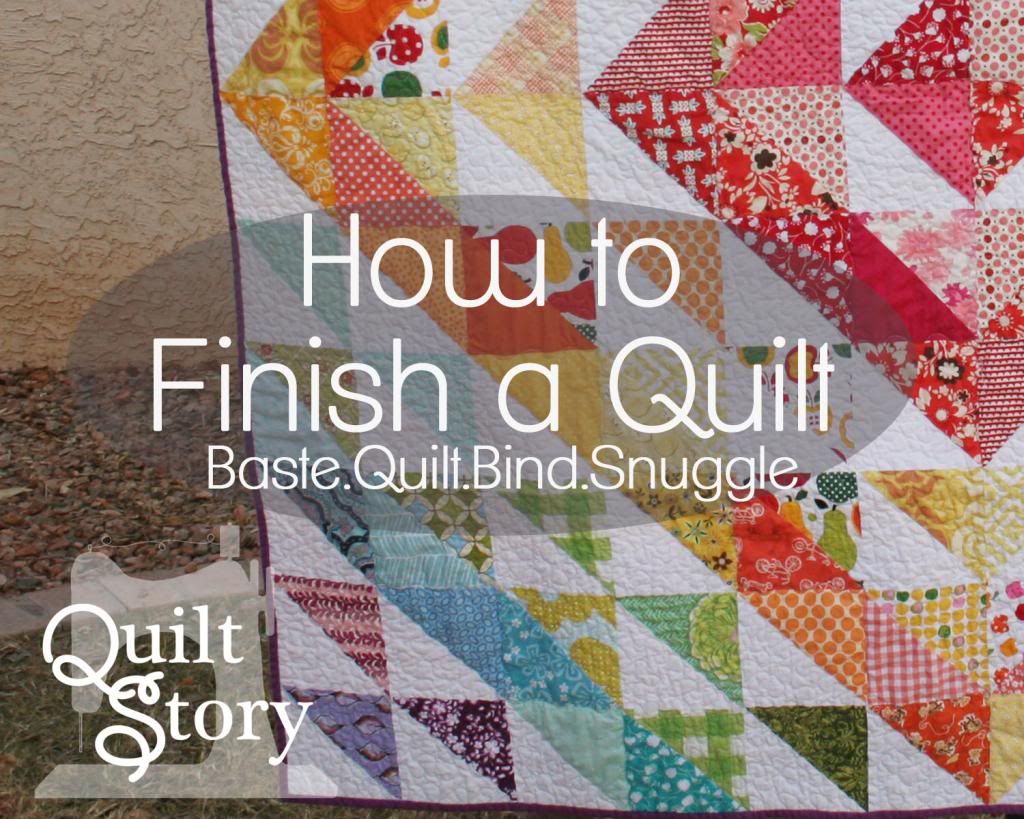
Finishing a Quilt

Right now we're on hiatus from our Lucky Stars QAL as those of you who are working on it have time to catch up or finish!   As part of the QAL we've decided to give a step-by-step on how to finish a quilt. Whether you're a first timer, beginner or seasoned pro hopefully you can find some new ideas today!


I do not have a quilt to show you step by step tutorial with photos how we do it.  What I am going to do is go through each step, let you know how Heather and I finish our quilts, what we think works or not and include a lot of links to great tutorials from other quilters.  Note: I have not reviewed thoroughly every link.  Several I have used and some I have just glanced over.

Let's get started!

Quilt Tops
Every pattern you see for sale in our shop or others will show you how to make a quilt top.  There are a variety of designs out there free tutorials and for sale alike.  Choosing fabrics for your quilt is important.  I recommend 100% quilter's cotton.  I rarely prewash my fabrics because I usually use designer quilting prints and they are a great quality and don't shrink.  If you are using something other than designer cottons you may want to prewash in case of shrinking (or if using a different weight of fabric).  I won't go into too much detail on creating your quilt top as it depends on which quilt you're making.  Here are some links to our patterns and tutorials that are popular:


Quilt Story Pattern Shop
Lucky Stars Quilt
Disappearing Nine Patch
Lola's Coin Quilt
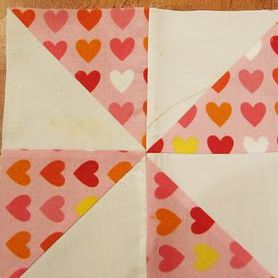
Dutch Pinwheel Quilt

Choosing Batting/Backing/Binding

Choosing your binding.  Again you will want to prewash your fabrics (especially if they aren't quality quilting cottons).  Consider your binding design.  Generally a smaller print works best or a solid.  You will only see about 1/2 inch of the print on either side of the quilt.  It's a good idea to bring your quilt top with you as you shop so you can hold it up together. Polka dots and stripes are great...just consider the direction you will cut the print (if you're doing it on the bias, more on that later).  For example you probably do not want the stripes to run the same direction as your quilt.

Backings need to be about 3" larger all around than the size of your quilt. If you are making larger than a baby size quilt you will likely need to piece your backing.  You can use a quilter's cotton or for something warmer (and thicker) minky and flannel are a great option.  Heather and I have done many quilts using both cottons and minky.  If you do back with minky it will prove to be slightly more challenging when quilting.  It is thicker and more slippery.  That said it is definitely doable and generally my preference.

Batting.  There are a lot of options and varieties, I won't pretend to know it all!  Here is what I (think) I know.  First option is the thickness of the batting (or the loft) thinner batting is generally used for machine and hand quilting.  Thicker batting is the type used in comforters that you may have seen tied.  Next is the fiber or what material it is made of.  Commonly is cotton, polyester and a cotton/poly blend.  If it has cotton it will shrink.  Usually quilters (like H and I) like the look of a crinkled quilt.  Because of that we recommend a cotton/poly blend.
a pieced backing where I carried the front design to the backing

Diary of a Quilter's Batting 101
Day Style Designs Choosing the Best Batting for Your Quilts
Happything's Batting Guide

Basting
To baste a quilt you'll need a large flat surface.  Use masking tape and place the quilt backing right side down.  Tape to the ground so it is taut but not stretched. Next your batting (which should be slightly smaller than the backing but larger than your quilt top).  Then your quilt top on the top with the right side facing up.  You've made a quilt sandwich. Mmmm...a sandwhich.  You need all these layers to stay together without folding or creasing.  There are two ways to achieve this. Pin basting and spray basting.  Heather and I have done both and we both prefer spray baste. We use Dritz Spray Baste from Joann.  If you can find a brand you like at Joann or somewhere similar I recommend it. It can be pricey and at least you can use coupons.

Quilting in the Rain How to Baste a Quilt - pins
Crazy Mom Quilts One Way to Baste a Quilt - pins
Craftsy Spray Basting Your Quilts - spray
Stitched in Color How to Finish a Quilt (and Spray Basting) - spray

Quilting
You have two choices, quilt it yourself or have someone else quilt it.  If you choose the latter I'd get referrals from your local quilt shop (LQS).  Also as a great reader pointed out, you should check with the quilter their preferences before purchasing your backing and/or batting.  They may want different sizes for backing and most quilters have their own batting.  As we've said before we have an aunt who has an amazing machine, when we have something special or just don't have the time we send the quilt to her.  We also both quilt our own quilts.  Heather has a Babylock and has been playing around with different quilting techniques lately. She is getting pretty great at free motion quilting (FMQ)!  I have a very basic machine (I'm saving my pennies!) which has a walking foot that I purchased separately.  With my walking foot I can do straight line quilting.  A good place to start for beginners would be to stitch in the ditch.  Meaning stitch in the seams of the quilt top.  You may have noticed I did not say anything about hand quilting.  This is an option of course, however I have never done it and therefore don't have much expertise :)

stippling
Machine Quilting for Dummies
Connecting Thread's How to Pick the Right Design for your Quilt
Sew4Home Quilting the Quilt
Quilt Smart Completing Your Quilt
Quilting BIG Quilts on a Small Machine - video
Make a Baby Quilt-Preparing and Quilting Your Baby Quilt - video

Binding 
Measure all four sides of your quilt, add several healthy inches (say 10"+) and that is how much binding you will need.  I ALWAYS make more than I need and I have several leftover bindings for smaller quilts and projects.  You can cut your binding with the grain or on the bias.  When you cut on the bias that gives your binding stretch.  We always cut ours this way.  This means you won't have puckering and is a must if you have scallops or similar turns on your quilt.  We cut our binding 2.5" wide.  Fold and press binding wrong sides together. Pin and sew to the FRONT of the quilt, matching the raw edges together.  Fold over and machine or hand stitch to the backing.  I always hand stitch mine, Heather does it by hand and machine.  It is my favorite part of the quilting process.  I've tried several methods of machine stitching and to get it perfect it takes too long I'd rather be on the couch watching a show :)


Diary of a Quilter Bias Binding
Connecting Threads Binding Basics
Bee in My Bonnet How to Bind a Quilt and Other Quilty Projects... - by hand
Crazy Mom Quilts Binding Tutorial - by hand
Moda Bake Shop Basics: Binding - by hand
Red Pepper Quilts Binding Tutorial - by machine
Cluck Cluck Sew Machine Binding Tutorial - by machine

Optional
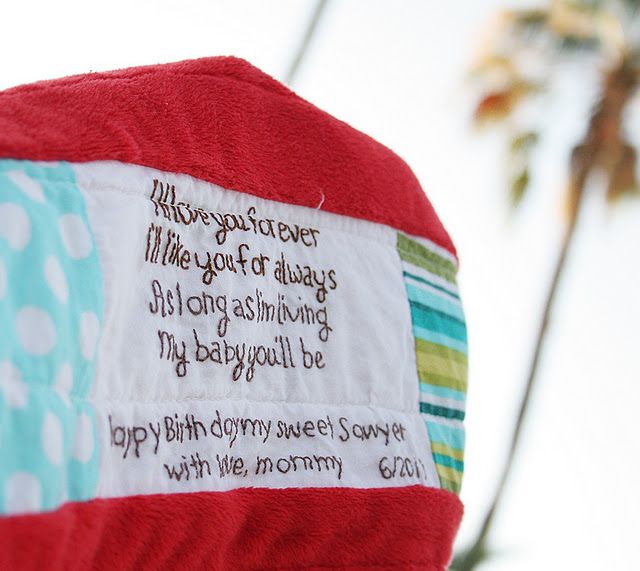
Quilt labels and/or tags.  You can add a label after by whip-stitching it to the back or you can add it before the quilting process.  I've also pieced my tags into the backing.  You can use a fabric pen to write a note, you can use your computer and print one or you could machine/hand embroider.  Some quilters label every quilt they make.  Personally I wish I did it more but generally I do it on quilts that are gifts.  Here are some thoughts and ideas when it comes to labels:

from Jennifer's Jewels, see our 10 Memory Quilts below

Quilt Story Quilt Label Embroidery Tutorial
Quilt Story Our 10 Memory Quilts (Tags)
My Quilt Infatuation's Cute and Easy Labels
Freckled Whimsy Quilt Label Tutorial
Craftsy How To Create Quilt Labels - they have more links to ideas/styles

There you have it!  Hopefully you do not feel overwhelmed but informed.  The only true way to learn all of this is through experience.  Choose a method and go with it.  You'll learn as you practice and try different techniques.

If I've missed any great resources or gaps in the process please let me know in the comments.

Hope this helps!

Photobucket

Tuesday, July 23, 2013

Annie's Skirt New Pattern and Fab Tues!

  A few matters of business today.  A new pattern, a Pattern's Only winner and Fabric Tuesday! Phew!  Let's do this!
Last year I shared with you some skirts I made for baby girl.  


They're reversible. And I loved them.  So I made some more :)


This time I added some patchwork to one side.


One simple side, one patchwork side.


They don't fit her yet otherwise you know I'd have Lucy pictures all over :)  The ones I made for her are 18-24 months, for next summer.  Turns out I overdid it on her wardrobe.  Surprise surprise :)

I got a lot of great feedback on the skirts last year so I decided to make a pattern. Annie's Skirt is available in our shop so check it out!


***************************************************

And the lucky winner of our Patterns Only 5 PDF Patterns is.....


Amy DeCesare said...


Lots of great stuff over there! I love the Curvy Purse on the Go pattern, and I've just begun to browse.

Congrats!!  And thanks to Patterns Only!

*********************************************************
Fabric Tuesday #145
Link it up! Any fabric project you've posted about recently we'd love to see.  Please link back to Fabric Tuesday (or put our button on your sidebar).  Take time to check out the other link-ups too!

Thanks friends!! Can't wait to see all your creative goodness!


Photobucket

Monday, July 22, 2013

Carnaby Street X Plus Quilt!

I am loving today's quilt by Kelly from My Quilt Infatuation! It's gorgeous!  I love the colors against the gray...bottom line I'm really into COLOR!  I also really enjoyed reading about Kelly here especially how she made her first quilt...awesome!  So take a minute to read it.  Also you can see here Kelly's other quilt finishes.  Enjoy! 

Well, my groovy Carnaby Street X Plus quilt is finished!!  I actually dreamed about it last night and woke up at 7:00am so I could work on it and get it finished today.  We're heading to visit family on Wednesday, so I have a million things I should be doing, but quilting is way more fun than laundry and packing, right?


I chose my good old standby for quilting in a light gray thread, and I'm happy that it helps to disguise my unfortunate mismatched plus seams a little bit.  I used the same teal tonal chevron for the binding that I used as a border in the back, and I like how the chevrons point toward the quilt.  That is totally a happy accident!

I placed my label a little too close to the edge on this one...whoops!


I can't decide which side of this quilt I like better!  The back is so much fun with all of the improv piecing, but I think that the front has almost a 3D effect with the Carnaby Street jumping out against the gray background.


This is my second Carnaby Street quilt and I am not sick of the fabric at all.  You can see my first oneHERE.  The colors in this quilt just make me happy (and kind of makes me want to watch Austin Powers)!  I love the fun, groovy vibe.  Which side do you like best?
Photobucket

Friday, July 19, 2013

Embroidery tutorial and ideas...


Today I did a guest post for Clover in Violet series, A Season by Hand. Welcome to Clover and Violet readers, we hope you like what you see.

 I decided to share an embroidery project that is twist on the norm. 


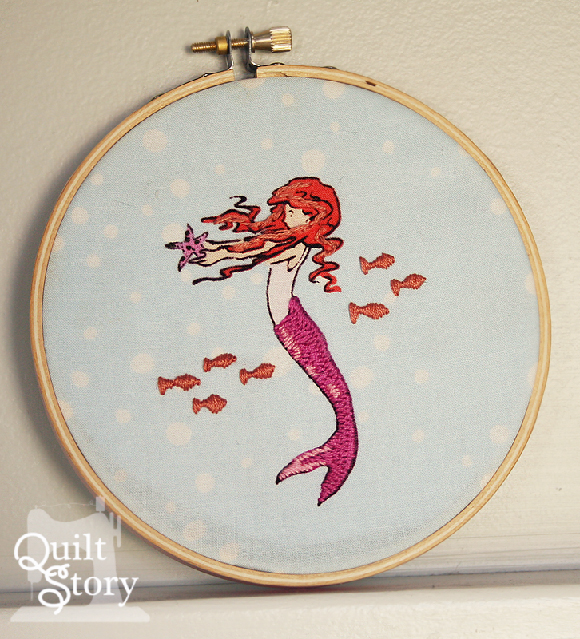
I embroidered right on top of a fabric I already loved. This is Sarah Jane's Out to Sea fabric line, and this mermaid is darling!

To start, cut the fabric piece about an inch and a half larger than the hoop you are using. 

Another tip is to add a circle of fusible white fleece to the back, this helps your stitches not show through to the front of your project. 


I started with a simple filler stitch for the mermaid tail...


I added some stem stitching to her hair, just pieces of her hair, not all. Then I did a handful of frenchknots to the starfish. The texture really stands out. You could be done here if you liked it. 


I decided to go on and "freestyle" the fishes. The same style of fish were in a different area of the print, so I basically just copied that idea and added the fish next to her. I really like them. 


When you are finished, pull tight, and use a glue gun and glue the fabric edges to the back of the hoop.


You are finished! A sweet, semi-custom, darling embroidery hoop art.

Hope you enjoyed the tutorial, and if you are new from Clover and Violet, we hope you come back more!

Photobucket