Welcome to another Holiday Giftt Tutorial, this week's guest is Corey from Little Miss Shabby. Seriously, we have been so pleased with the amazing tutorials so far and I love Corey's idea, so original! Corey is uber talented, check out her Scrapbuster Block Tutorial, Princess and the Pea Quilt Top and not to mention she's a part of the Sew to Swap book!! Go Corey!!
Hey everyone! I am very excited to be guest posting over here today--thanks so much for inviting me Heather and Megan! =) You will usually find me blogging over at Little Miss Shabby--I'd love if you'd pop over and visit. =)
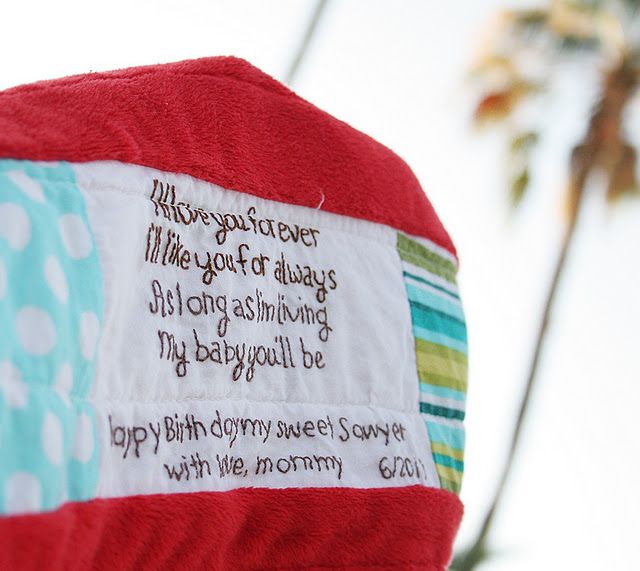
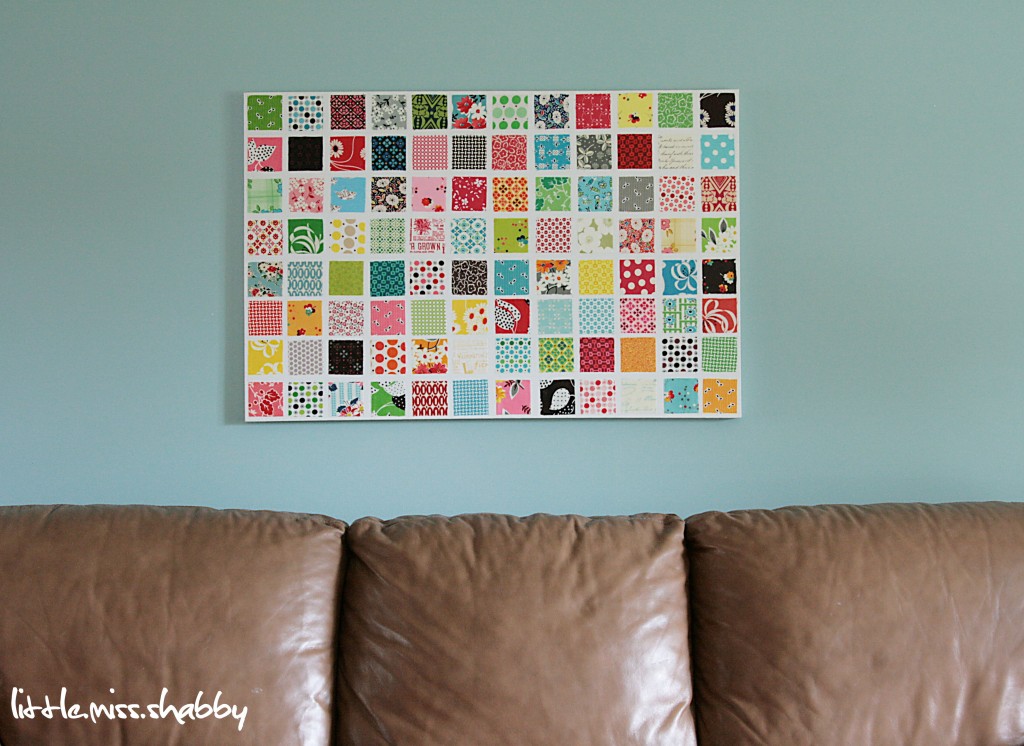
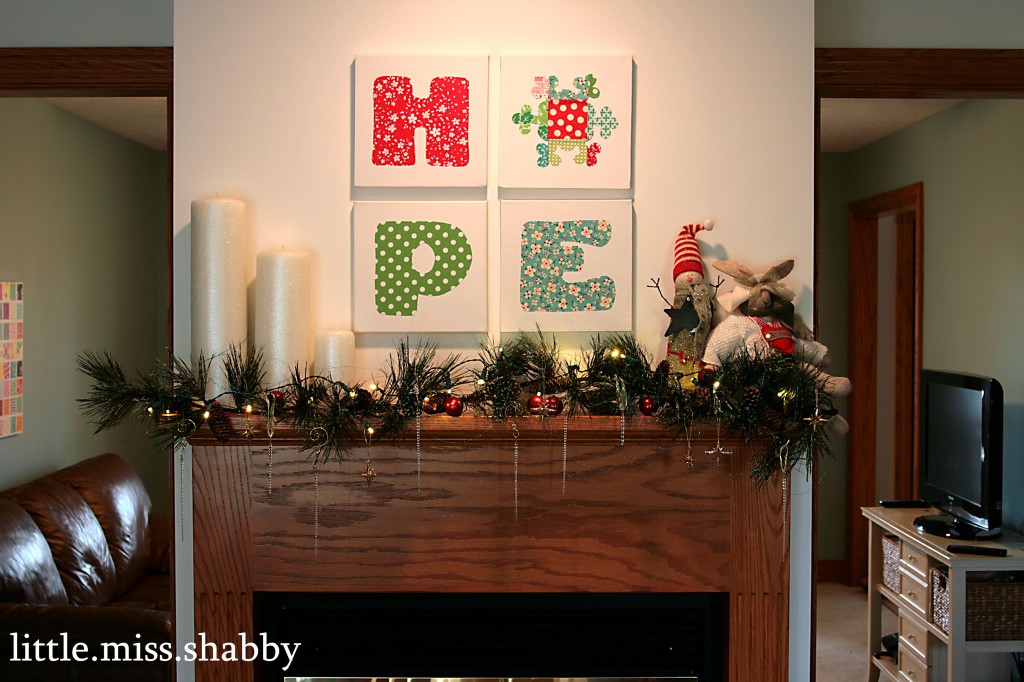
This year the hubs and I are hosting my moms side of the family at our house for Christmas--think lots of people--40ish give or take. So, I am in Christmas decorating mode--plus my girlies are at such fun ages this year for Christmas (6 & 3)--everytime I start decorating something they think it's so much fun--which in turn, makes it a blast to decorate. I've had this Christmas canvas project in the back of my mind since I made this canvas a couple months back:
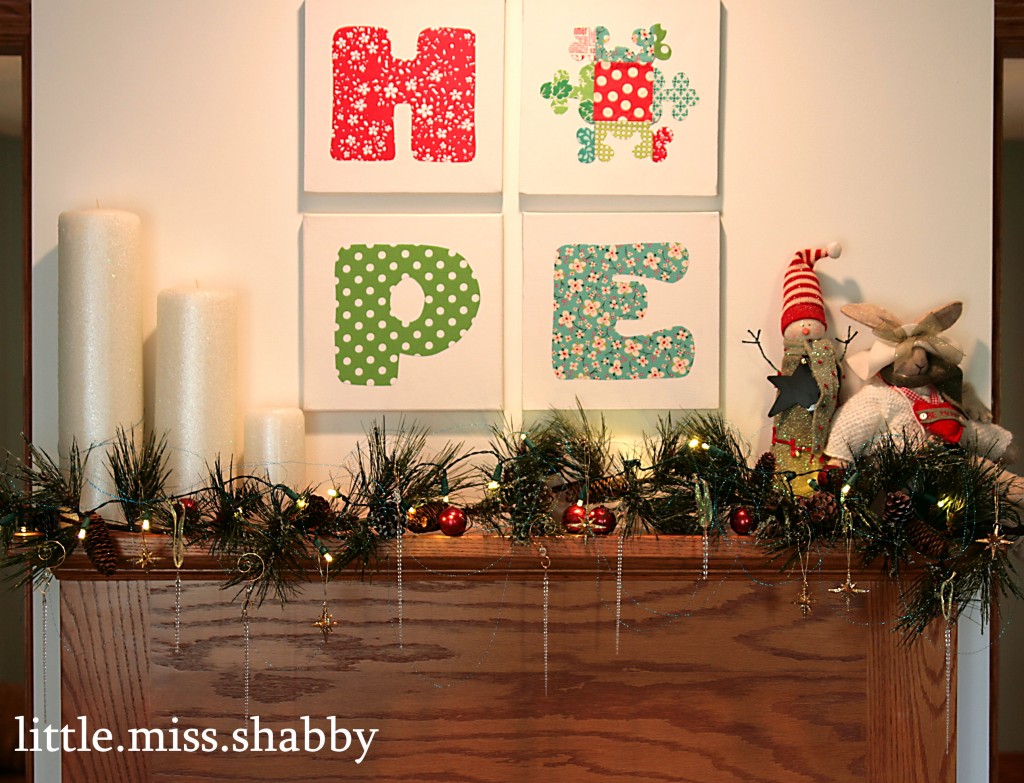
I came up with an easier way to make these canvases--you can whip these up in just an hour or two! So, lets get started.
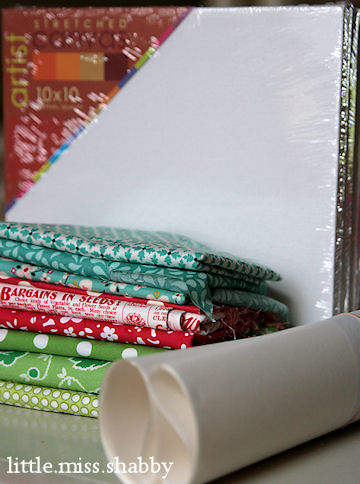
Supplies needed:
{4} 10 x 10 canvases (I picked mine up at Joann's)
Fabrics (I used 9 total--3 red, 3 green, 3 aqua)
Lightweight Fusible Web (I used Heat n Bond Lite about a 20" square)
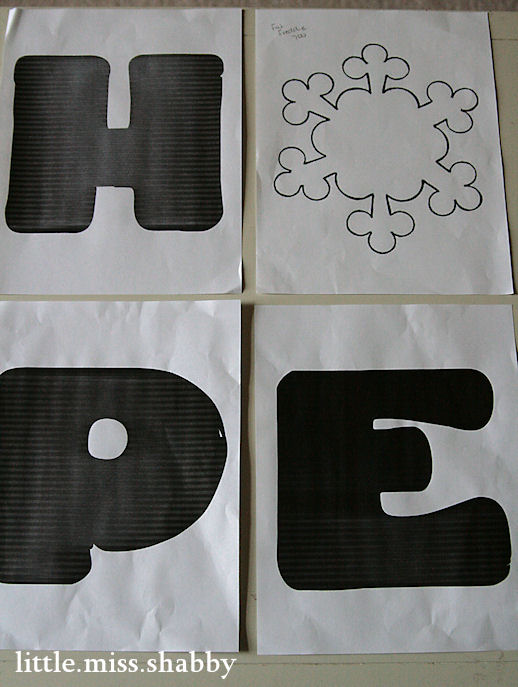
Begin by deciding on your font (I used Fat Freddy at size 700). You can use any font you might have handy on your computer--sizewise you want one letter to pretty much fill up your sheet of paper, widthwise especially. And, find a snowflake that you like--I just googled "snowflake coloring page" and came up with lots of options. Print everything out.
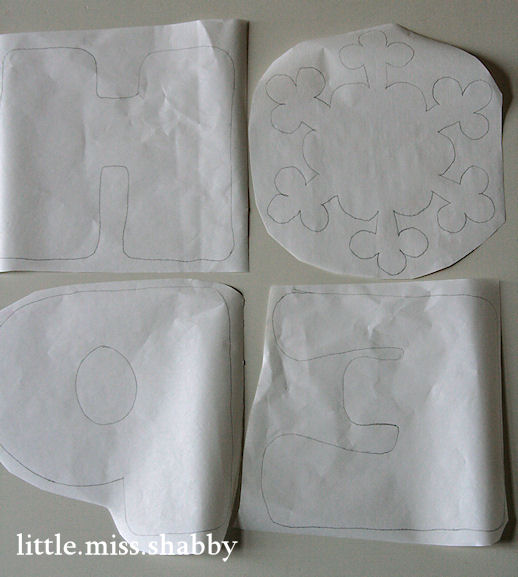
Next trace everything onto your fusible web--make sure to use the reverse of your letters. Cut everything out approx 1/4" away from the traced line. Next, iron the letters onto the reverse side of your fabric and cut out on the traced line. For the snowflake, since I wanted a patchwork snowflake, I cut out {9} 3.5" squares and made a quick 9 patch block--I pressed all seams open. I used this patchwork block in place of a solid piece of fabric to iron the snowflake onto.
And then, all you have to do is iron the letters/snowflake onto the canvases--I used medium heat/no steam and tried not to move the iron around too much so it wouldn't scuff the canvases. And Voila! cute Christmas canvases.
You can use this same technique for so many other projects--how cute would a set of canvases above the your kidders bed spelling out their name be?!?
I hope everyone has a wonderful holiday season! Thanks again Heather and Megan! =)
Thanks Corey!
And here is the list of tutorials, so you can get caught up and see what you have to look forward too :)
November 7th: Amber from A Little Bit Biased Tutorial: Holiday Table Topper
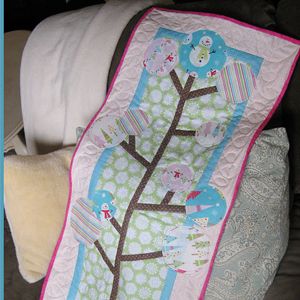
November 14th: Quilt Story :) Tutorial: Winter Tree Table Runner
November 21st: Bev from Flamingo Toes Tutorial: Linen Jewelry Travel Bag
November 28th: Corey from Little Miss Shabby
December 5th: Jeni from In Color Order
December 12th: Melissa from Happy Quilting Melissa
December 14th: Gentri from Little Lulu's Nest
December 19th: Erin from Why Not Sew?




















9 comments:
L-O-V-E this idea. Thanks Corey.
This is a terrific idea!!
Just wonderful!
Too easy!!! Have to do this!
Those canvases are so sweet!! I love the snowflake "O". Too cute!
what a great idea! it's so cute! love your choice of fabrics too!
Beautiful colors , congratulations
http://tearpiaocupacional.blogspot.com
I literally gasped when I saw this!
Soo cute! :o)
Wow! So simple but so effective!
Post a Comment