


I am going to use a quick and easy method for creating flying geese. The math for flying geese has always thrown me, so if I've needed a specific size it stressed me out to try to get it right! But I finally figured out the trick! Yay! I think I've been resistant in the past because it doesn't give a "pretty" number (ie 2 7/8") in the end. But at least it is one simple formula every time. So this is the formula. You should add 7/8" to what you want the finished size of your "sky" squares. You should add 1 1/4" to what you want the finished size of your "geese" squares. Confused? I'll show you here:
Finished sizes I wanted for Momma Geese (larger) was 2" x 4". So for the sky I cut the pieces 2 7/8" x 2 7/8" and for the momma geese I cut the pieces 5 1/4" x 5 1/4". For the Baby Geese (smaller) I wanted the finished size of 1" x 2". So for the sky I cut the pieces 1 7/8" x 1 7/8" and for the baby geese I cut the pieces 3 1/4" x 3 1/4". See below for cutting requirements:

Each geese square uses four sky squares; yielding 4 flying geese. Giving a total of 12 flying geese each for Momma and Baby.
If you have not seen or used this method before prepare to be confused, slightly enlightened, confused again and then AMAZED! :) At least that was how I felt the first time I tried it :) Start by drawing a line from corner to corner on each sky piece. Sorry for the awful photo.

Next take two sky pieces and place them in opposite corners of the same geese piece. They will overlap a little in the middle. Sew 1/4" on each side of the line. Cut down the line.
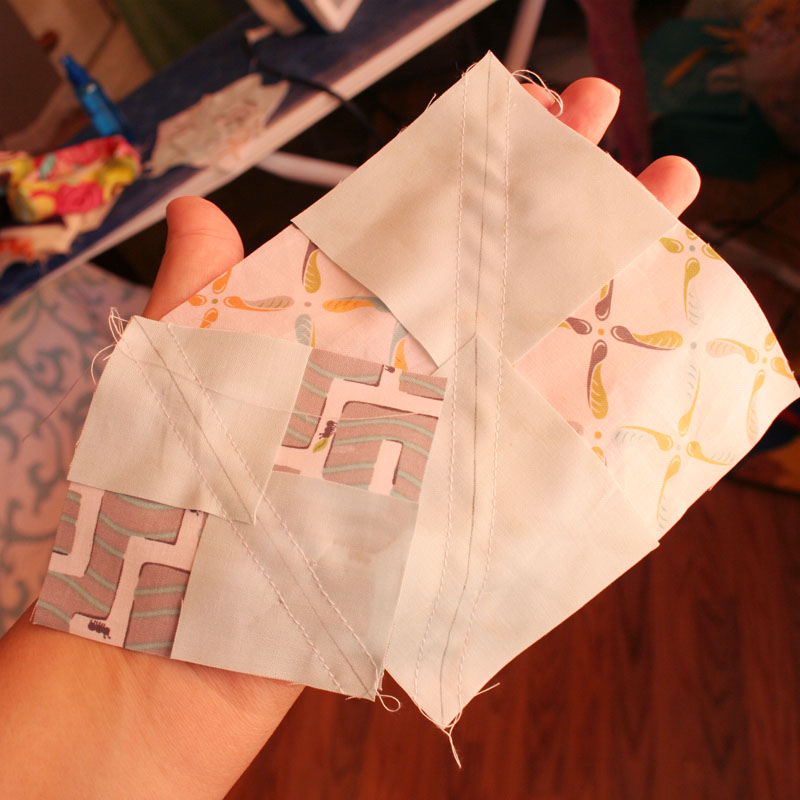
Press the two sky triangles at the top out, the piece will kind of look like a heart. Take another sky square and place it on the remaining corner of the geese piece. Sew 1/4" on each side of the line, cut down the line and press out. Repeat on all pieces until you have 12 Momma Geese and 12 Baby Geese!

Amazed!! Fancy right??
Piece the geese on top of each other, two rows with 6 Momma Geese and one row of the Baby Geese.

Piece together side to side....

Add the borders to each side and you've got one Fly With Me Quilt Block, 12" x 12".

I am using this block in our Block of the Month series, June's theme is Flying Geese!
Hope you enjoy the tutorial and block! Feedback on tutorials are so great and let me know if you see any problems, please! :) Also if you use this tutorial please link back to our site, we really appreciate it!


8 comments:
I so want to try this! You make it look easy--thanks for the tutorial!
The math on this has always thrown me - so much so that I avoid flying geese like the plague even though I love they way they look. I 'think' I get what you're saying here :) and will give it a whirl. Thanks so much.
Patti Anderson shares a pdf for this process on her website. The link is:
http://www.patchpieces.com/files/flyinggeese.pdf
I've kept a printed copy of her pdf in a page protector near my sewing machines for years. As you've discovered, it's a really fun way to create four flying geese in a hurry.
This is so timely for me as the TMQG is having a bee and several participants are asking for Flying Geese blocks. Thank you x 1,000,000.
This is really great. I am bookmarking the page so I can go back to it. Thanks for a great tutorial!
Thank you so very much. This is just what I wanted and needed. I was terrified of Flying Geese but no more. I am definitely going to be making this gorgeous block.
Great geese tutorial! I'm saving it for future reference. Your sample is really pretty!
Thanks, Karen
Thank you for this tutorial. This month I'm going to make the same block as you. Starting just now.
Post a Comment