Photobucket Photobucket Photobucket Photobucket Photobucket Photobucket Photobucket Photobucket Photobucket Photobucket Photobucket Photobucket Photobucket

Showing posts with label dresden plate. Show all posts

Wednesday, July 23, 2014

Snowflake Dresden Plate Tutorial

Thank you for stopping by for my Snowflake Dresden Plate Tutorial!! If you're visiting from another blog please take a look around! :)  

Quickly about us, we're two sisters, Heather and Megan, who write quilt patterns (found here).  We also blog here with lots of tutorials, finishes and we feature other quilters as well.  You can find out more about that on our tabs above.  You'll also find us on Instagram A LOT.  @quiltstorymeg and @quiltstory

Let's jump right in!


Materials
Use 1/4" seams throughout


Christmas in July - Folk Art Holiday

Pillow
-At least 4 FQ prints (or large scraps)
-17" pillow form

Embroidery
-Embroidery floss & needle
-Embroidery hoop
-Temporary Fabric Marker
-8" square or larger white felt


Cut out 10 Large wedges, 5 Medium wedges and 5 Small wedges.
I missed photographing an important step.  (If you search other Dresden Plate tutorials you could find this step there.)

Take each wedge and fold right sides together lengthwise (so it looks like a long skinny strip).  
Stitch each end (leaving the long edge open).
Press open and each end will come to a point like below.  Press well.  Repeat on every piece.


Lay out all your pieces, 20 total.  In this order, Large, Small, Large, Medium (repeat).

Stitch together in four sections of 5.

See above and below.  Stitch end to end of the shorter pieces.  If you stitch over a little don't worry, it will be ironed over and you won't see it.  Take care to backstitch your start and finish.

Take each section of 5 and press the seems open. You'll find that the taller pieces naturally and easily fold in 1/4".  See below.  Stitch all sections together so you have a complete and continuous Snowflake Dresden Plate.


Ultimately the pillow will be cut down to 18.5".  However keep your piece generous until after it is embroidered and your Dresden is attached.

Place the "Let it Snow" underneath the fabric.  Trace the letters using a temporary fabric marker.


Place the generous size of felt under the fabric.  You'll embroider through both pieces.  The felt make it not only sturdier but you are unable to see the stitching underneath and you move from letter to letter.

I used all 6 threads of floss and used a basic backstitch.  (A quick google search will show you lots of tutorials if you aren't familiar).  On the wider sections of the font there is a close up below so you can see how I did it.  Still using a backstitch.


Place the Snowflake Dresden over top and center it with "Let it Snow".

Carefully pin around the entire snowflake.

Use a tight zig-zag to attach the snowflake to the front of the pillow.  Zig-zag around all the inner and outer points.  You can see this above and below.


Trim the pillow front to 18.5" x 18.5".

I used an envelope closure in the back.  Easy to do and easily removable to clean.
Cut two pieces, 9" x 18.5" and 14.5" x 18.5".  Turn under, press and stitch one side on each piece for a nice finished edge (below).  


Right sides together place the front and back envelope pieces together, pin around and use a 3/4" seam and stitch around completely.  Turn pillow right side out, press and place in your pillow form!


This block would be so cute done as a table topper, I thought about shrinking the size a bit and doing the regular size in the middle and two smaller snowflakes on the side.  It would also make a really cute wall hanging!  And of course an entire quilt would be awesome!!


Here's the schedule for the blog hop and prizes...make sure to be checking Sew Lux as you go!!  

  • July 7th - Series Announcement & Bundle Sale 
  • July 14th - Solstice Wreath Mini Tutorial (See that cute wreath in our series button image? We'll show you how to make it here on the Sew Lux Blog!)
  • July 21st - Sewing with Winter Wonderland - Lee of May Chappell
  • July 22nd - Sewing with Be Jolly - Chrissy of Sew Lux
  • July 23rd - Sewing the Folk Art Holiday - Sarah of Stitching & Bacon AND Megan ofQuilt Story
  • July 24th - Sewing with 25th & Pine - Tessa of The Sewing Chick AND Tracey oftraceyjay quilts
  • July 25th - Sewing with Solstice - Christen of Love by Hand AND Stephanie of Quarter Incher
  • July 21-August 4th - Linky open to link up your projects
  • August 5th - Winner Announced
Photobucket

Tuesday, November 15, 2011

Beautiful dresden quilt finish from LR stitched...


Lindsay from LR Stitched completed this super gorgeous dresden quilt. How gorgeous is it! I love the color combo. Check out Lindsay's tutorials here, and her fun little list of life's to do's, got me thinking...just love this quilt she finished for her daughter...

Dresden Quilt finished!

Hooray!

I can hardly believe it, but I managed to have the quilt mostly done for show-n-tell.  The binding wasn’t stitched to the back until today, but my guild friends didn’t mind.

It’s so fun to be able to share a project with people who love quilting as much as you.
I ended up ditching the sashing altogether and just added a 3 inch border of white on each side.    Once I got to sewing, that just felt like the right thing to do.    The quilt ended up a little larger than a standard twin at 70 x 86.
Twin Dresden Quilt
I discovered it’s much harder to photograph a bed-sized quilt with only one person holding.   And equally hard for the person trying to hold the quilt!  (Thank you honey for breaking your back while I proceeded to take umpteen million of the same picture)
Twin Dresden Quilt - back
I love how the back turned out.   This was my first time randomly piecing things together and I can’t wait to make another quilt this way.  It was freeing to just go with the flow.
It was a bit of a wake up call though when I realized, hey, you have to piece all that together.   I got so caught up in just putting pieces on my design wall, that I forgot about the sewing part!
The little white box towards the bottom is the label.    I hate not knowing the details of some of the quilts handed down to me, so I’m  trying to be better about recording the history.  Here’s what it says:
I am so thrilled to have this quilt complete.  The cherry on top was my little girl’s reaction when I put it on her bed.  She screeched and gave me the biggest bear hug while she told me that she loved it and how she couldn’t wait to sleep with it.
Reactions like that make every stitch absolutely priceless!
Thank you for sharing in the process with me!
Lindsey


Photobucket

Wednesday, August 31, 2011

Twin Fiber's Virtual Quilting Bee Quilt


Twin Fibers is a place Heather and I visit often for inspiration!  Those girls are always working on something darling!!!  Some of my favorite projects are Jennifer's Parasols Quilt (!!!!),  Jessica's Selvage Star Quilt, and Jessica's Mod Times Quilt Along...I can't wait for a break to start this quilt :)  Oh and THIS recent project has me drooling.  Twin Fibers is an absolute MUST if you're a quilt blog hopper :)  
Enjoy Jessica's Quilting Diva's Virtual Quilting Bee quilt:


Thanks again to Heather and Megan for allowing me to share another one of my quilts with you!
Quilting Diva's VQBee Quilt - finished
Many of the blocks from this quilt were from the Quilting Diva's Bee that I was in. I received so many gorgeous blocks! The women in that group really spent some time choosing fabrics that were perfect for my color scheme and spent even more time stitching a block together.
detail 1
I love the eclectic nature of the quilt and I think the sashing and binding really helps to pull it all together. Usually I stick with a solid sashing but I really love how the stripe and patterned cornerstone fabrics work within this quilt.
Quilting Diva's Bee Quilt - rolled
image23
I've been working hard at finishing up some of my unfinished quilt projects since the beginning of the year and am so glad that I pulled this one out to work on. It would be a shame to have those gorgeous blocks hidden away! Now I see and can enjoy them every day in this quilt. If you'd like to see more of what I'm up to, I keep a blog at Twin Fibers where my sister and I share our sewing projects. Happy Sewing! ~Jessica

Monday, August 8, 2011

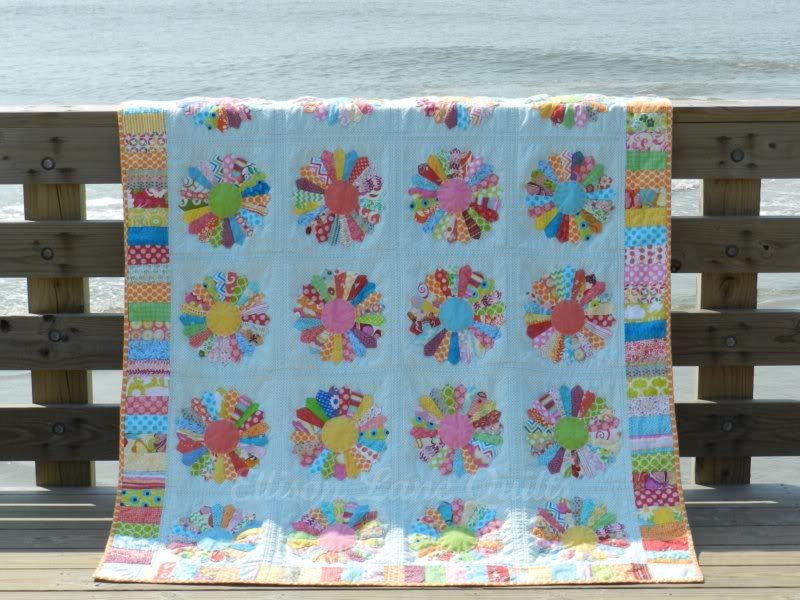
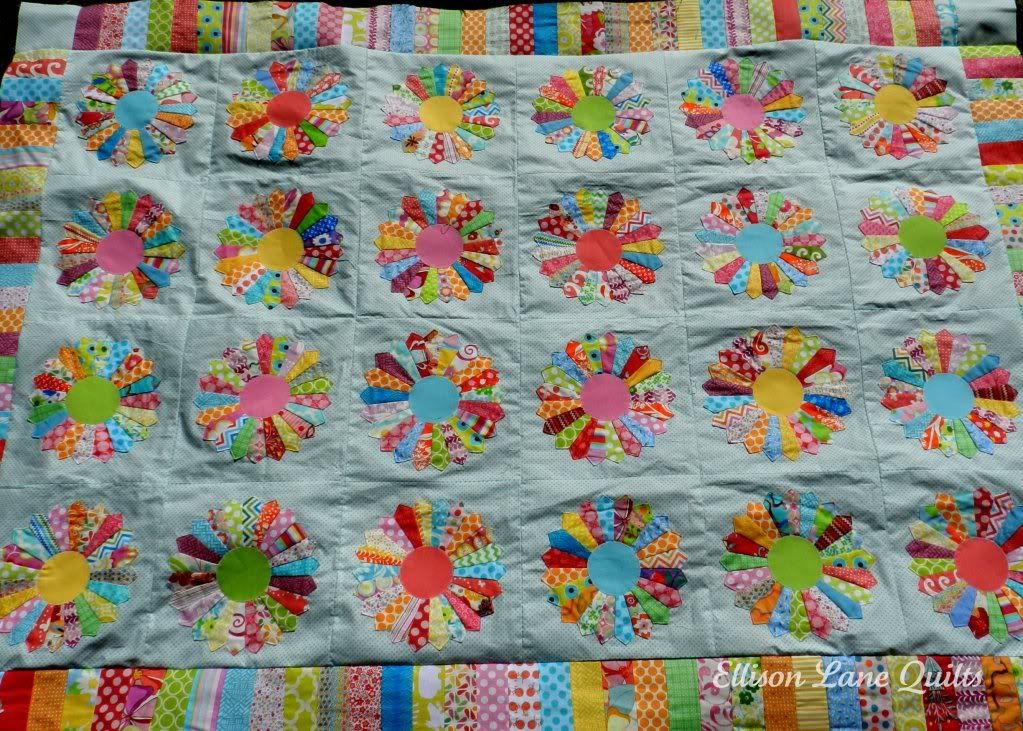
How sweet is this Dresden quilt? I am loving how happy the prints make me! So bright and colorful!
Jennifer from Ellison Lane Quilts makes darling quilts, just look at her finished quilts! And her fun tutorials, don't forget to check out her etsy shop too!

Dreaming Under Dresdens!
Oh Happy Day!

The dresdens are finished!

Can you see me doing my happy dance?
I adore this quilt. Simply love it.

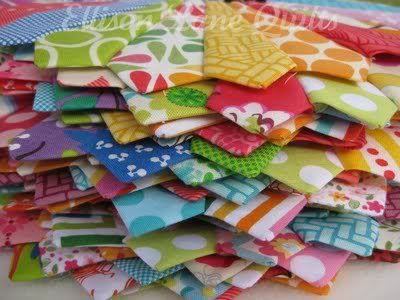
What started out as this

became this

and has now become this.

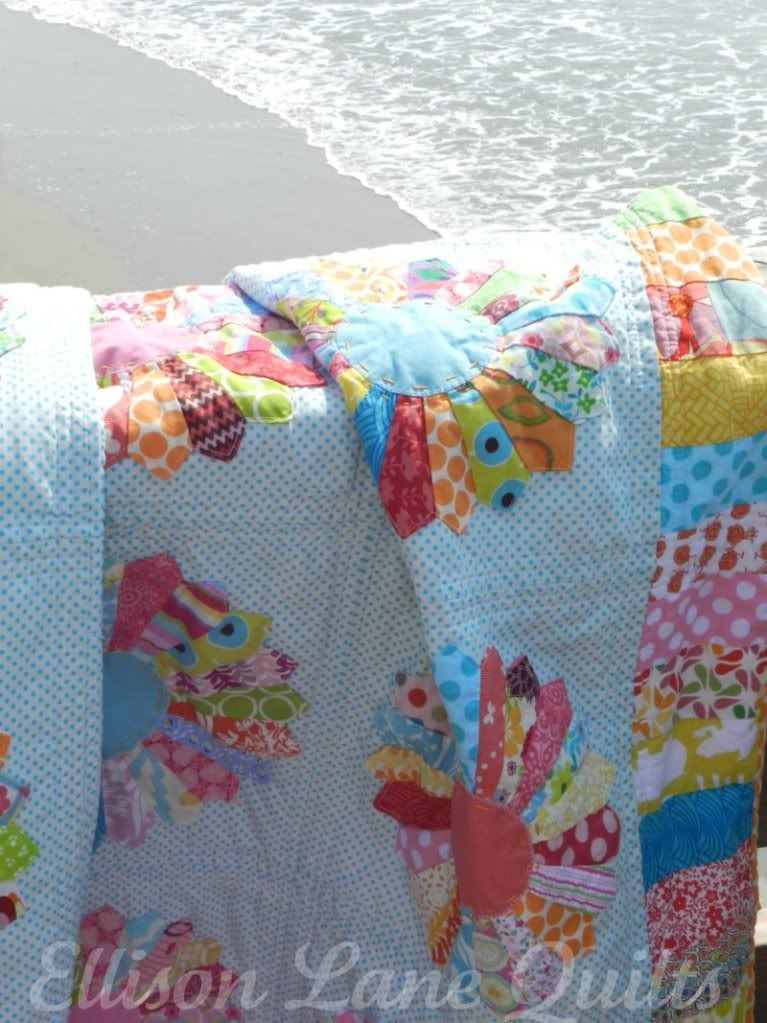
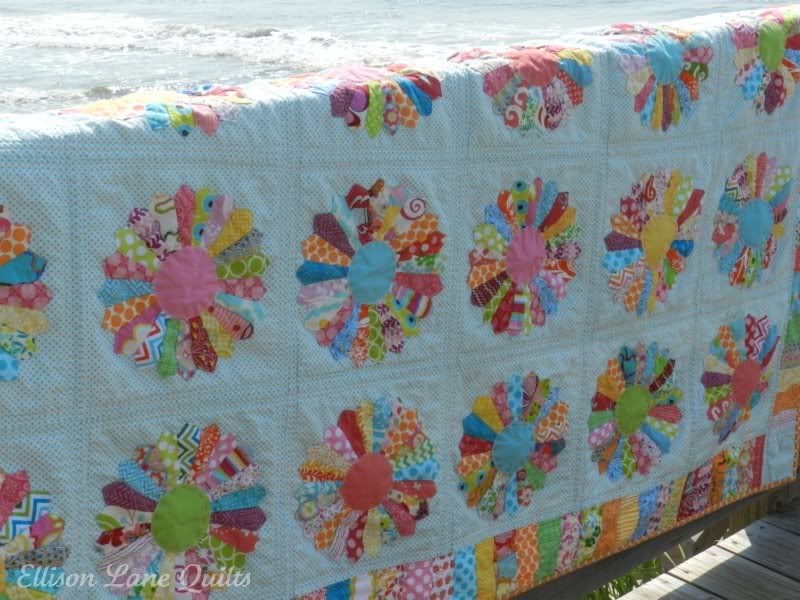
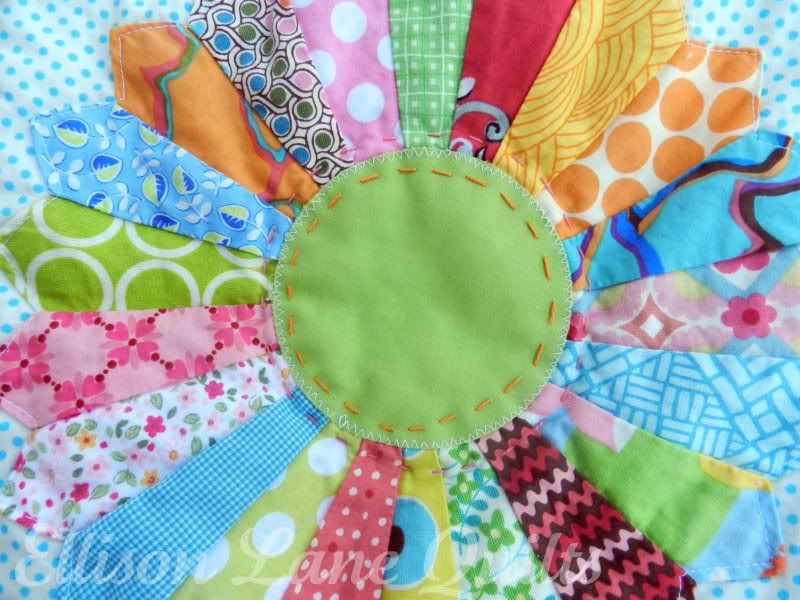
After many months and starts and stops, this cheerful, happy quilt is complete.  I took it on vacation with us last week and finally had time to finish it.

I only used my favorite fabrics and even hand quilted the circles with perle cotton.

You may recall this post about my intentions to keep this quilt for myself (Can you blame me? It's just so pretty and happy!) but the more I worked on it, the more it called out to me as the perfect quilt for my sweet girl.

After all, that is how it began- with her in mind- so it was only fitting that it should be hers in the end.

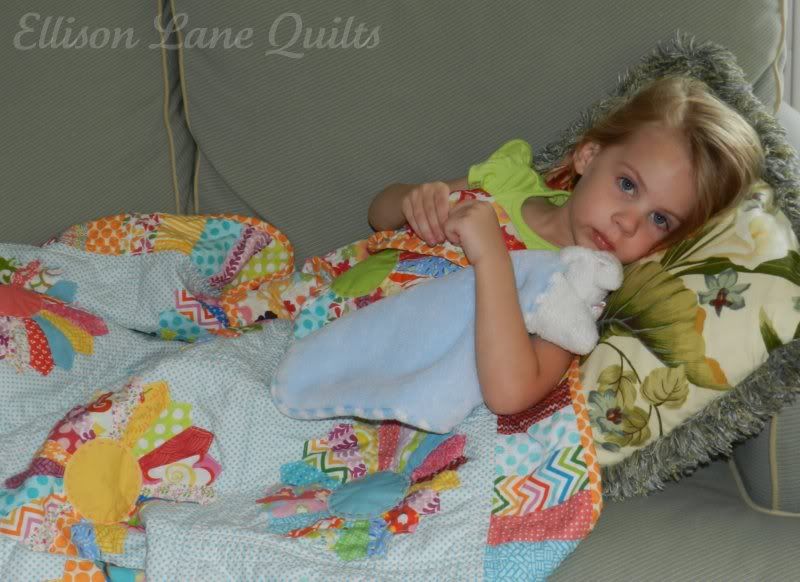
You can see she put it right to use.
The more  I worked on it, the more I loved it, and the more I wanted her to have it.

Inspired by the quilt on the cover of Material Obsession, it's called Sweet Dreams and is by far the biggest quilt I've made.

Just shy of a twin at 55" x 76", it will sit on the end of her bed but I don't imagine it will stay there. It's rather perfect for snuggling on the couch, as a blanket for her picnic tea parties, or when she needs to build a fort.

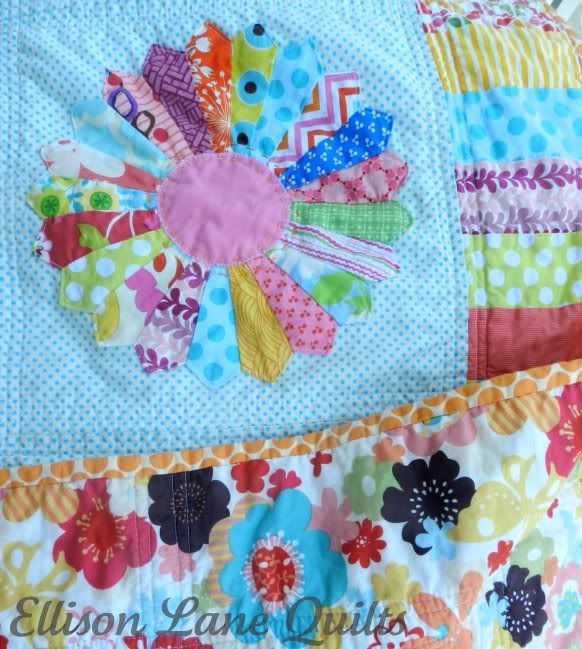
The back is my favorite whimsical floral/butterfly print from Just Wing It and the binding is my favorite Amy Butler orange dot.

I hope this quilt will grow with her and be something special she loves forever as I loved making it for her.

Photobucket

Friday, May 27, 2011

Gorgeous Stargate Quilt by From the Blue Chair

Kati from The Blue Chair is not only a momma to three little ones, but a very talented quilter!  You must spend a few minutes browsing through her finished quilts...I just spent at least 10 minutes!  I am amazed by these Subway Quilts, hers is lovely.  Her Stargate Quilt we're featuring today, I am smitten by.  Really truly.  And her backing???  It's like two quilts.  So beautiful.  Thanks Kati!


This quilt began when Lynne over at Lily's Quilts asked me to participate in her quilt-along and put my own twist on her Dresden design.  I decided to strip piece the individaul petals of the Dresdens.  I originally planned to make this quilt square with four Dresden blocks, but felt the design wasn't working as I hoped.  I decided to use only one Dresden on the front.  I then used the remaining Dresden petals on the back in a design inspired by Oh Frannson's New Wave Pattern.


 I debated quite a bit on the final design for the quilt front.  I had about 300 half square triangle blocks pieced and ready.  After trying out various designs, I ultimately went with the pattern I first saw from Red Pepper Quilts.  I love how the focus is on the Dresden circle, yet the arrangement of the HSTs creates an interesting secondary design.  A bit of trial and error went into piecing this correctly with the block set on point. 


I machine quilted it using my standard loopy quilting style, except the Dresden center which is quilted with pebble quilting.  The fabrics are a scrappy assortment, all from my stash.  The grey is Kona Coal, and the white is Kona White.  The binding is from the Sherbet Pips line.  The finished size is approximately 60"x70".


My finished quilt looks much different than my original plans.  I love the process of designing a quilt.  I tend to arrange and rearrange the quilt components multiple times.  My design wall (which is simply a large piece of felt tacked to the wall) is critical during this process.  The final result is a quilt that is uniquely mine while using others ideas and patterns as a springboard for my design.


I call this the Stargate Quilt, named after the 90's movie which I hadn't seen since high school.  A few weeks ago the hubs and I sat down and watched Stargate again.  The name seems even more appropriate now after rewatching the movie.  It's such a great geeky movie and was fun to relive the old days--cuddled in my quilt of course.


Photobucket