


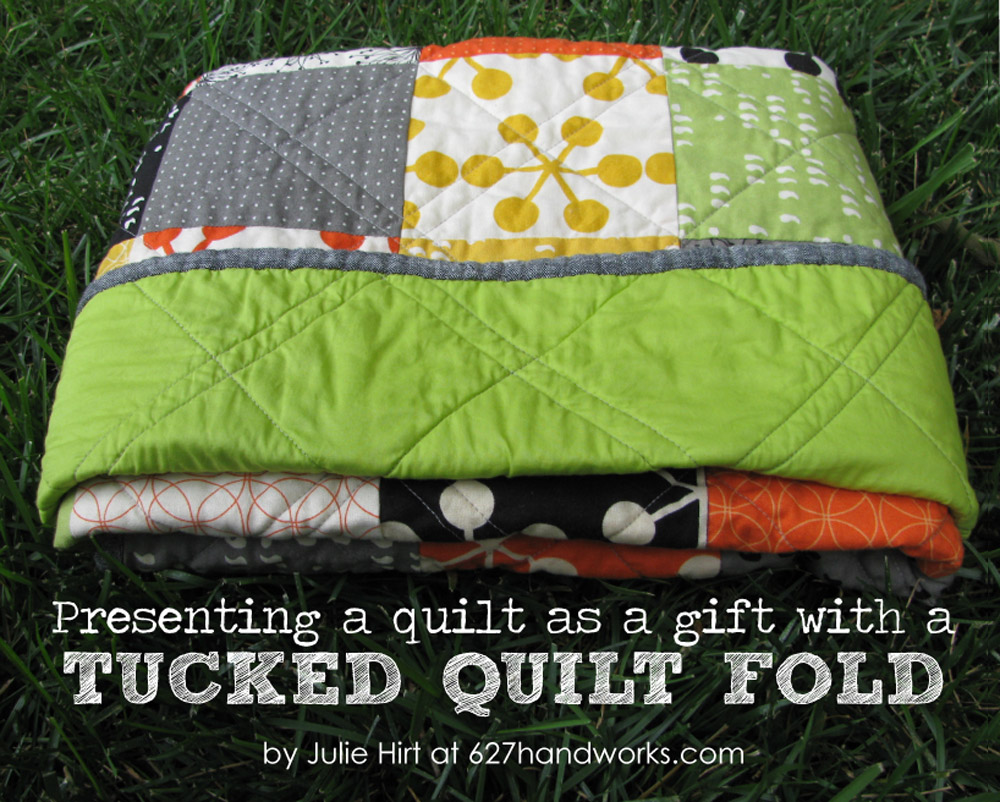
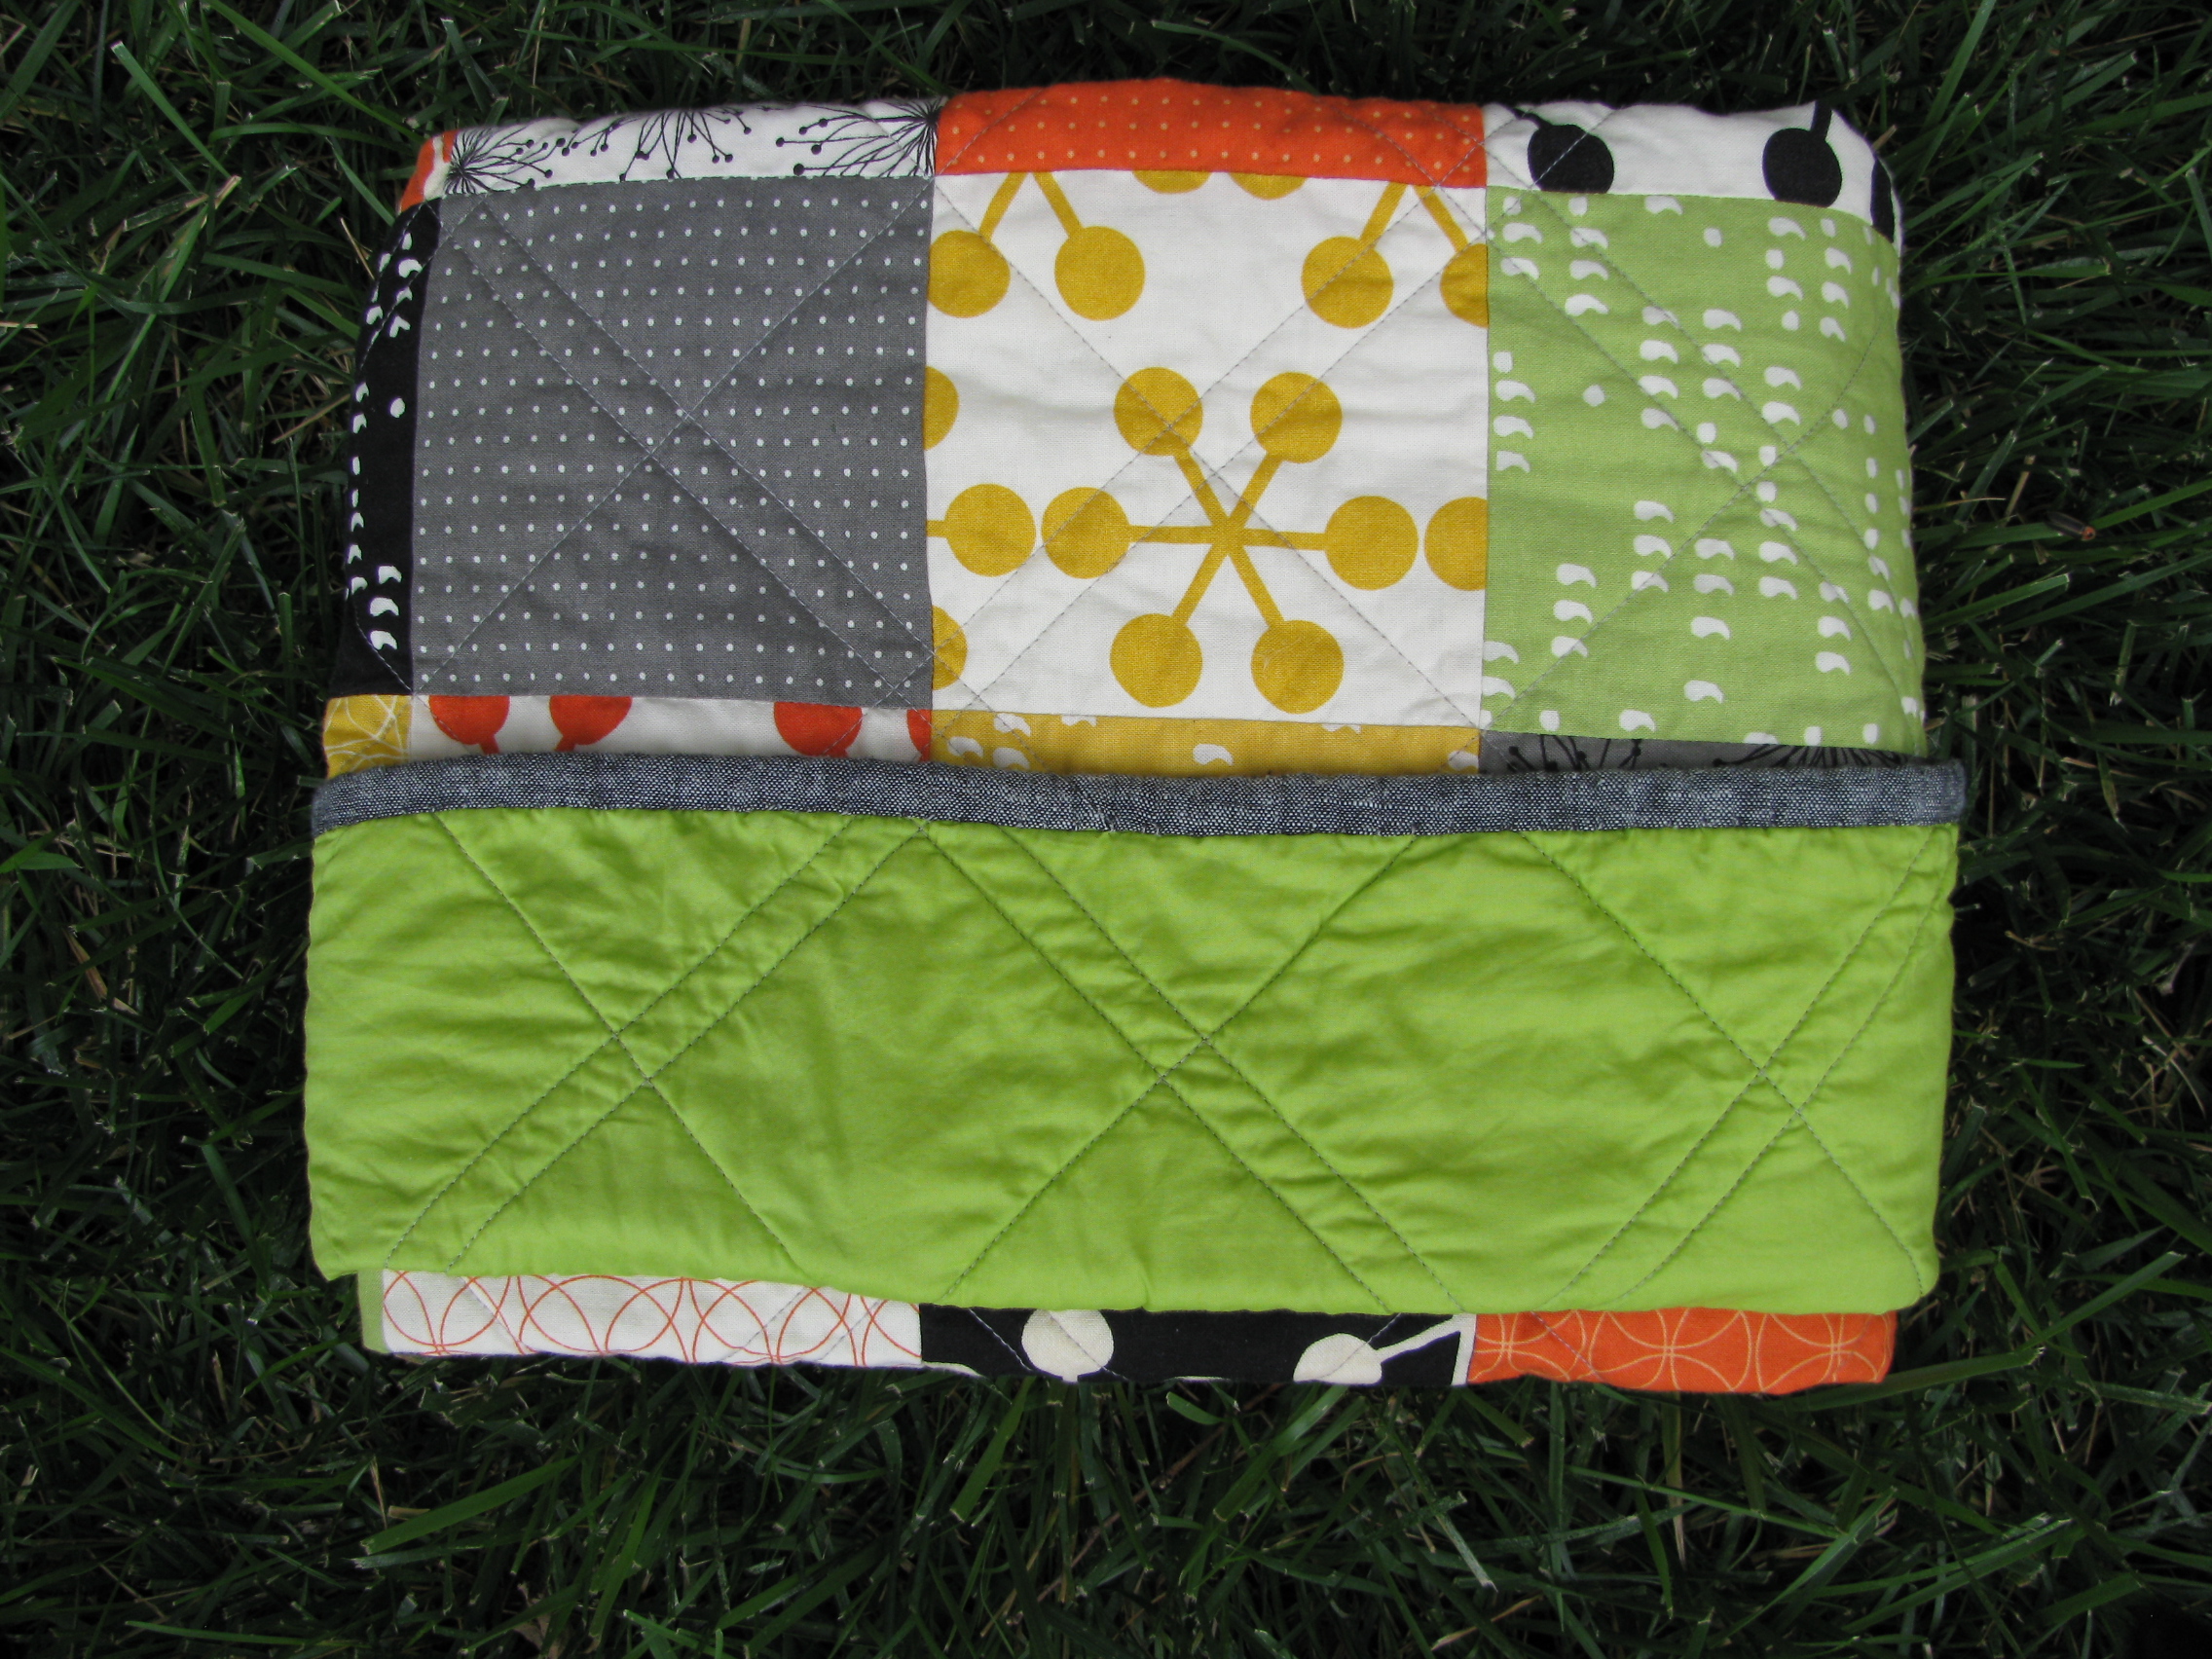
Taking a few seconds to do this will keep your quilt folded and prevent it from being all floppy. As a gift this makes it easier for wrapping or just tying a bow around. You can even stick a card in the front flap!
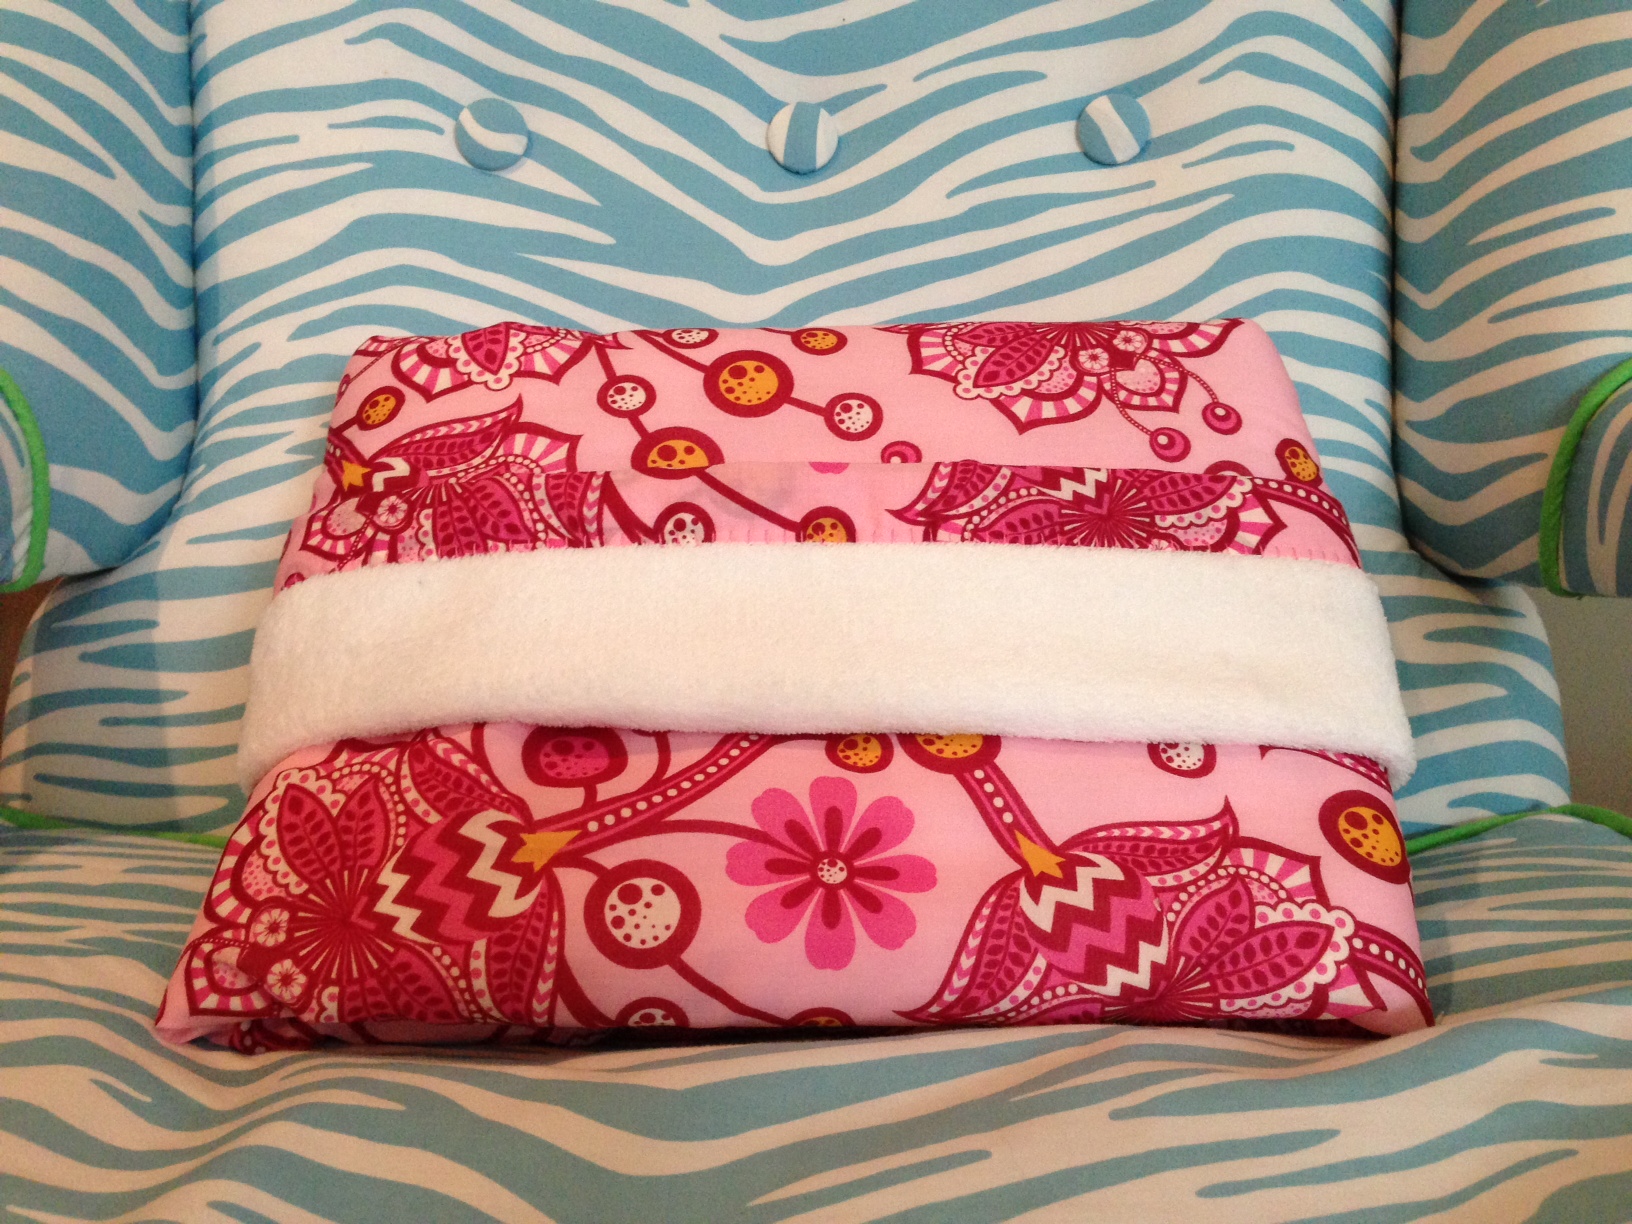
On this one the fold is nice because you can see and feel the minky backing. (In case you’re wondering the awesomely soft voile is from Cucire.)
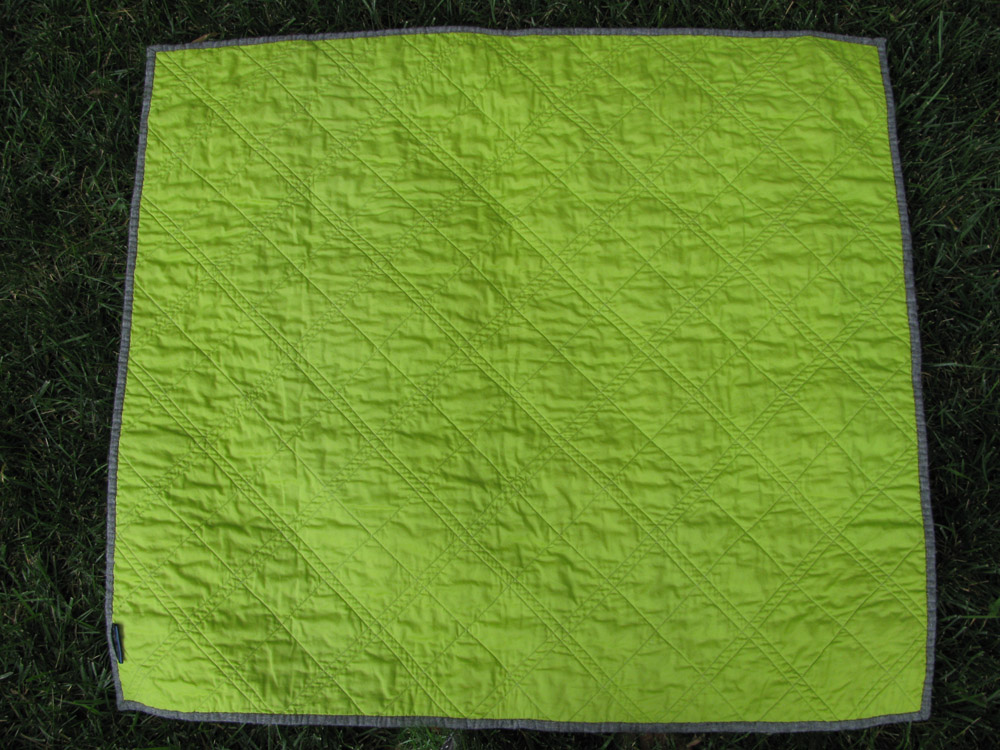
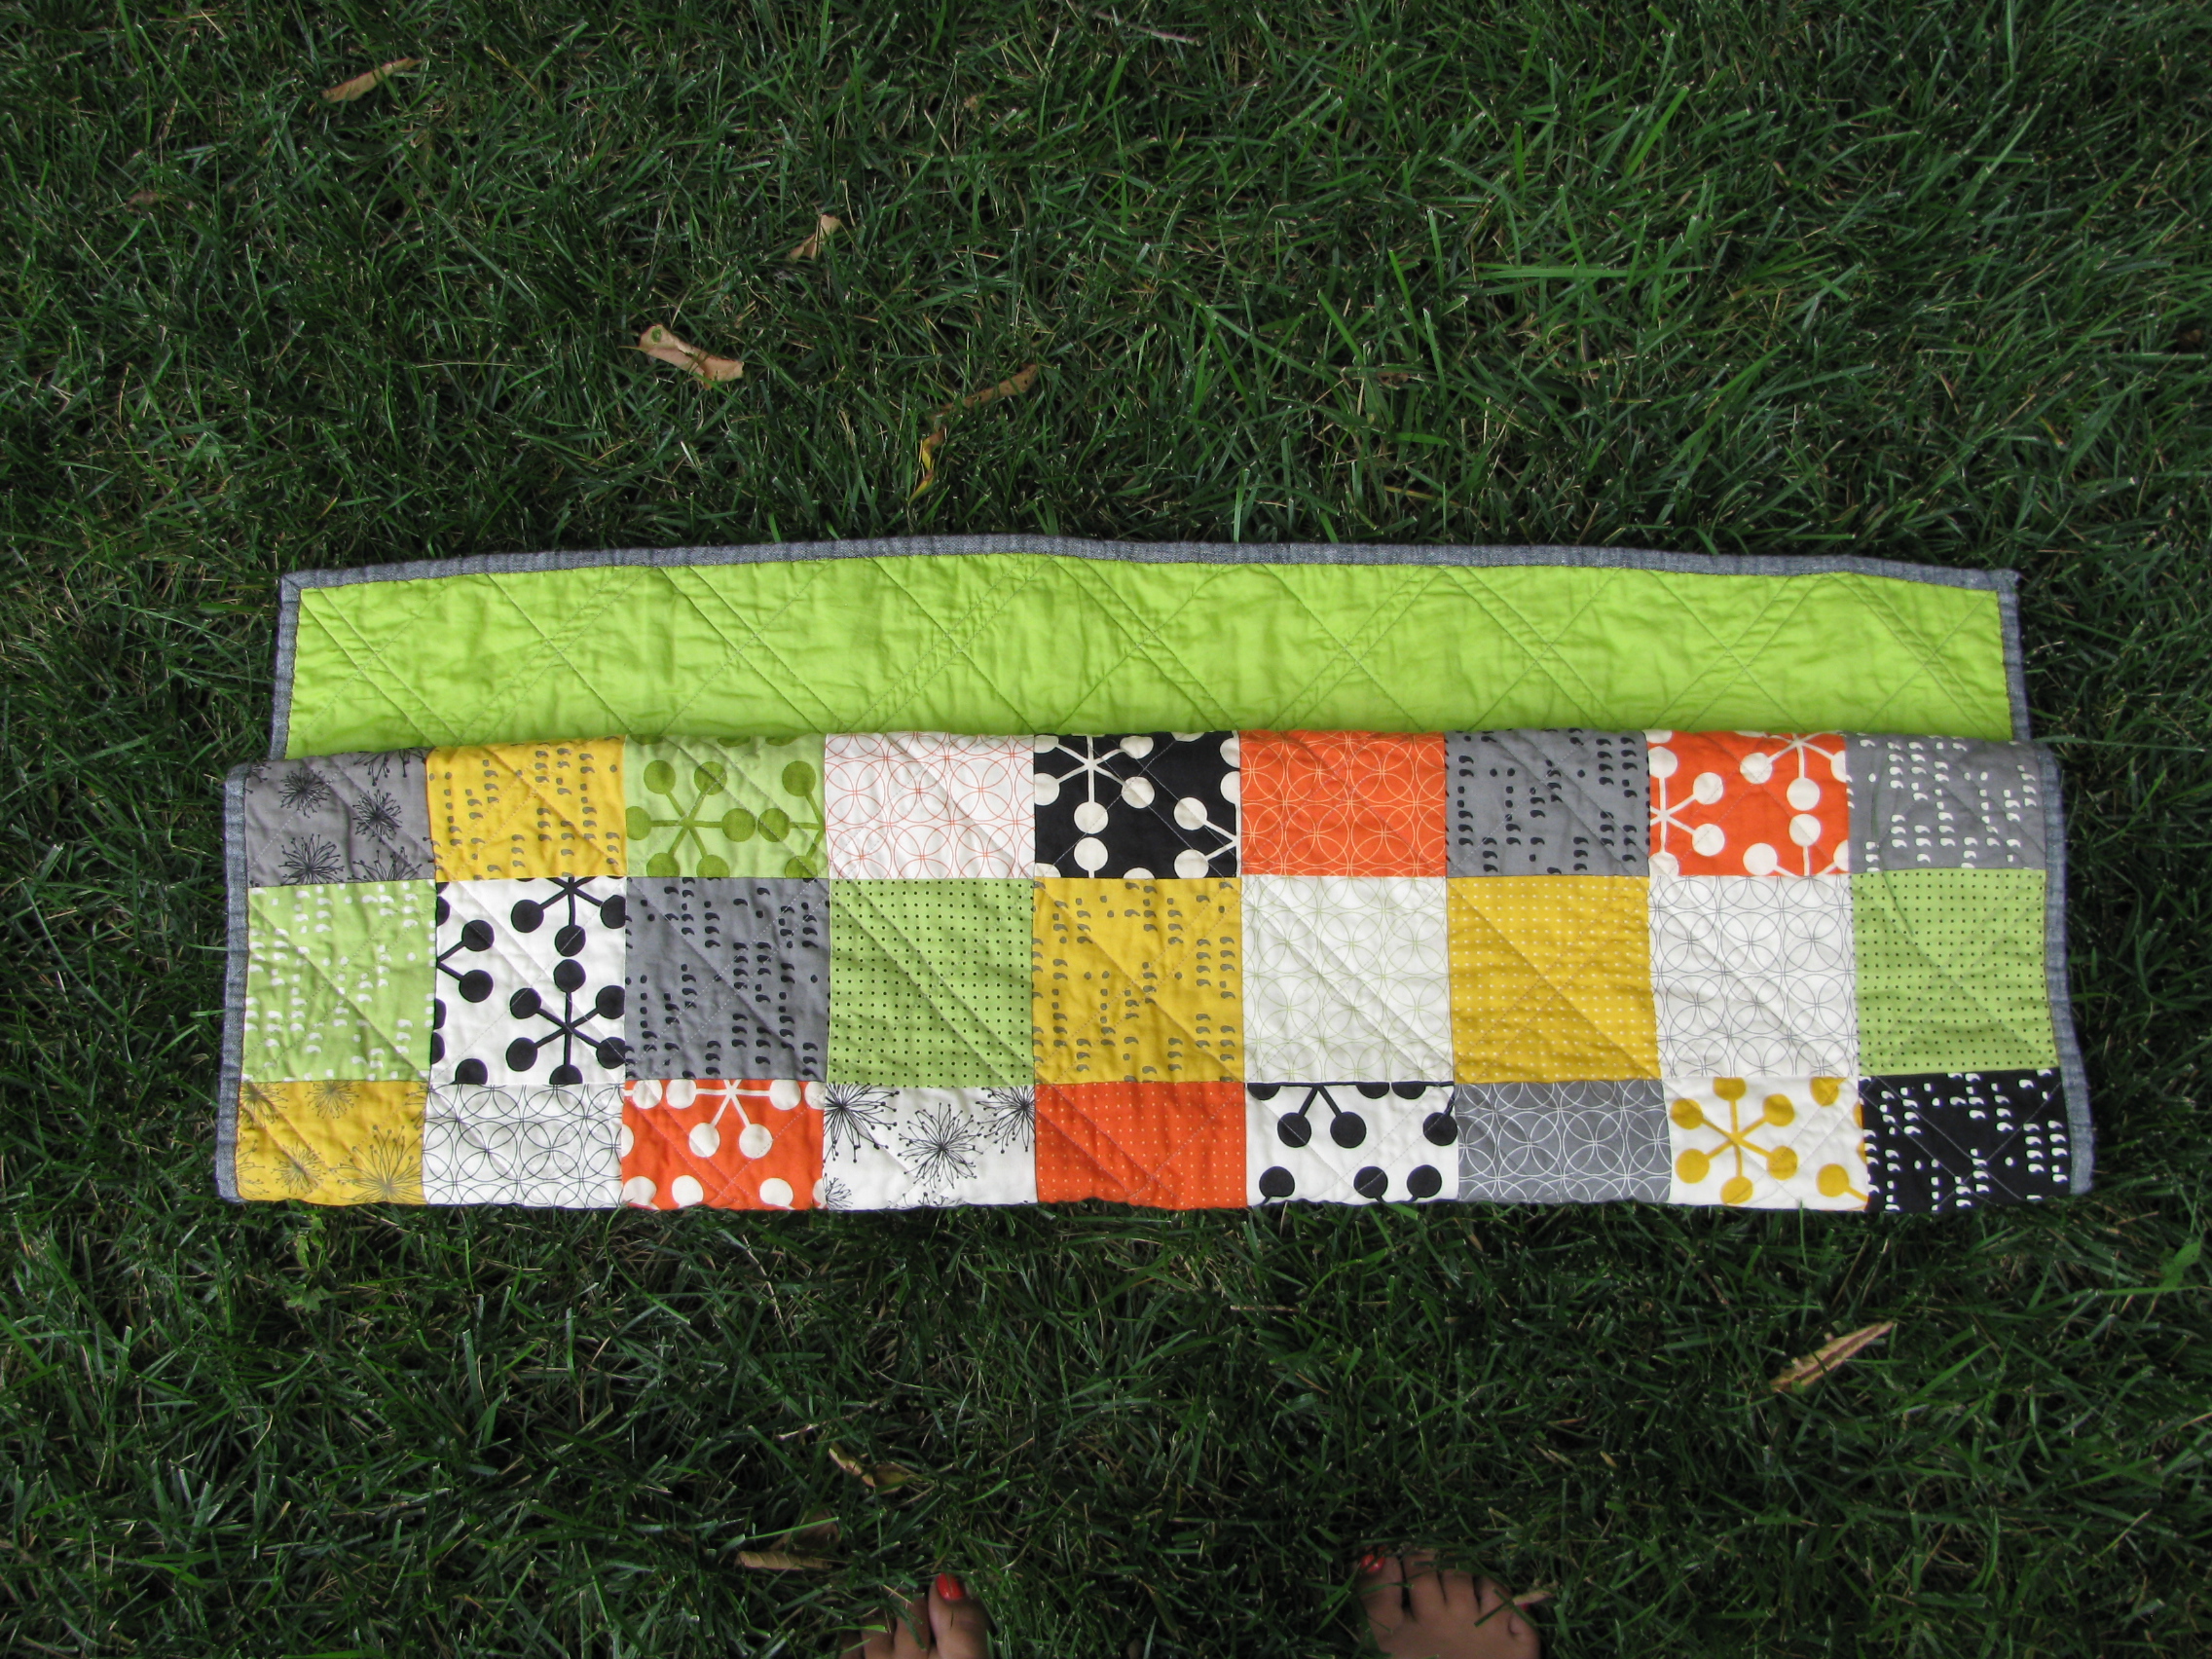
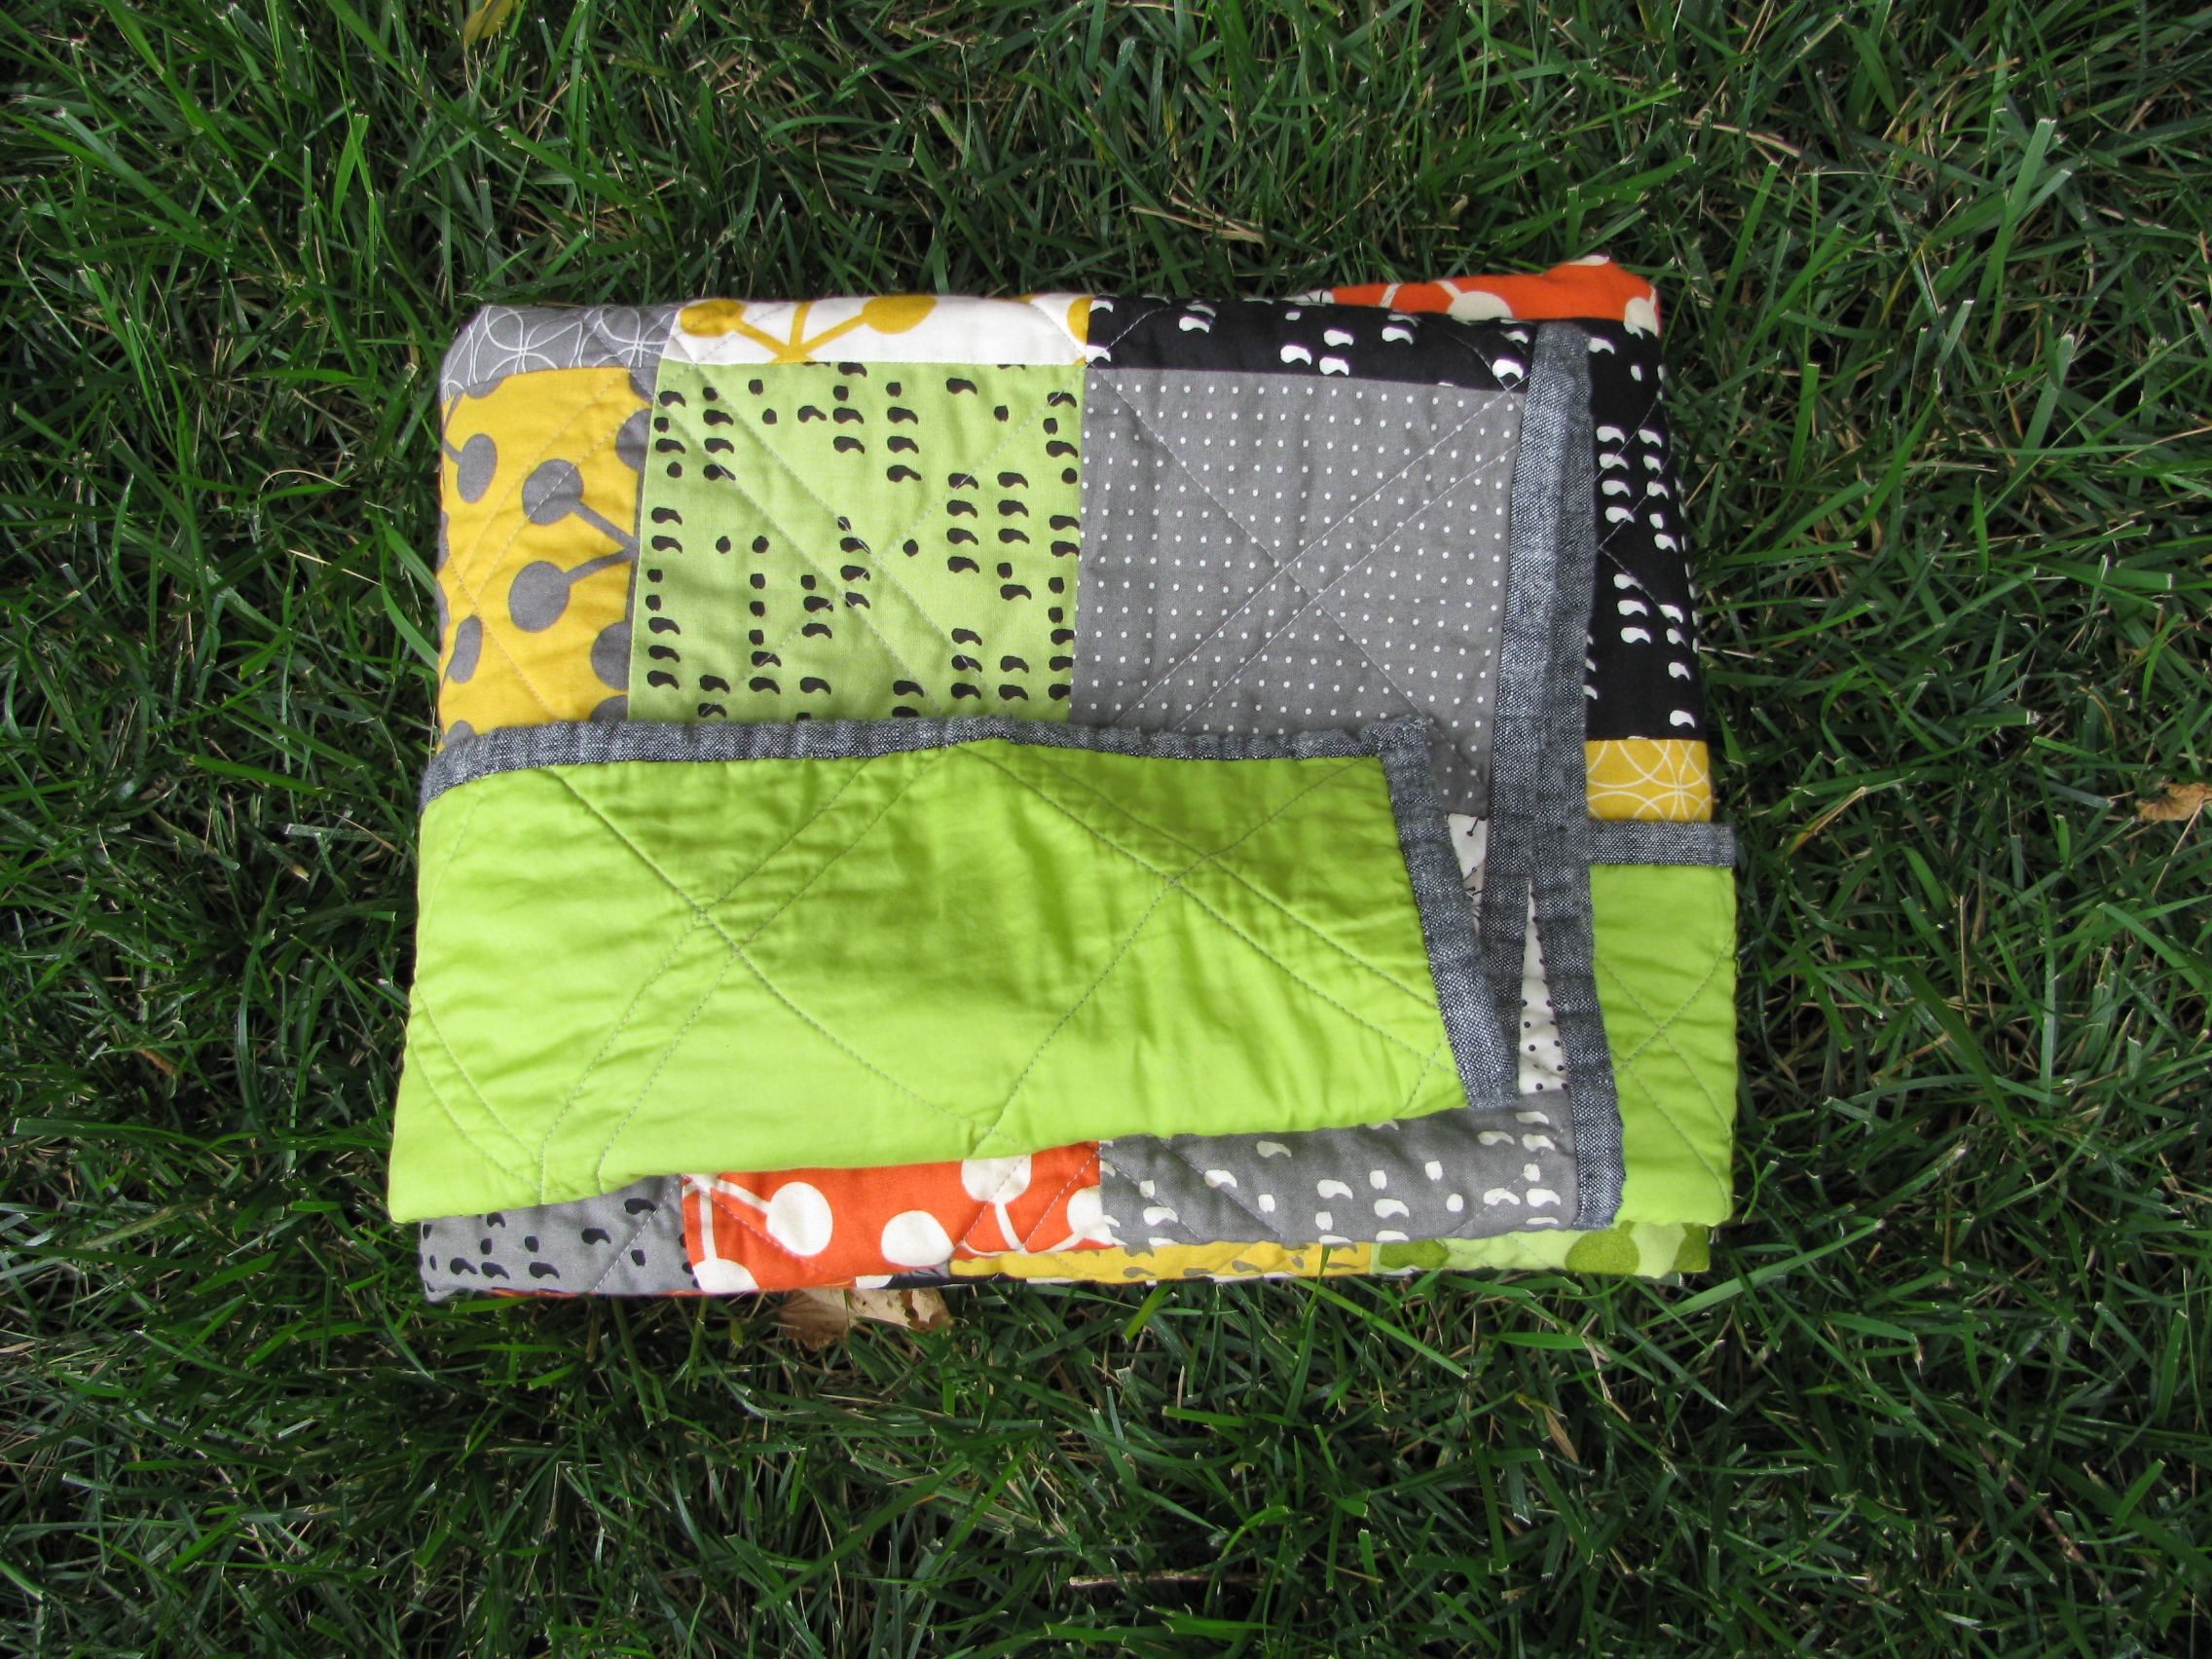
Lay out your quilt face down
Fold up a little less than a third of your quilt
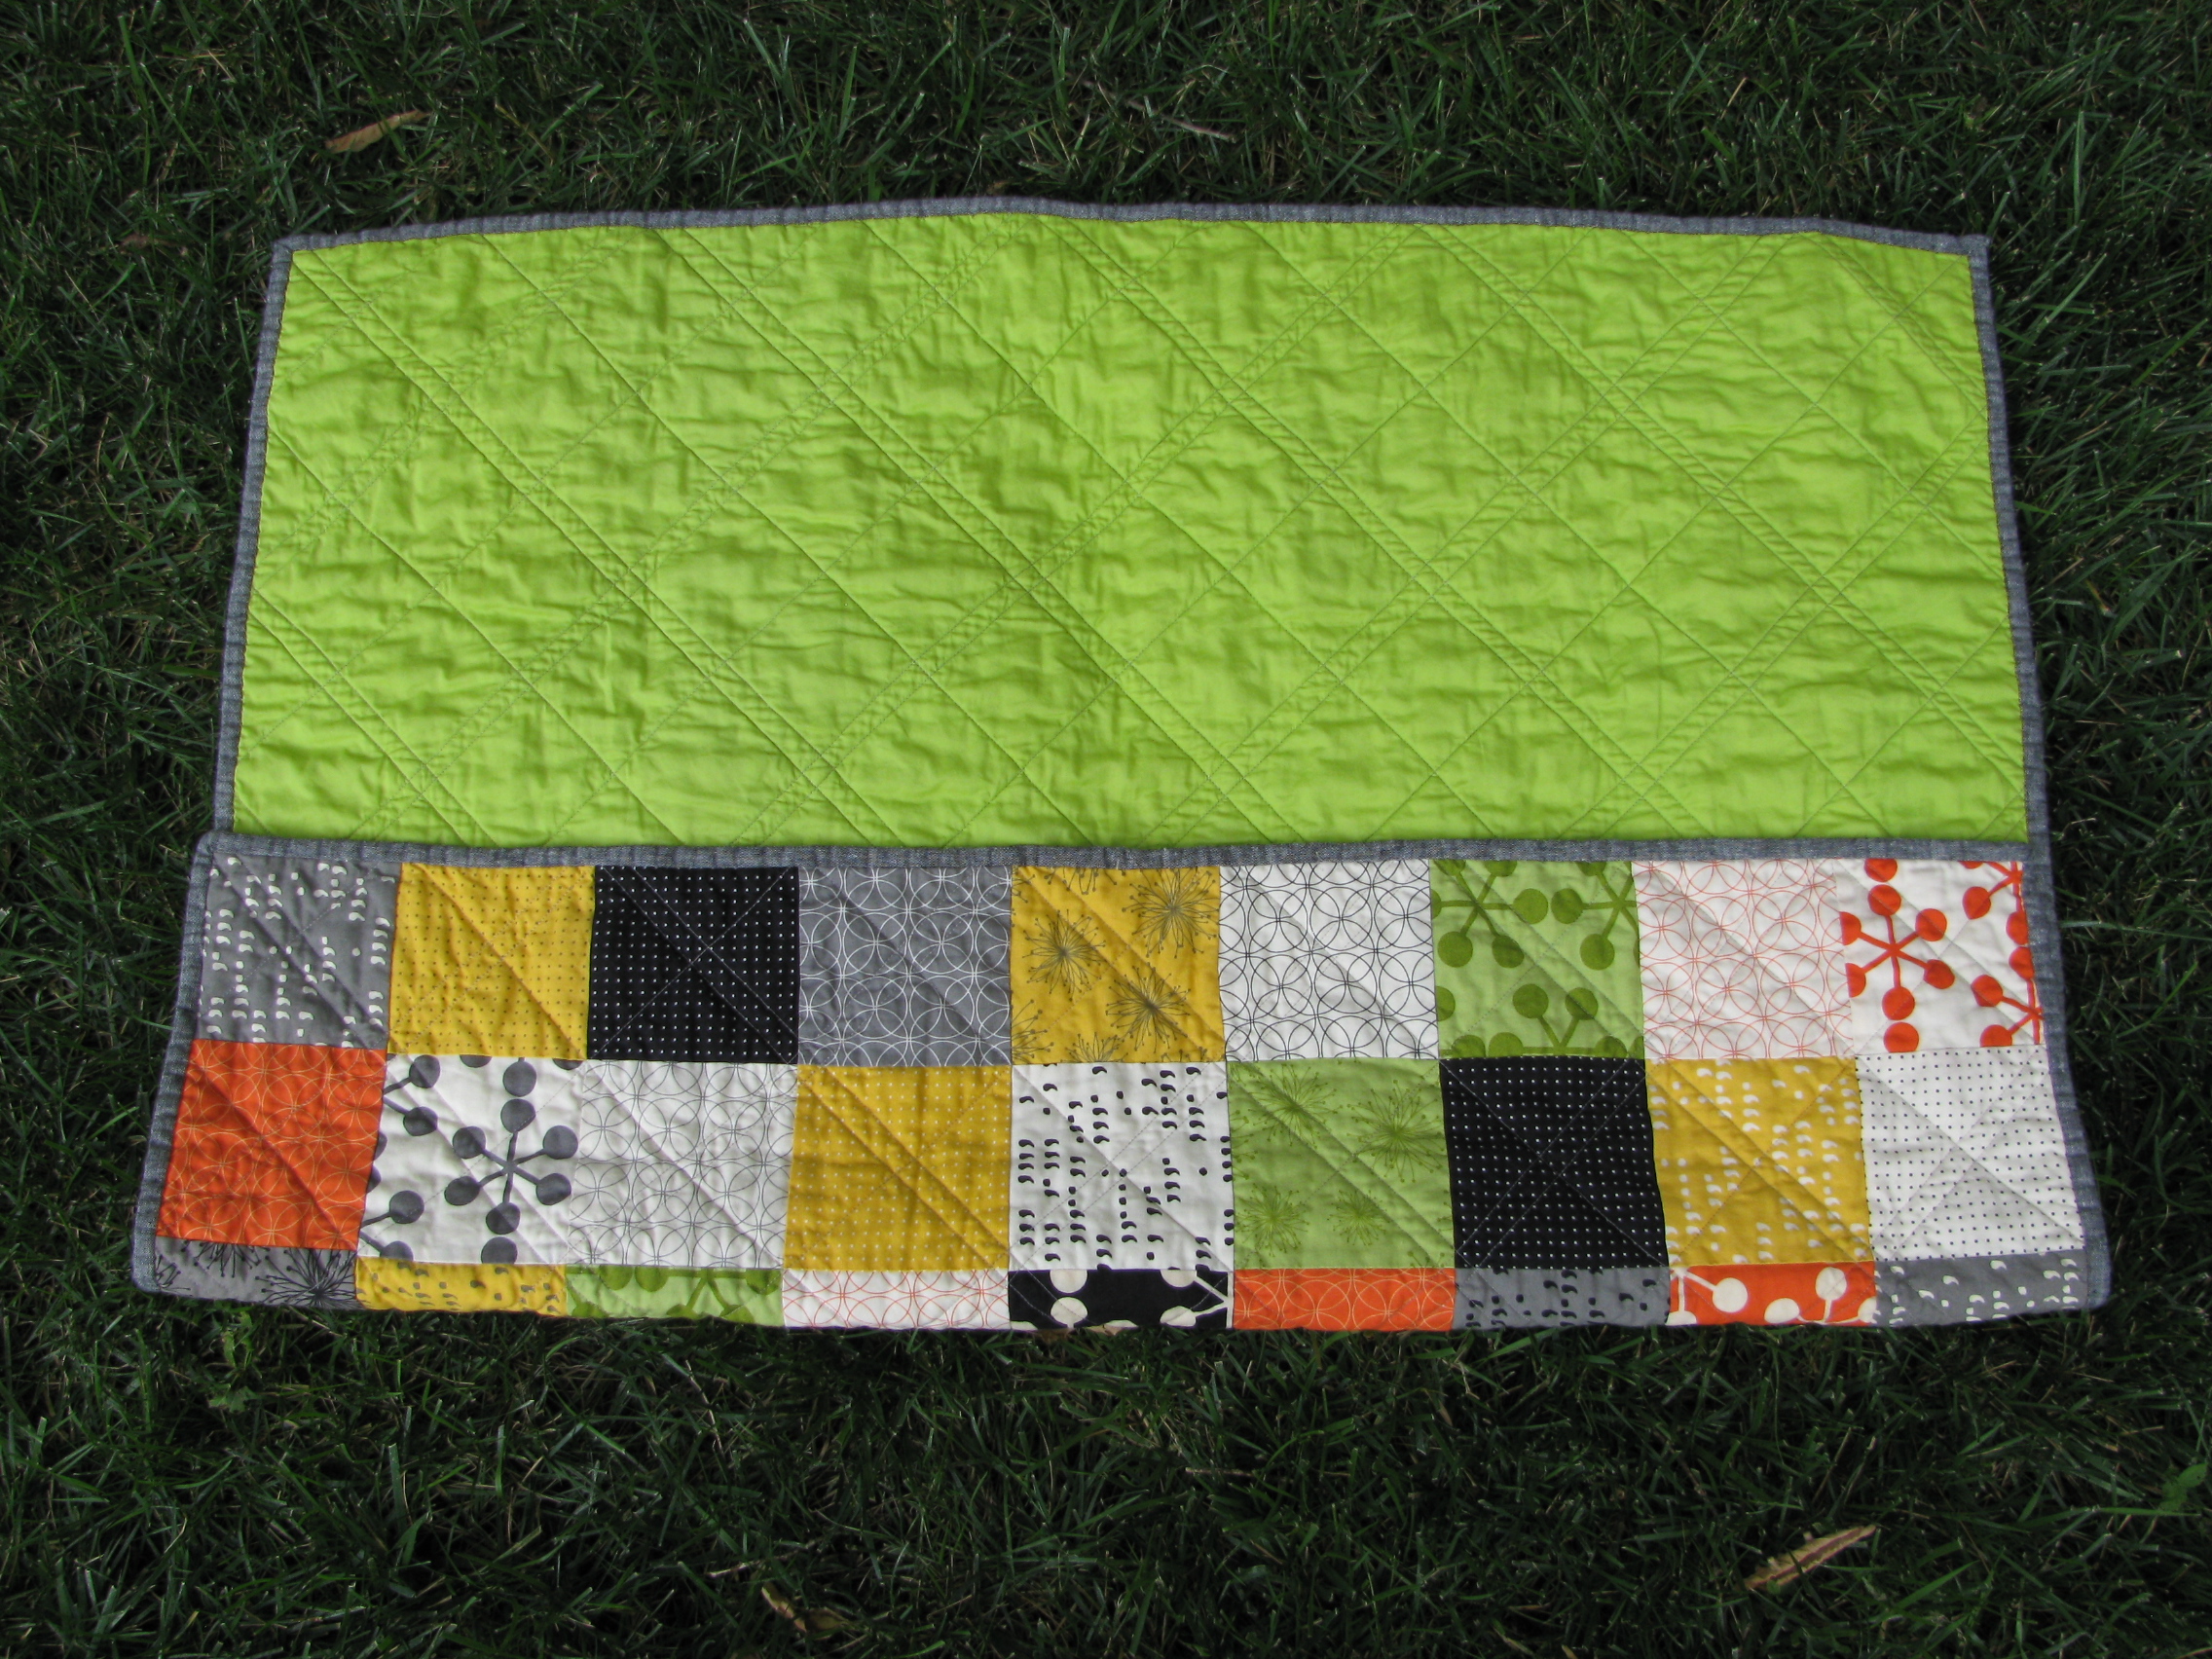
Fold over again and you should still see about 4″ of backing
Flip it around
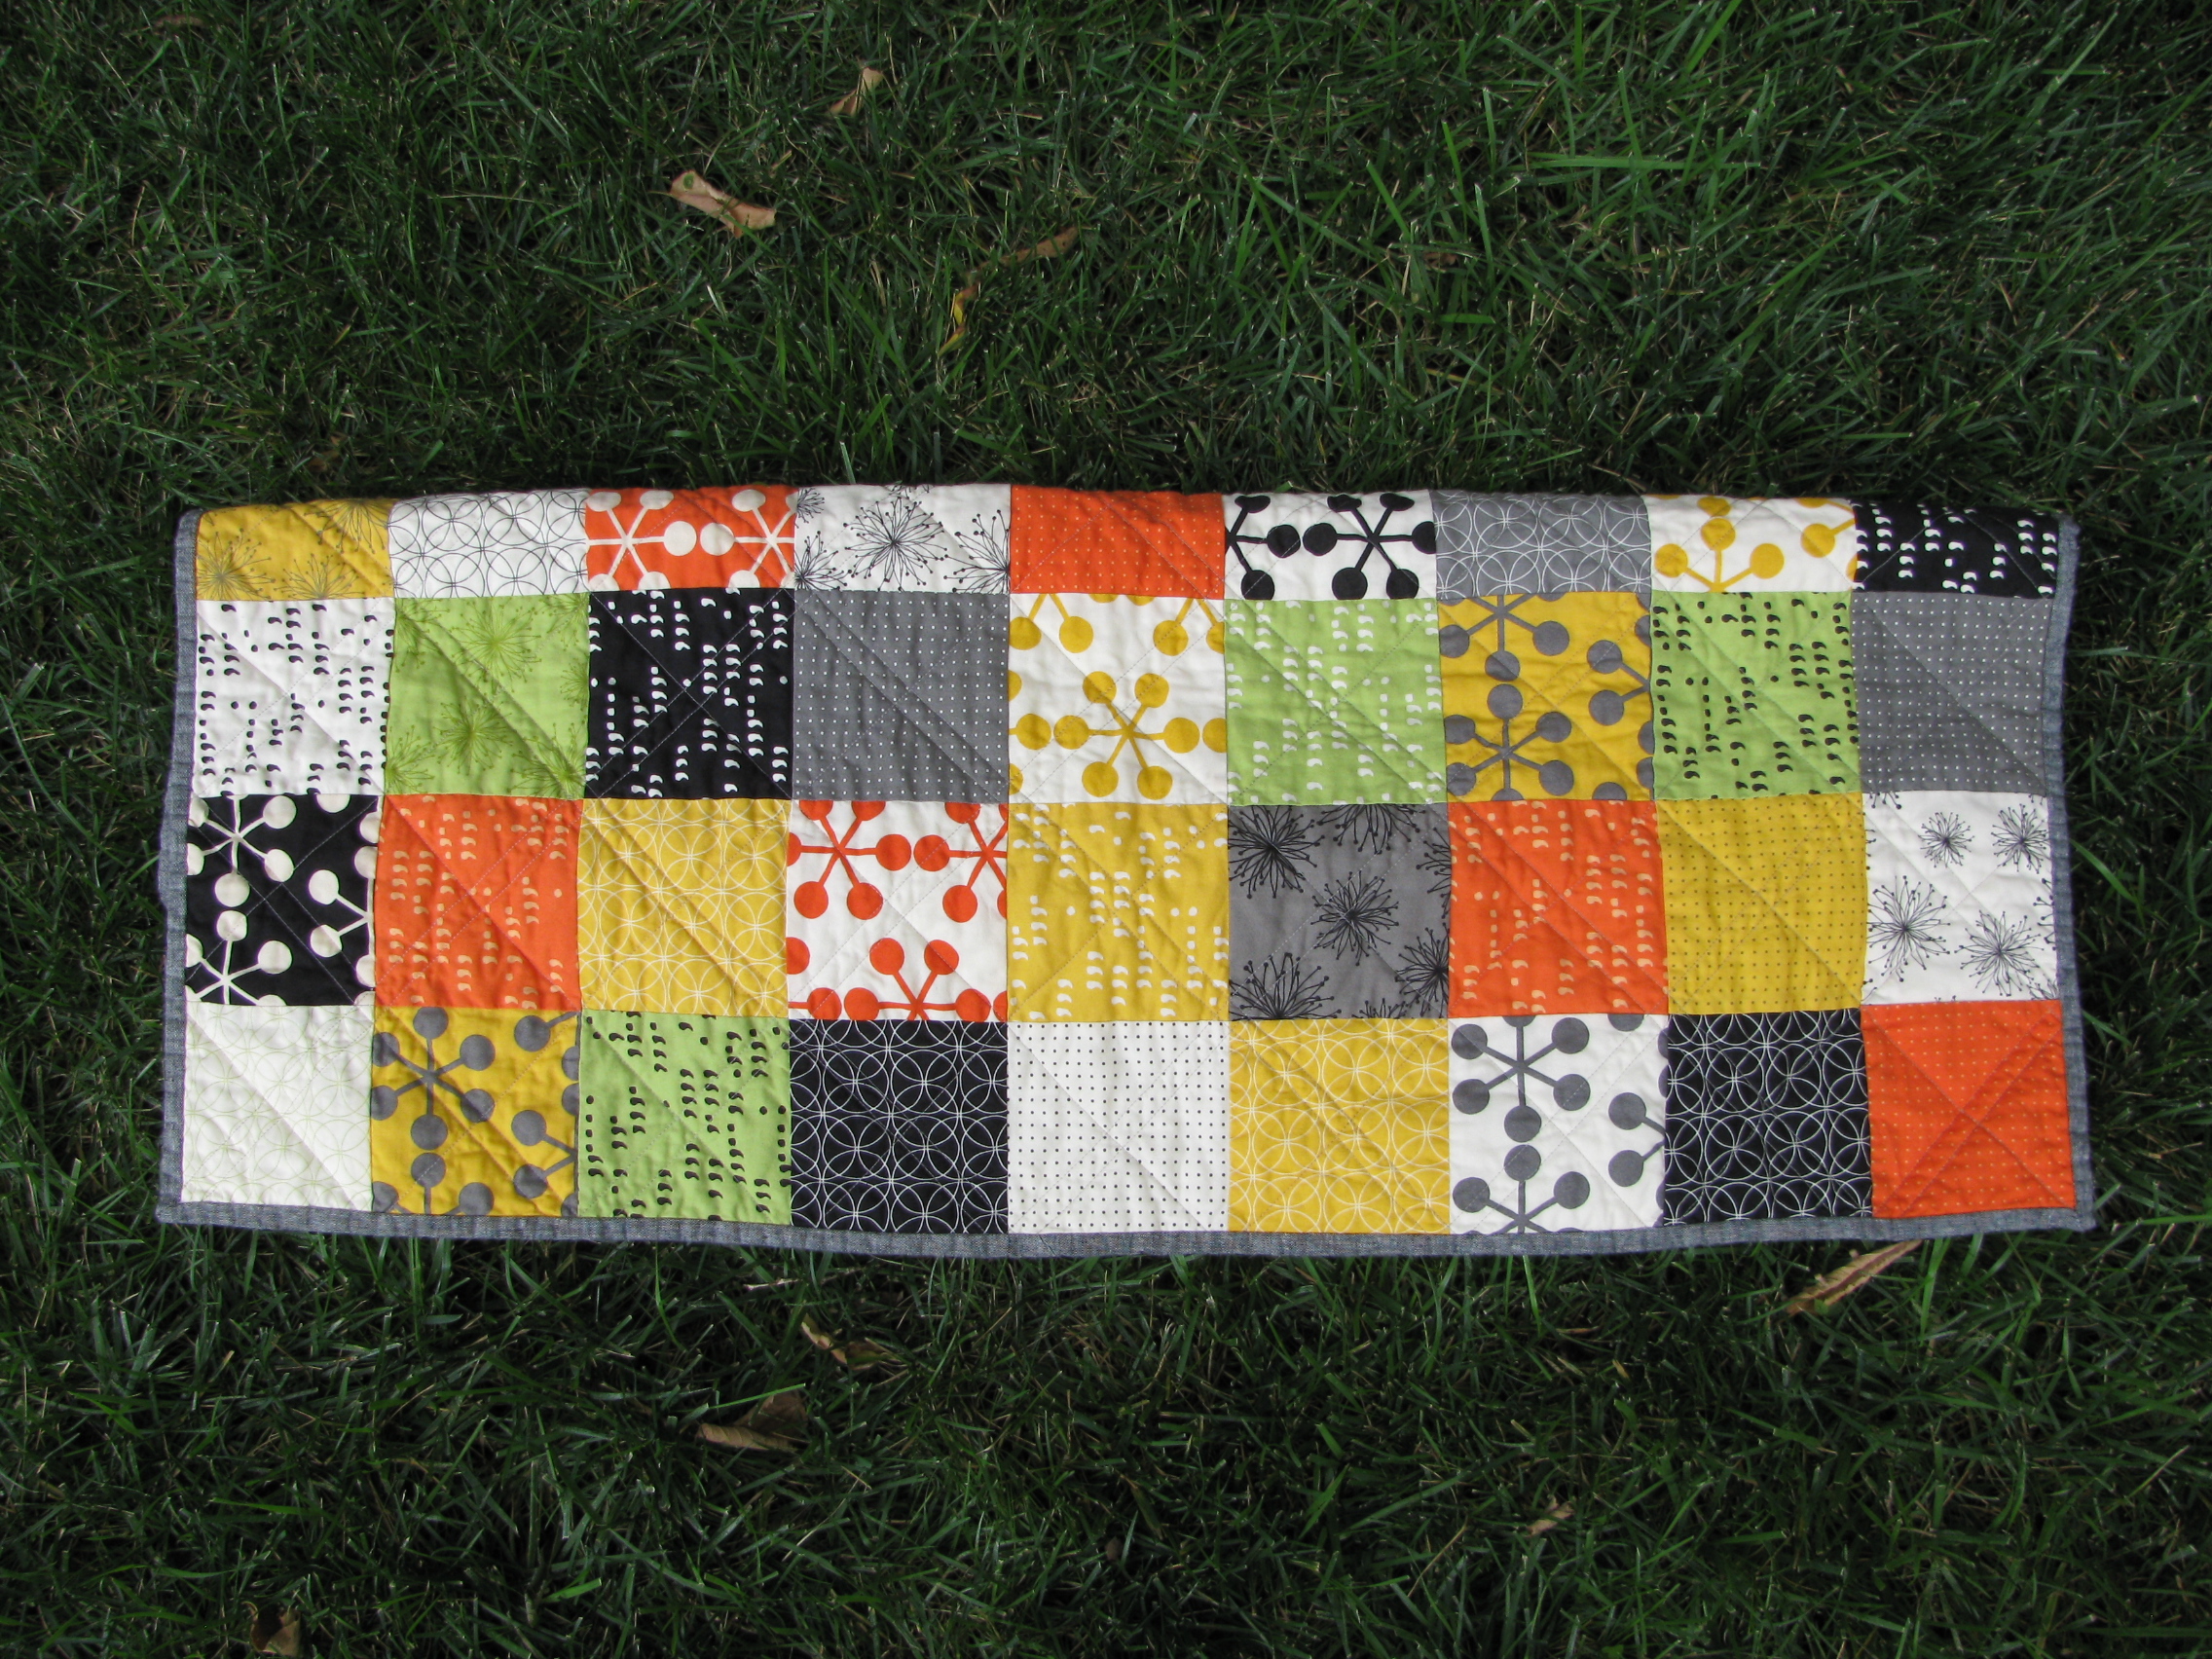
Fold the 4″ backing flap up
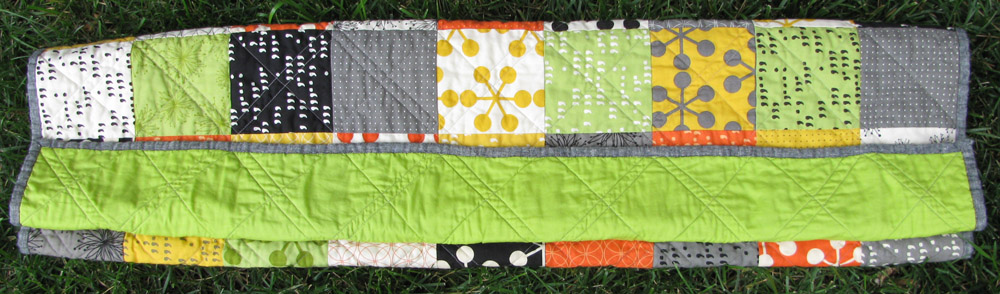
Flip it around and fold a third of the quilt over
Fold over the other third
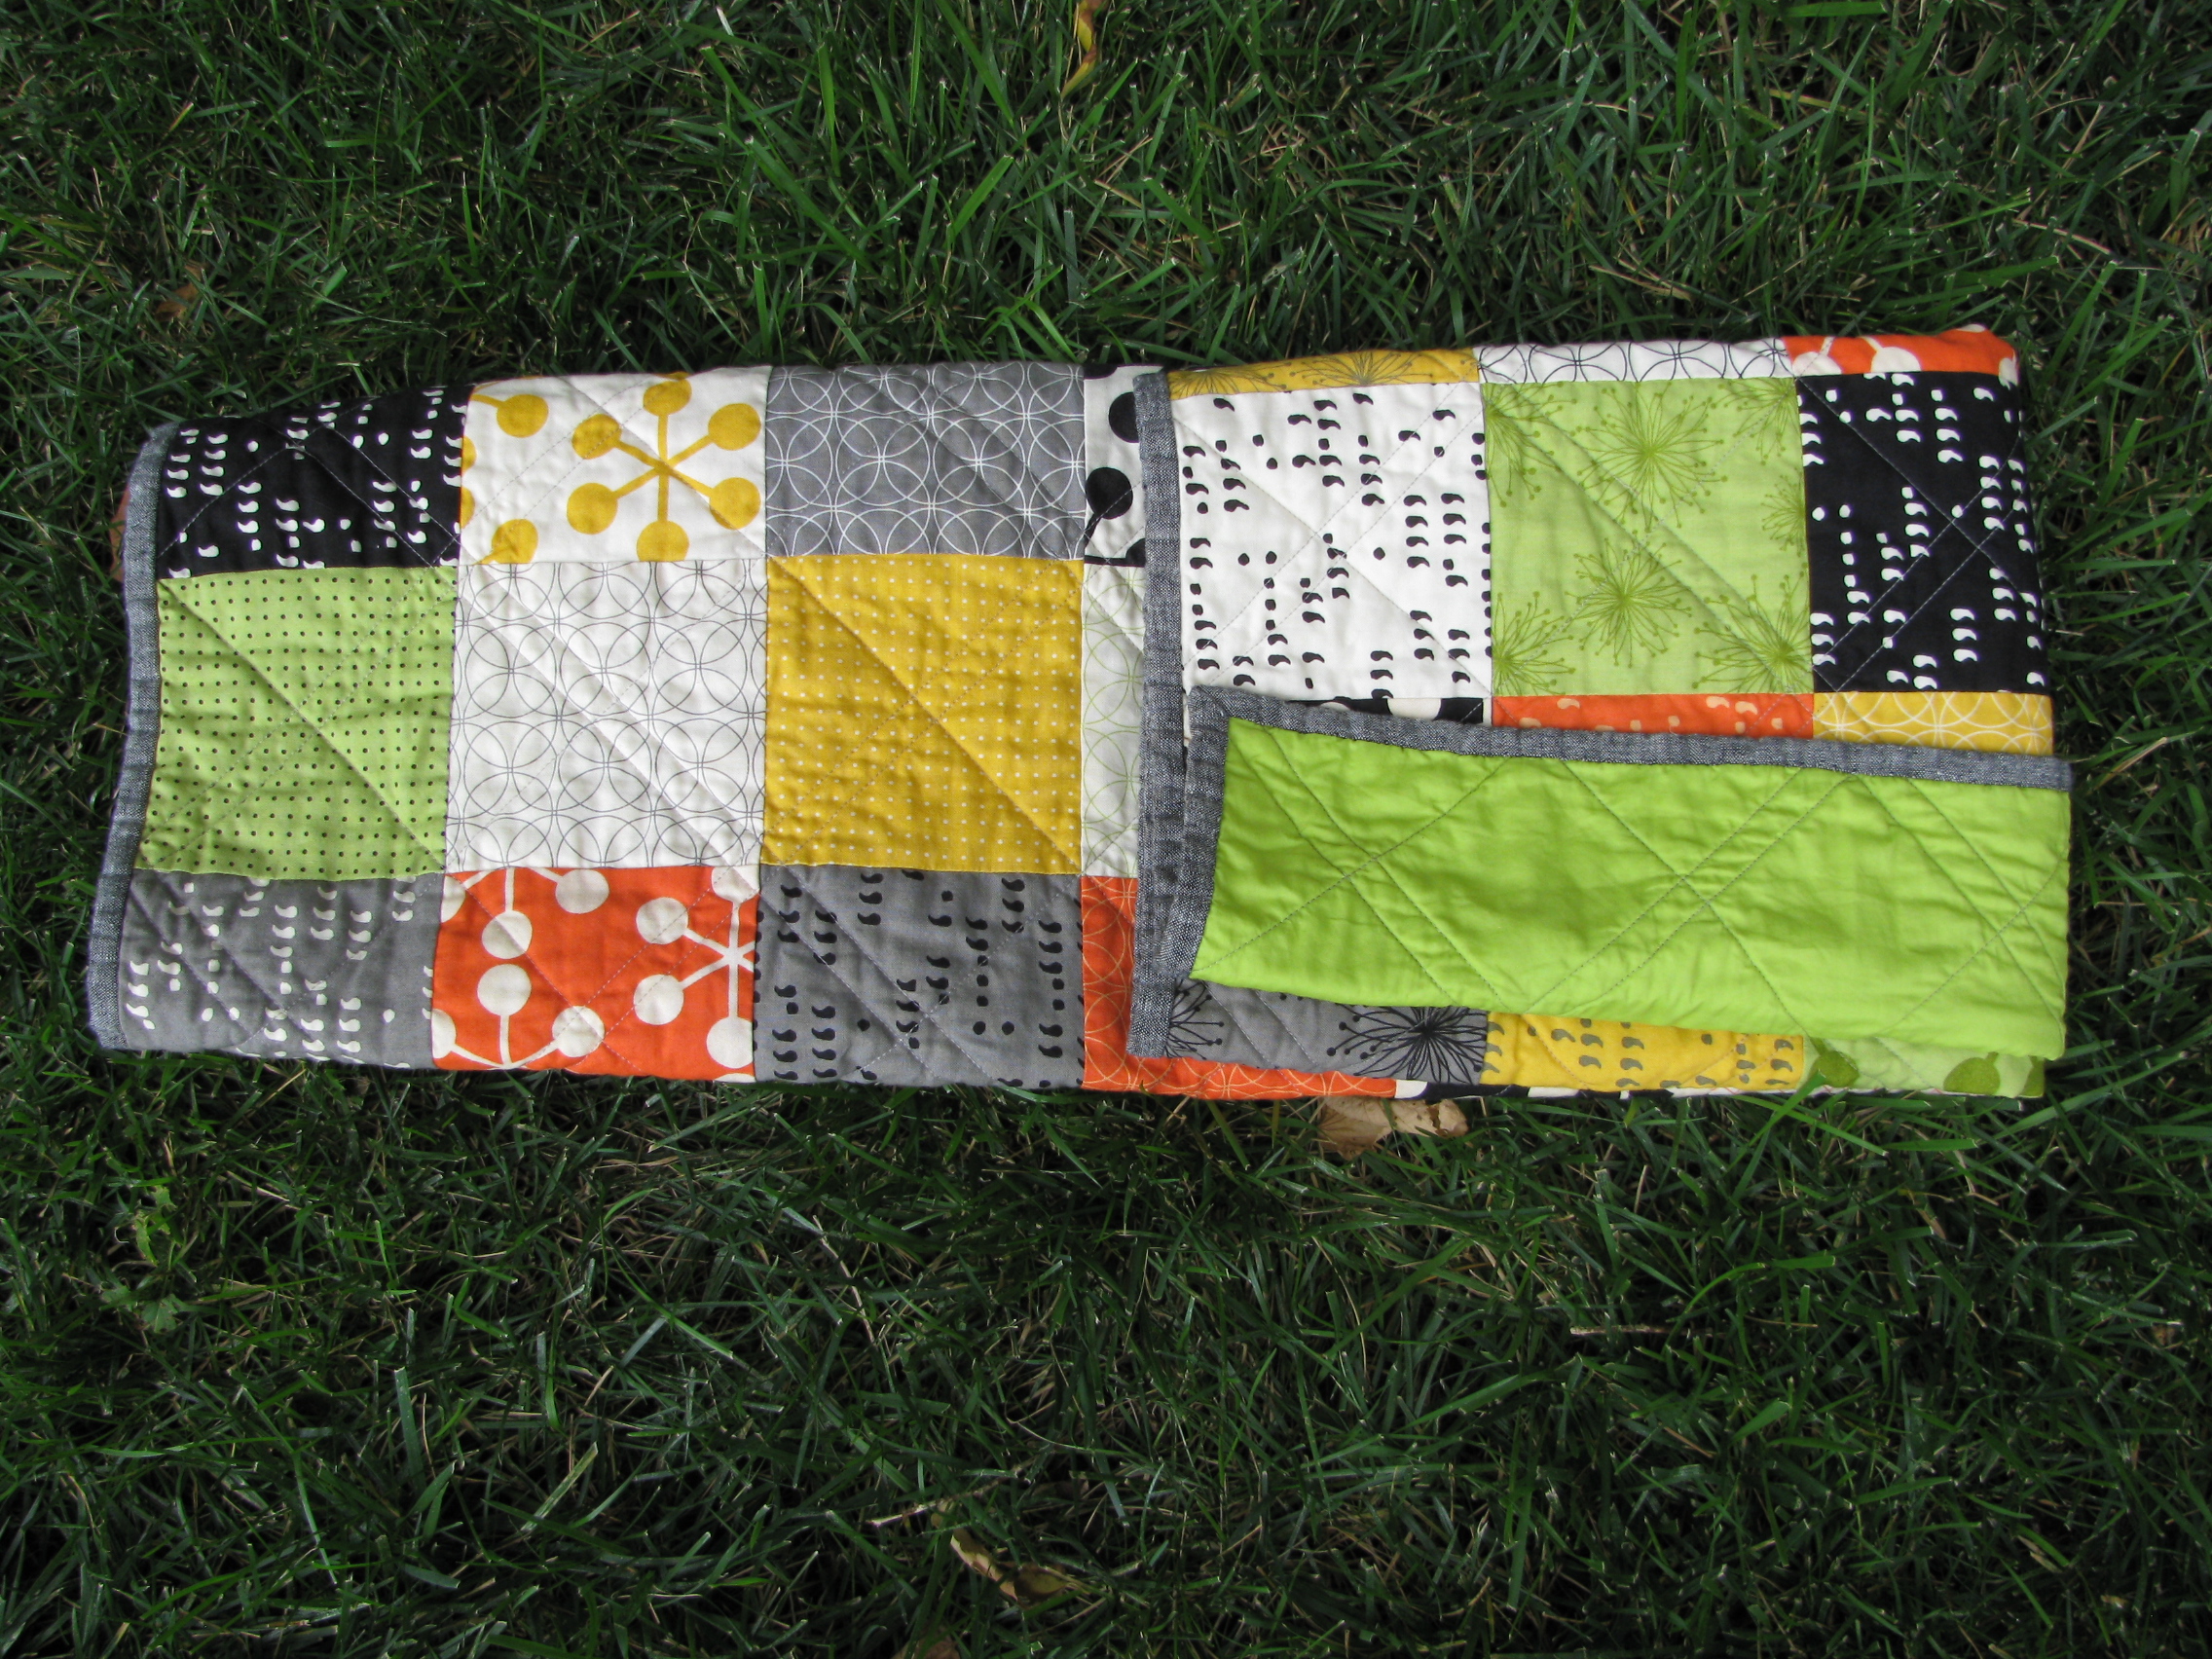
Lift that last fold and you will see a little pocket

Shove the other side in there
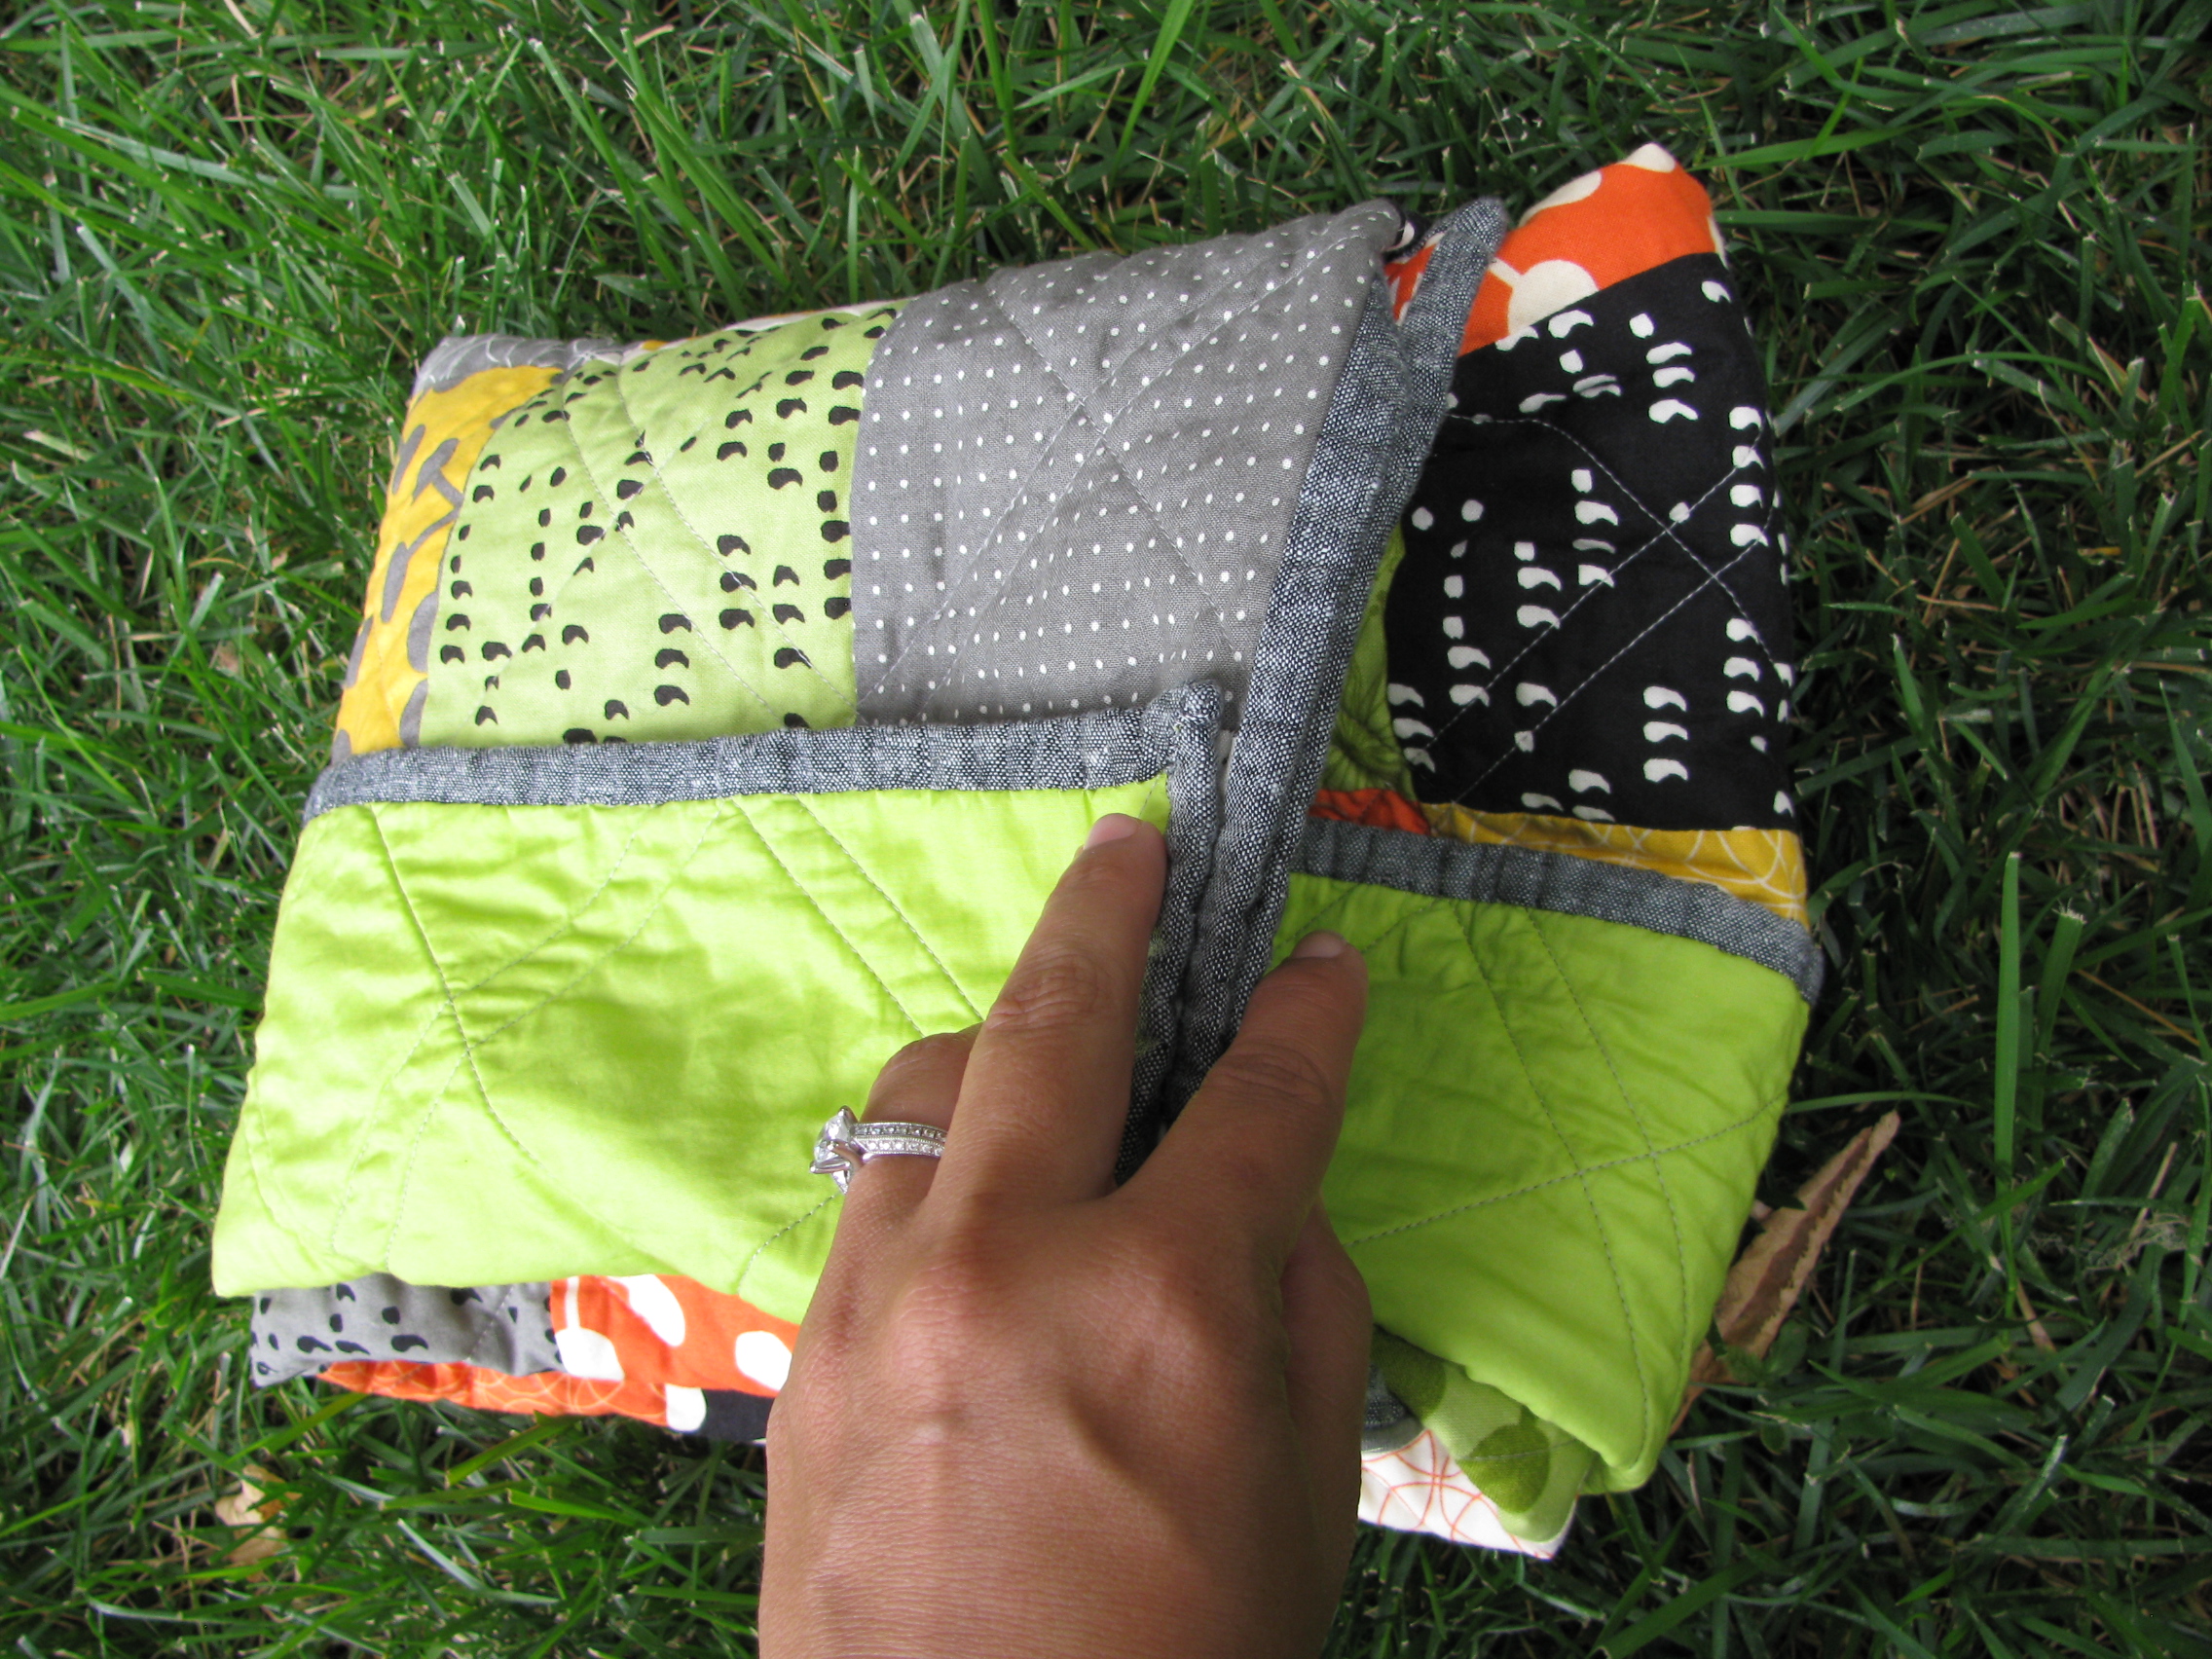
That’s it! Super easy and your quilt won’t unfold.
This fold will also work for large quilts, you just need to play with how small you want it to fold up. I’ll start with the quilt folded in half before following the steps.


16 comments:
That is a great way to fold the quilts. I love that you can see the back too!!! I'm goo g yo use this technique to fold all of my quilts for storage!!
Oops!!! Going to use. Ha
Thanks for sharing. I love the idea of just tying a bow around and sticking a card in the fold, vs trying to wrap or find a bag to put it in!
(PS. I actually just tried it with the quilt I finished last night, and it worked perfectly! So easy!)
What a great idea. Thanks for sharing!
Lov that colors :) Look amazing
What a practical little post - thank you so much!
www.texaslovely.com
This is great, thanks so much!
Genius!!! I always roll mine, then don't know what to do with the ends but tie it. This is a super great idea!
Great idea. I love the quilt lovely colours. What fabrics did you use?
adorable, thanks for the pictures and instructions so I could actually do this!!
Love this! I will definitely use it. Thanks for sharing.
It would be even neater if you remembered to put the quilts' label right on the fold where it would show immediately!
can you possibly tell me what any of the fabrics are in this quilt? Love them!! Thank you!
Jami - I used Comma by Zen Chic and the backing is a voile by Free Spirit. :)
Love this folding. To show back and front.
Post a Comment